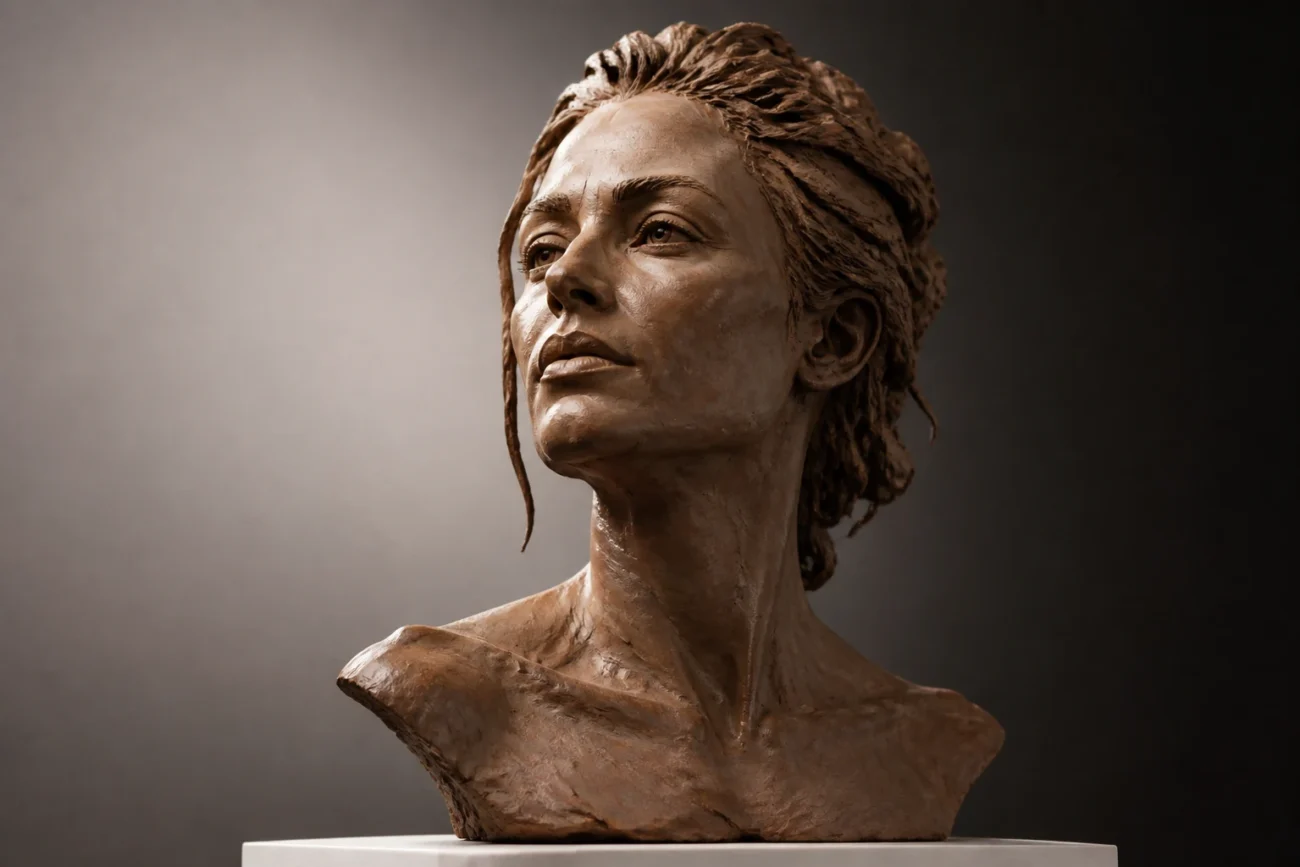
Ready to unlock the clay studio and make something you actually want to look at every day?
These ideas blend fun, drama, and a dash of whimsy so you stay excited from start to finish.
Grab your apron, your favorite tools, and let’s sculpt our way into seriously impressive busts.
1. Layer Textures Like a Pro

Texture is everything when you’re modeling a bust. It adds depth, personality, and that life-like vibe you crave.
Start with a smooth base, then press in rough textures for skin, hair, and accessories to create contrast that pops under light.
Tips
- Use a rubber rib to carve lines softly for a natural look
- Mix fine and coarse tools to vary skin texture
- Finish with a light glaze to highlight texture details
Ending note: textured busts read as more dynamic and less stiff, making your sculpture feel alive.
2. Pose With Personality
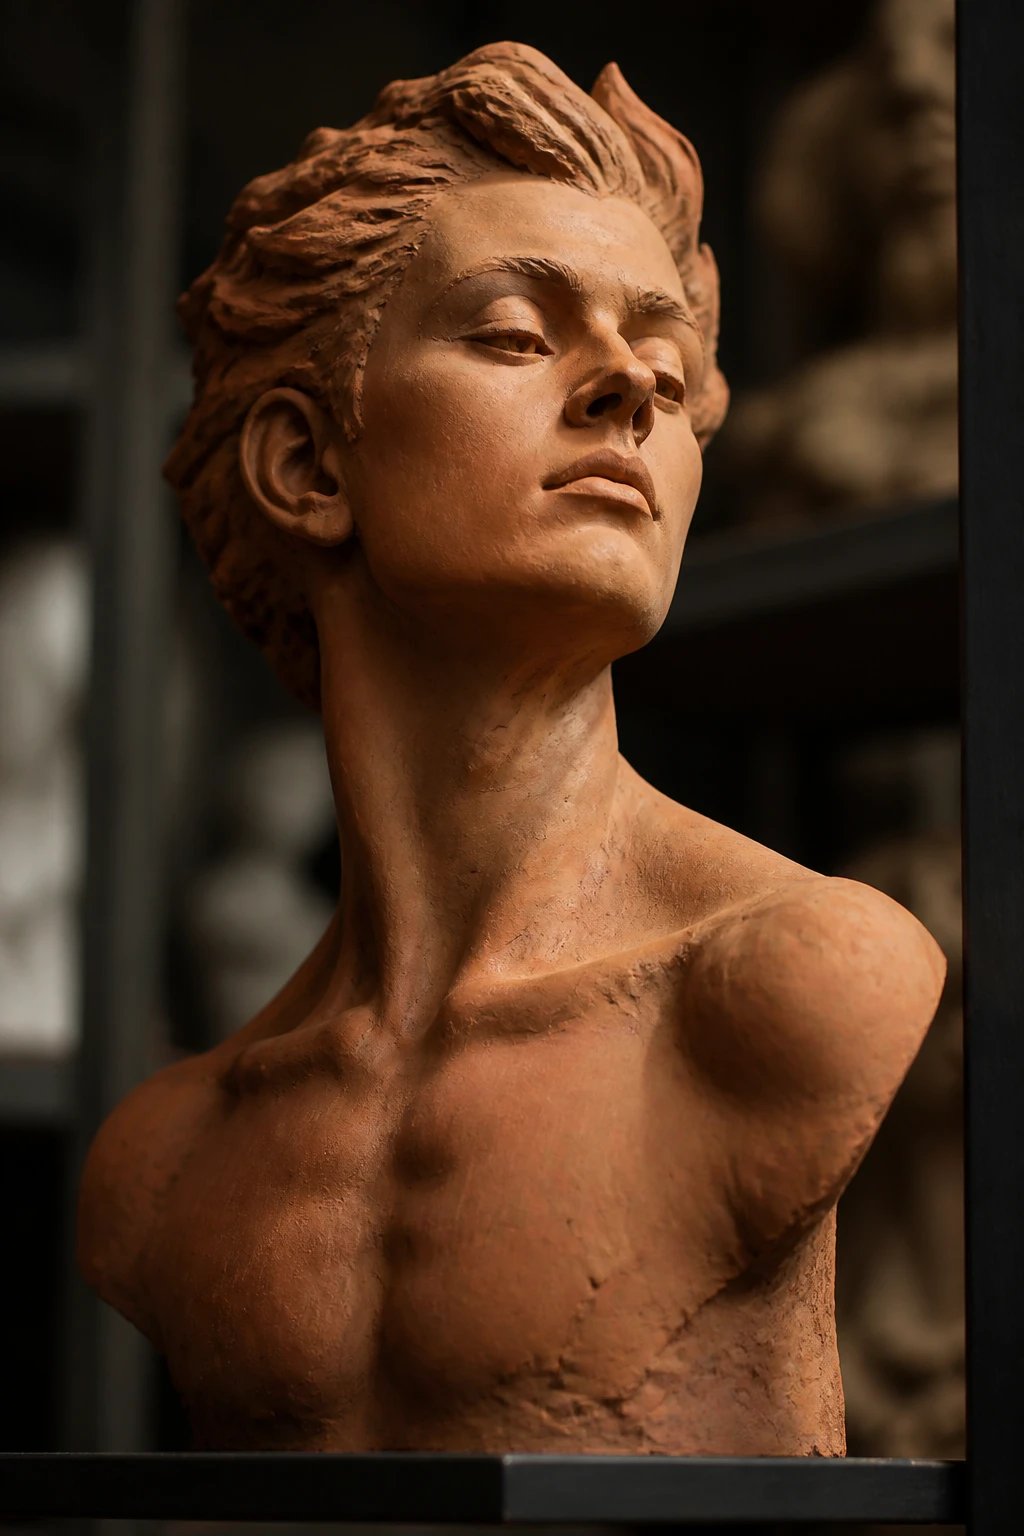
A dynamic pose instantly elevates a bust from static to story-telling sculpture.
Experiment with slight head tilts, lifted chins, or a proud jaw line to convey emotion without words.
Key Points
- Choose a pose that hints at a moment in time
- Balance the bust so it stands confidently on a shelf
- Keep neck and shoulder areas slightly exaggerated for drama
Bonus: a strong pose makes a small bust feel heroic.
3. Embrace Asymmetric Details

<p Asymmetry keeps a bust visually interesting and authentic. Perfect for portraits or mythic figures.
<p Play with eyebrow shape, ear size, or a tilted smile to create character without going overboard.
What to Try
- One eyelid slightly heavier than the other
- Subtle asymmetry in lips or nostrils
- Uneven hairline for a unique silhouette
End note: human faces aren’t perfectly symmetrical, and that imperfection reads as real.
4. Create Modern Figurative Busts
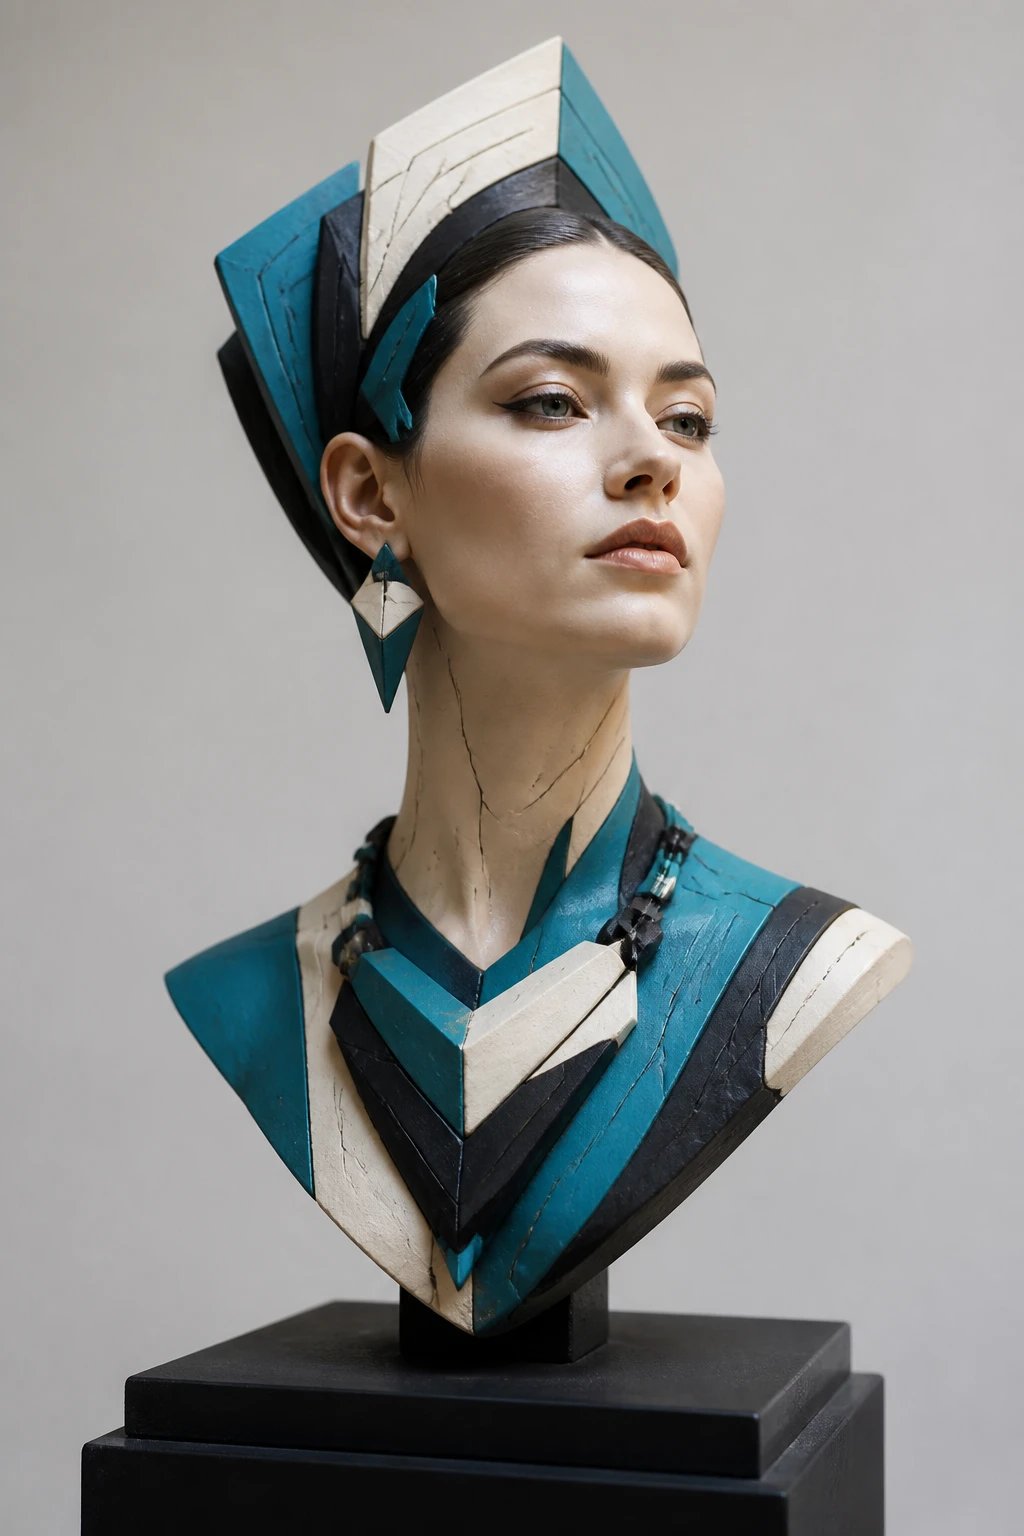
Bring contemporary flair by mixing fashion, tech, or pop culture elements into your bust.
Consider a futuristic headpiece or a piece of jewelry that nods to today’s vibe while keeping the clay textures tactile.
Materials
- Polymer clay for sharp details
- Acrylic paints for bold color blocking
- Fine brushes for precise lines
Practical tip: keep the scale simple so the modern details stay legible.
5. Portrait Busts From Your Phone
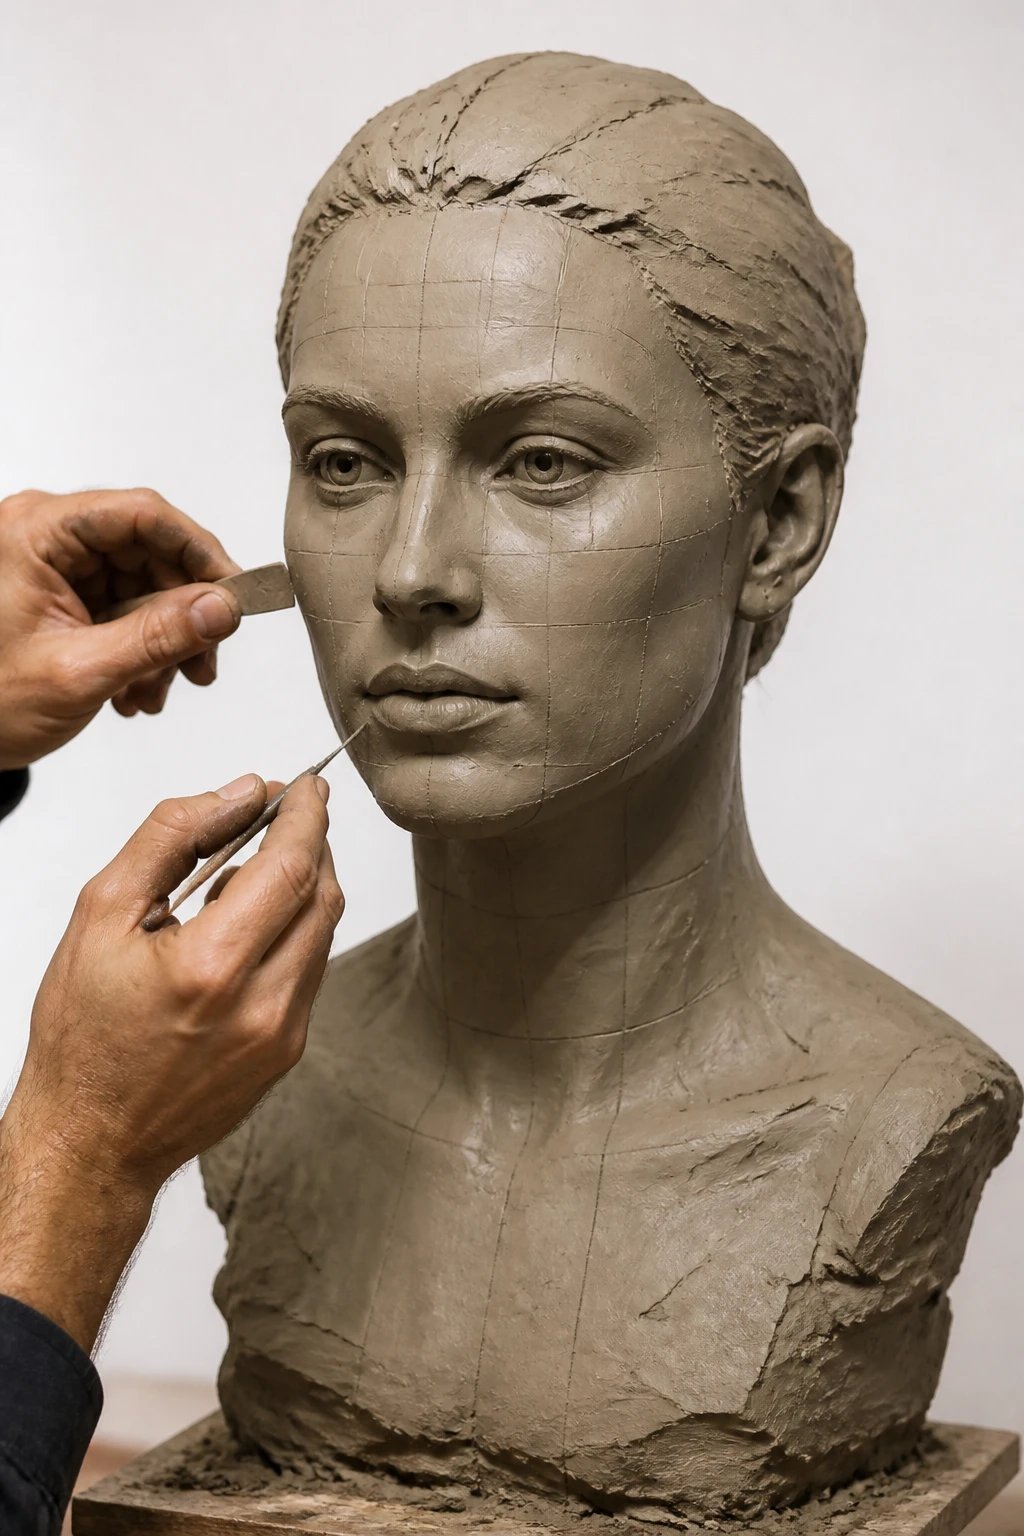
Turn a photo into a clay rendition and learn how volumes translate into sculpture.
Use a grid method to map out proportions and then gradually translate what you see into clay mass.
Process
- Print a 1:1 or small-scale grid photo
- Block out major planes quickly with wide sculptures
- Refine features with smaller tools
Pro tip: capturing likeness is a mix of observation and confident shaping. You’ve got this.
6. Mythic Busts With Story Accents
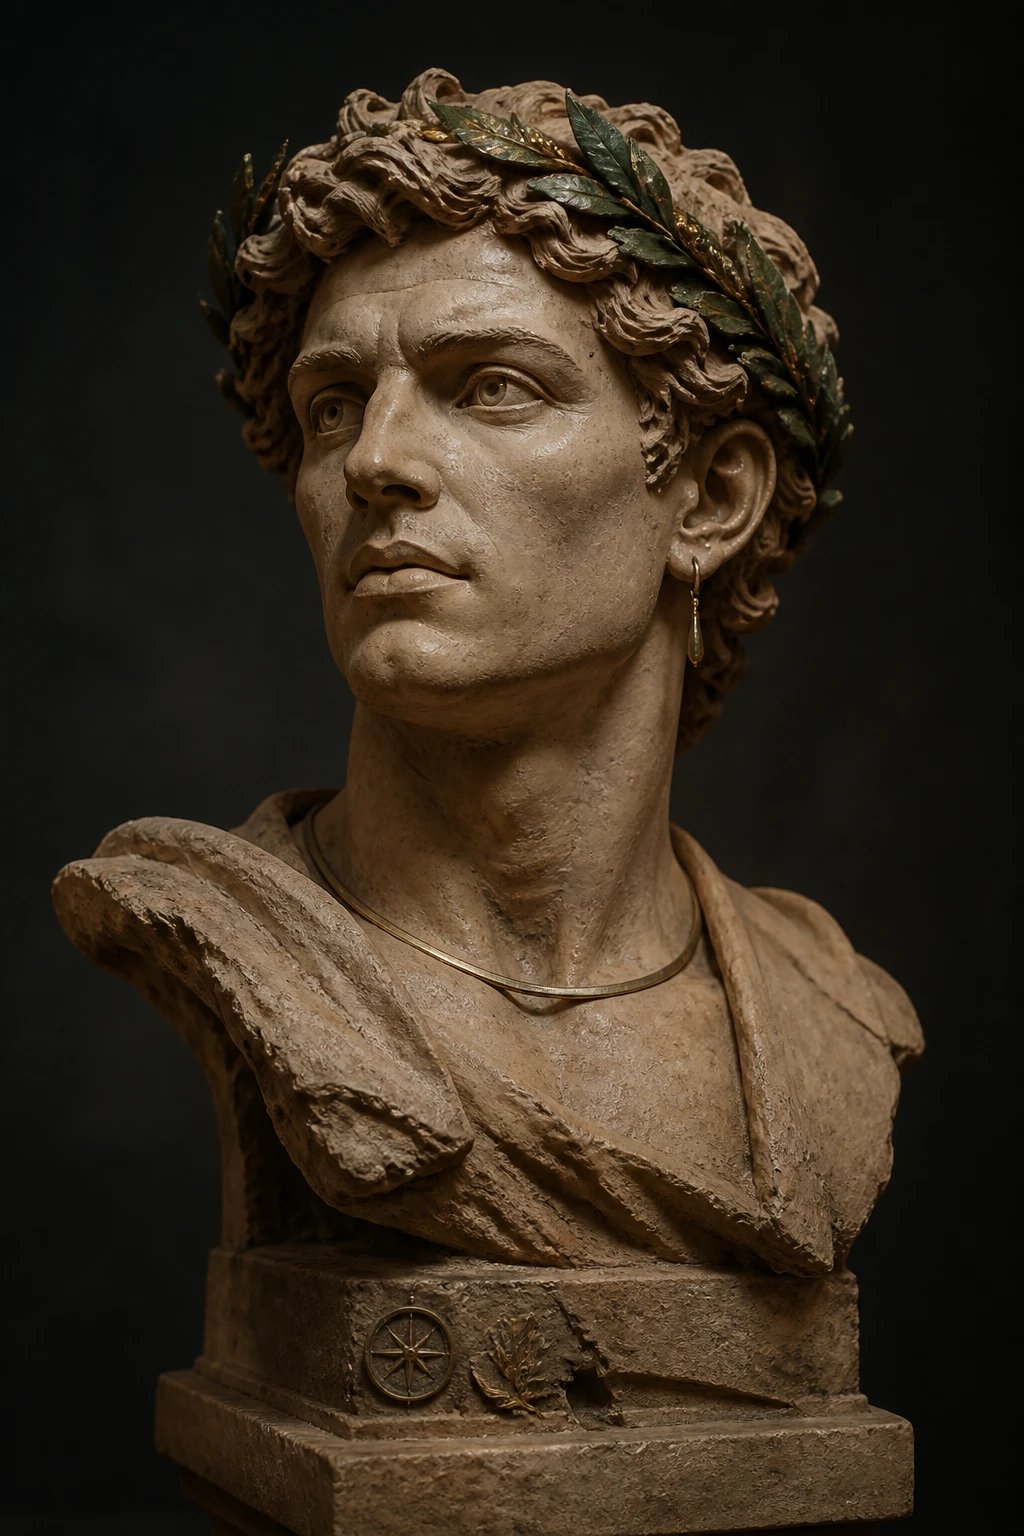
Give your bust a backstory through emblematic accessories like laurel wreaths, headdresses, or symbolic objects.
Accessories should enhance the figure, not overpower it. Think of them as subplot hints.
Accessories
- Laurel crowns for a regal vibe
- Minimal jewelry to hint at era or culture
- Small symbolic items embedded in the base
Benefit: a telltale prop makes your bust instantly more memorable.
7. Hair Mastery: From Waves to Curls

Hair can define character as much as facial features. Play with textures that mimic real hair mass and flow.
Try rolling wet clay for curls or carving flowing strands to capture movement in still form.
Techniques
- Use a loop tool to define curls
- Smooth base and then build texture in layers
- Finish with a matte glaze to mimic natural hair shine
Note: hair often steals the show, so keep it balanced with facial features.
8. Minimalist Monochrome Busts
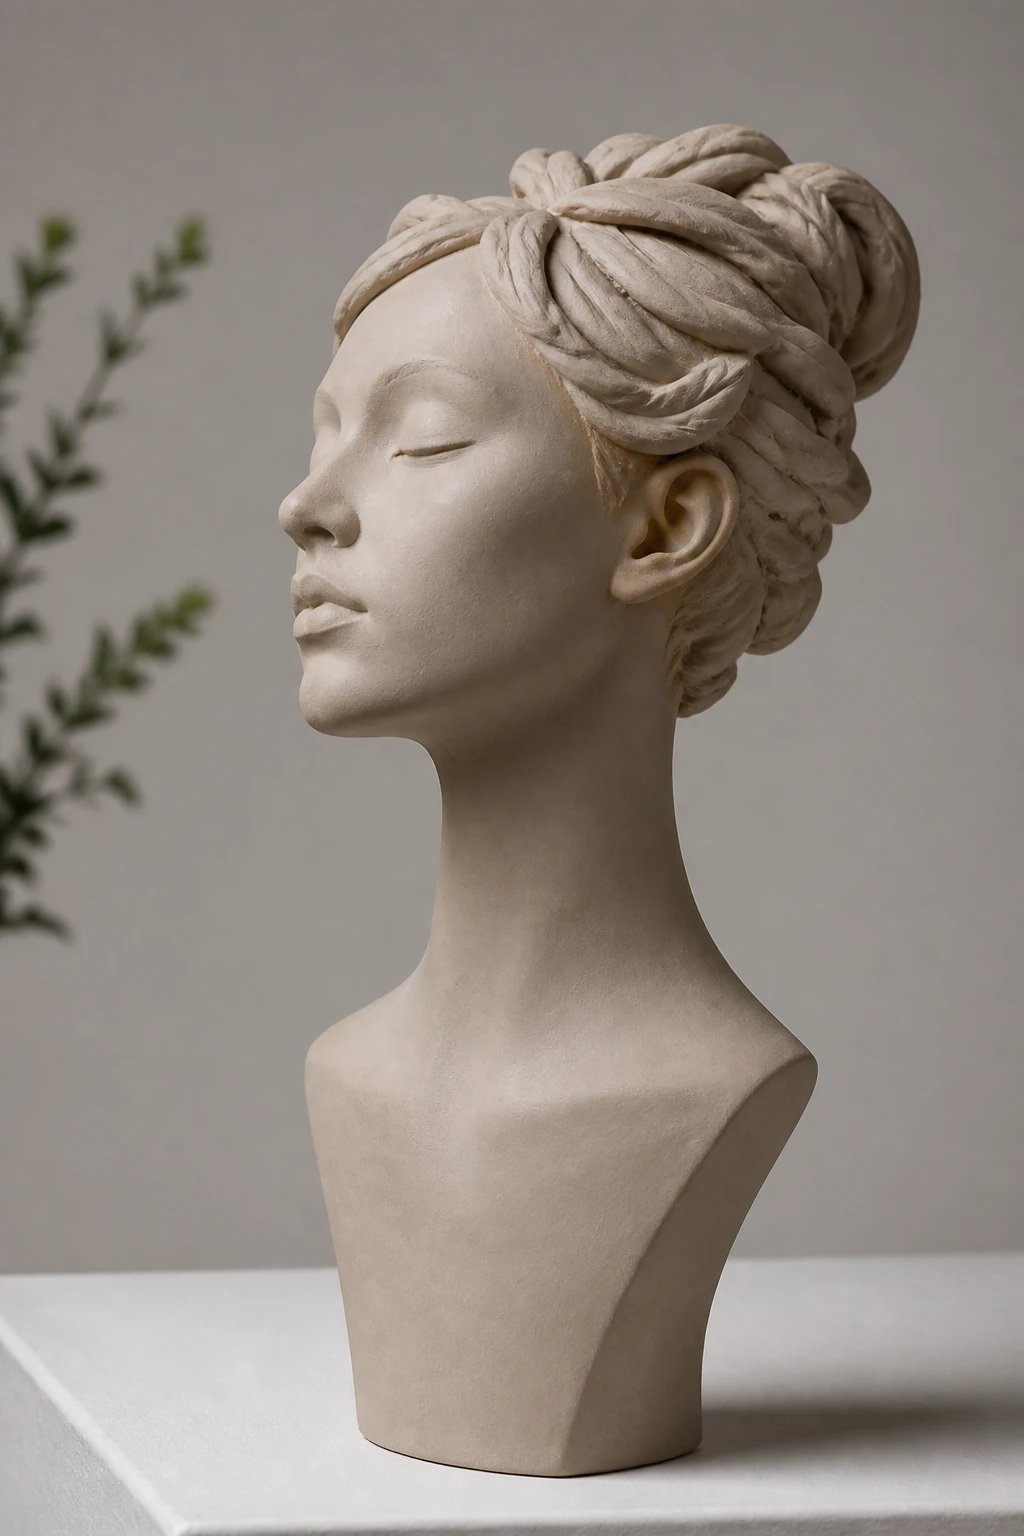
Less can be more when you let form and silhouette do the talking.
Choose one color for a cohesive look and let shadows reveal detail.
Materials
- Single color glaze or underglaze set
- Low-sheen finish to maintain modern vibe
Benefit: a bold, gallery-ready piece that pairs well with prints or plants.
9. Textured Skin with Subtle Imperfections
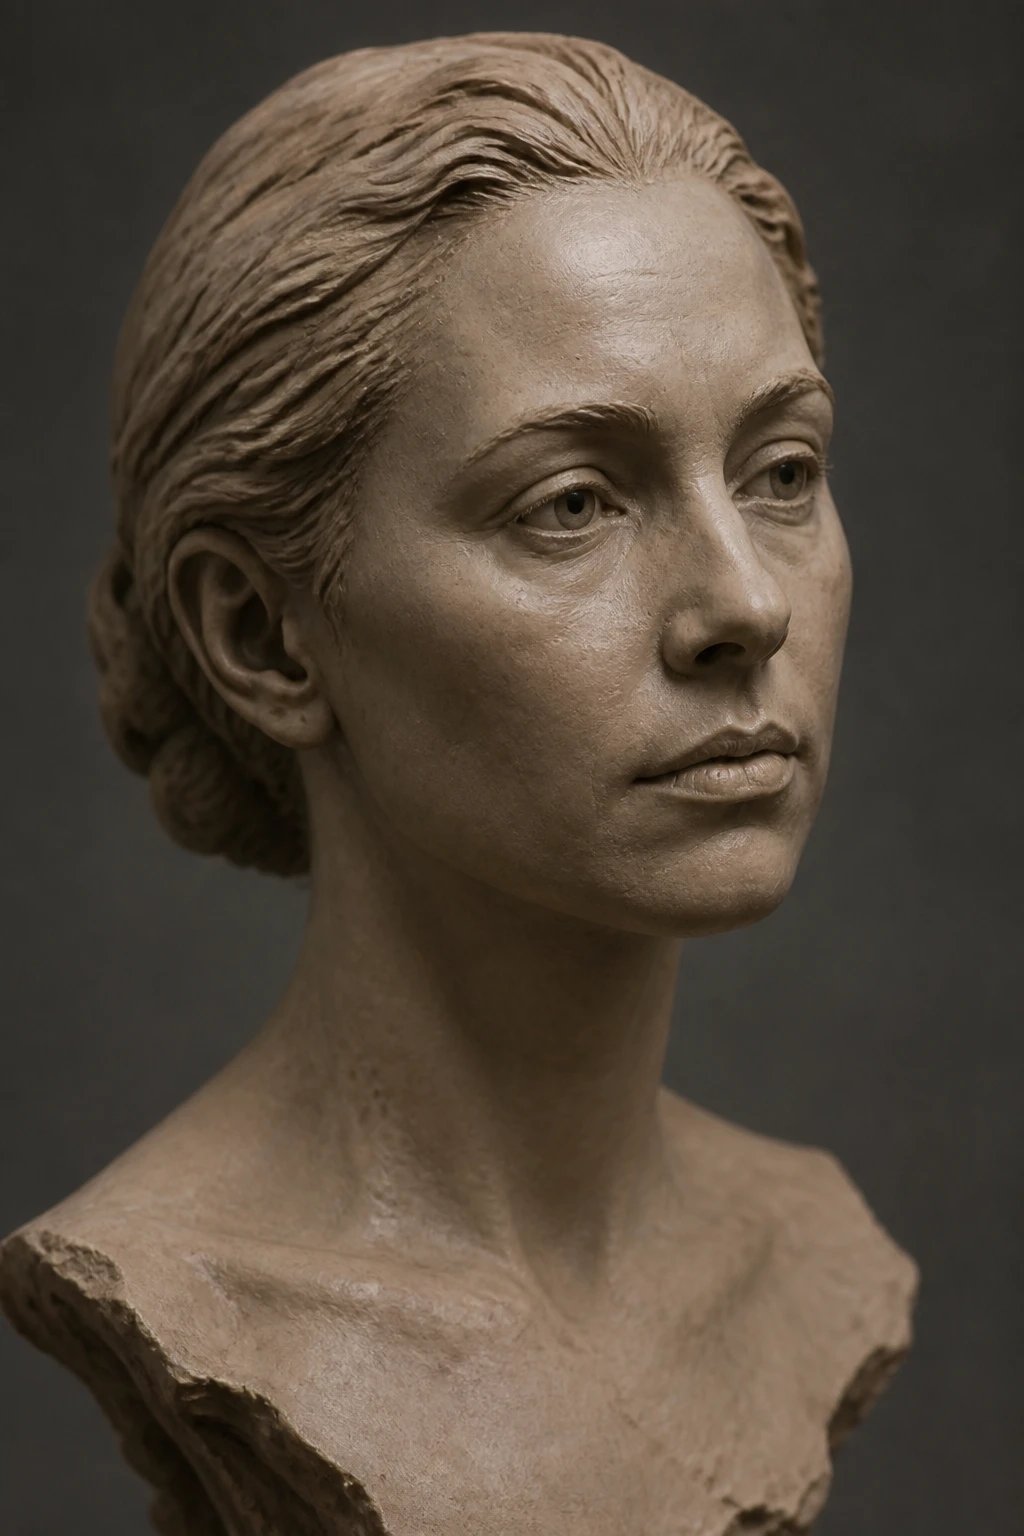
Real skin has pores and tiny marks that give it character. Don’t fear these details.
Subtle stippling, pinching, or tiny scratches create a believable surface without looking rough.
Notes
- Keep texture light near the cheeks and forehead
- Use a soft brush to blend edges
Why it matters: texture adds depth and believability to your bust.
10. Ancient Busts With Modern Flair
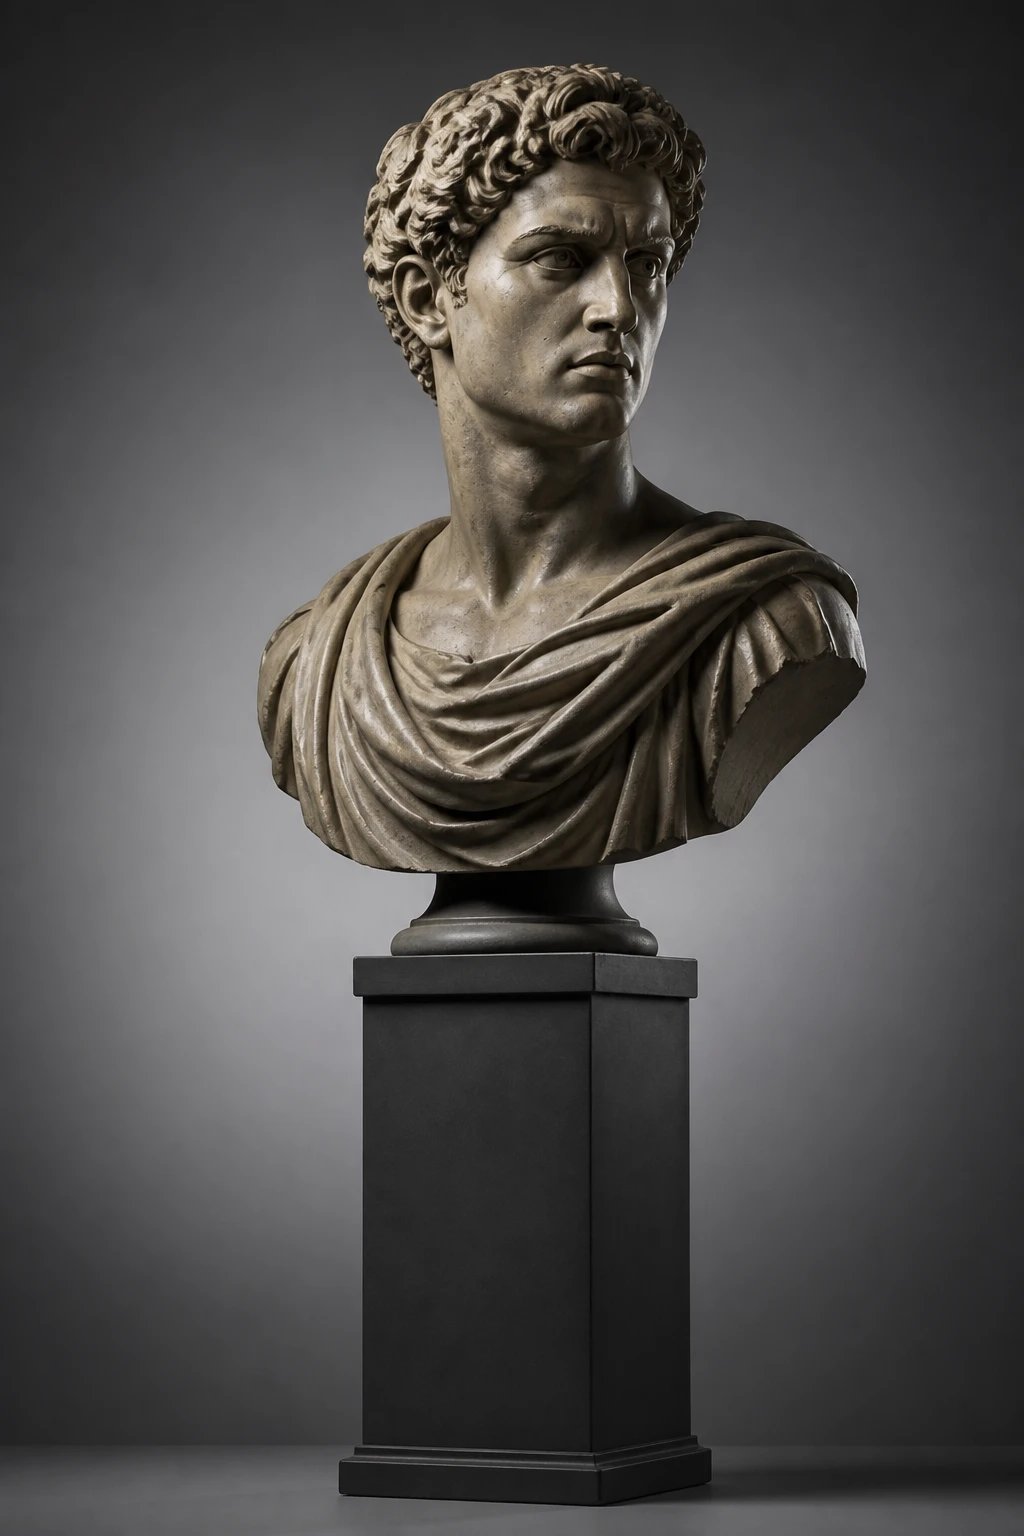
Blend ancient sculptural clues with modern lines for a timeless piece.
Think columnar bases, archaic drapery, and crisp facial features that feel new again.
Base Ideas
- Simple plinth with a matte finish
- Run of shallow incised lines to hint at age
Outcome: a fusion piece that looks expensive and thoughtfully crafted.
11. Animal-Inspired Busts

Incorporate animal motifs into a human bust or go full animal portrait for a playful twist.
Use hinting lines for ears, snouts, or symbolic facial marks that read clearly from a distance.
Tips
- Keep animal features slightly exaggerated for readability
- Pair with a smooth or glossy glaze for contrast
Bonus: these look amazing on shelves or as quirky gifts.
12. Glass-Lized Eyes That Pop

Eyes are the soul of a bust. Make them stand out with glassy or glossy finishes.
Invest in clear glaze or glass rods to simulate reflective light that breathes life into the face.
Implementation
- Carve shallow sockets first, then add eye details
- Fill with glossy glaze and let cure thoroughly
Impact: gaze that can captivate a viewer in a single glance.
13. Eco-Friendly Busts With Natural Materials

Go green by incorporating textured elements like cork, sisal, or wood grains into the bust base or clothing.
Natural textures provide a tactile contrast and keep things visually interesting.
Materials
- Cork discs for bases
- Sisal ropes for rope detailing
- Wood dowels for decorative accents
Hint: sustainability meets artistry in a surprisingly satisfying way.
14. Surface Play: Matte, Gloss, and Metallic
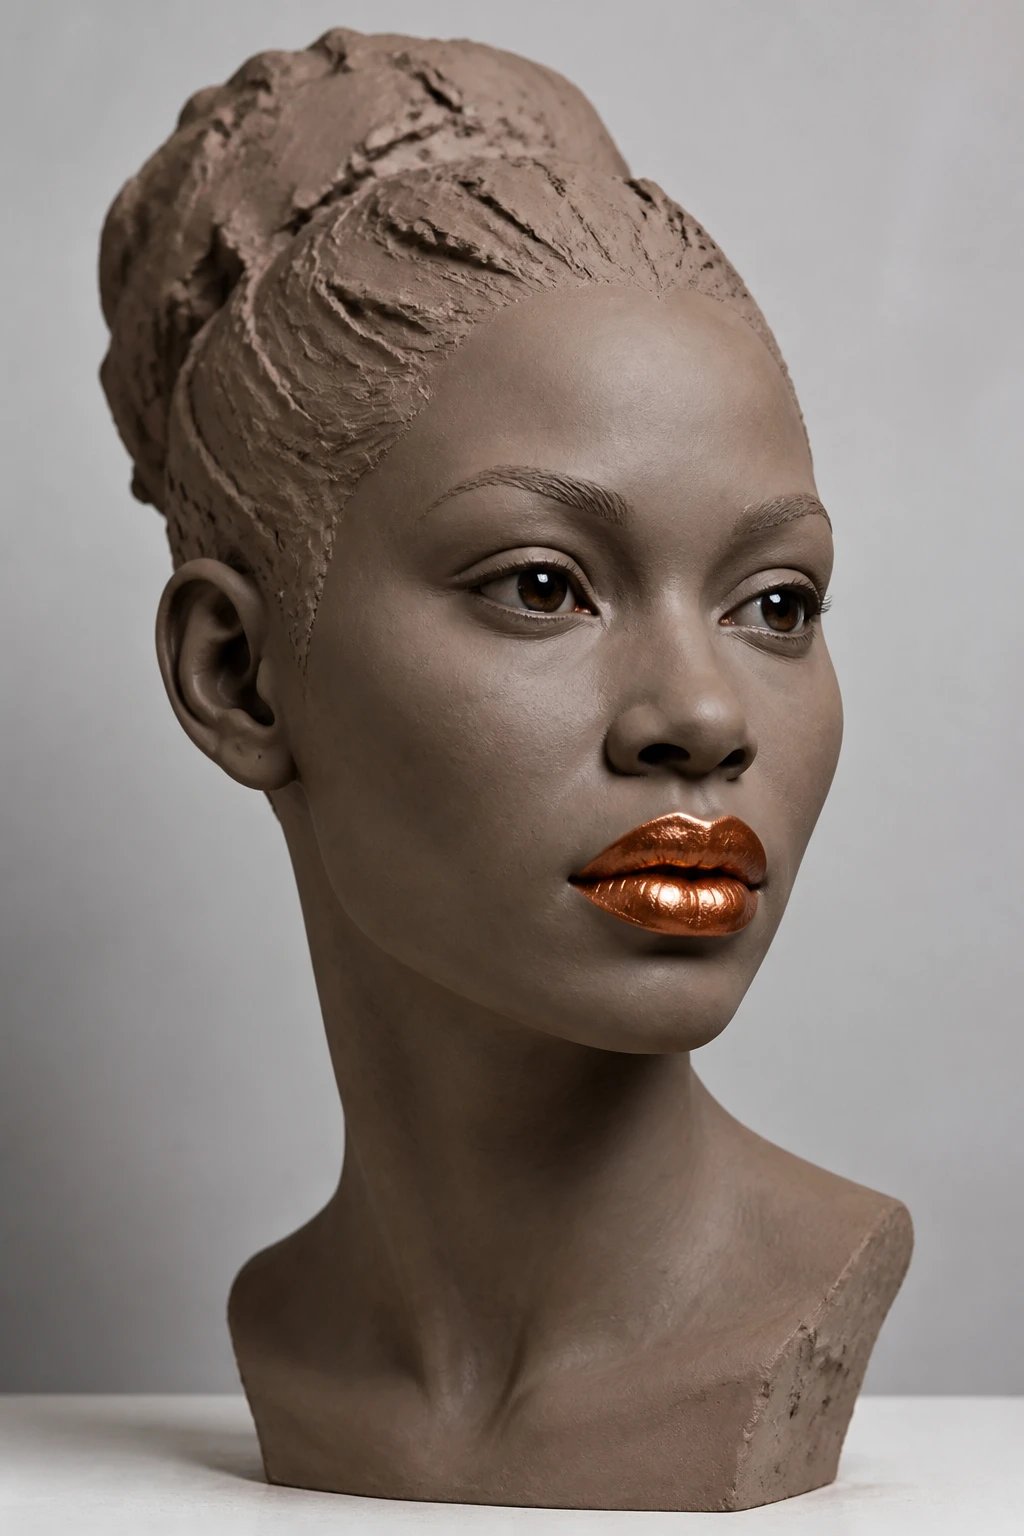
Layer different finishes on the same bust to emphasize form and create focal points.
Try a matte skin with glossy eyes or a metallic lip for bold contrast.
Finish Tips
- Test in a small area before committing
- Seal surfaces to prevent chipping
Takeaway: finish can make or break the overall vibe.
15. Campfire-Warrior: Fantasy Leaders

Design busts of legendary leaders with dramatic capes, armor hints, and impassioned expressions.
Sketch a quick silhouette first, then build up details around the face for coherence.
Key Points
- Keep the facial proportions strong and readable
- Use angular lines to convey power
Use case: ideal for fantasy fans or tabletop game decor.
16. Collaborative Portrait Series

Turn a group photo into a series of busts that tell a shared story or theme.
Allocate space or a unified base so each piece complements the others in a display.
Suggestions
- Slightly vary poses to show personality differences
- Use a common glaze palette for cohesion
Benefit: creates a compelling mini-exhibit at home or in a classroom.
17. Drip-Glaze Showpieces

Let glaze drips become an intentional art feature that adds movement and color flow.
Control drips by applying glaze selectively and tilting the bust to guide the flow.
How-To
- Use a glaze that flows predictably
- Thicken gradually or use a brush to guide drips
Result: a bold, kinetic look that grabs attention from across the room.
18. Tiny Yet Mighty: Mini Bust Experiments

If you’re overwhelmed, start small. Tiny busts teach proportion and detail without commitment.
Scale down your favorite ideas and practice a handful at once for a rapid skill boost.
Practicalities
- Use compact tools for control
- Keep a tidy work area so tiny pieces don’t vanish
Bottom line: tiny experiments build big confidence and skills over time.
So there you go, eighteen ways to shape, sculpt, and shine with clay busts. Which idea are you tackling first, FYI I’m rooting for you to try at least three this month? Trust me, you’ll surprise yourself with what you create and how much fun you have along the way.
Now grab your clay and start shaping some character — your future gallery wall will thank you.
