
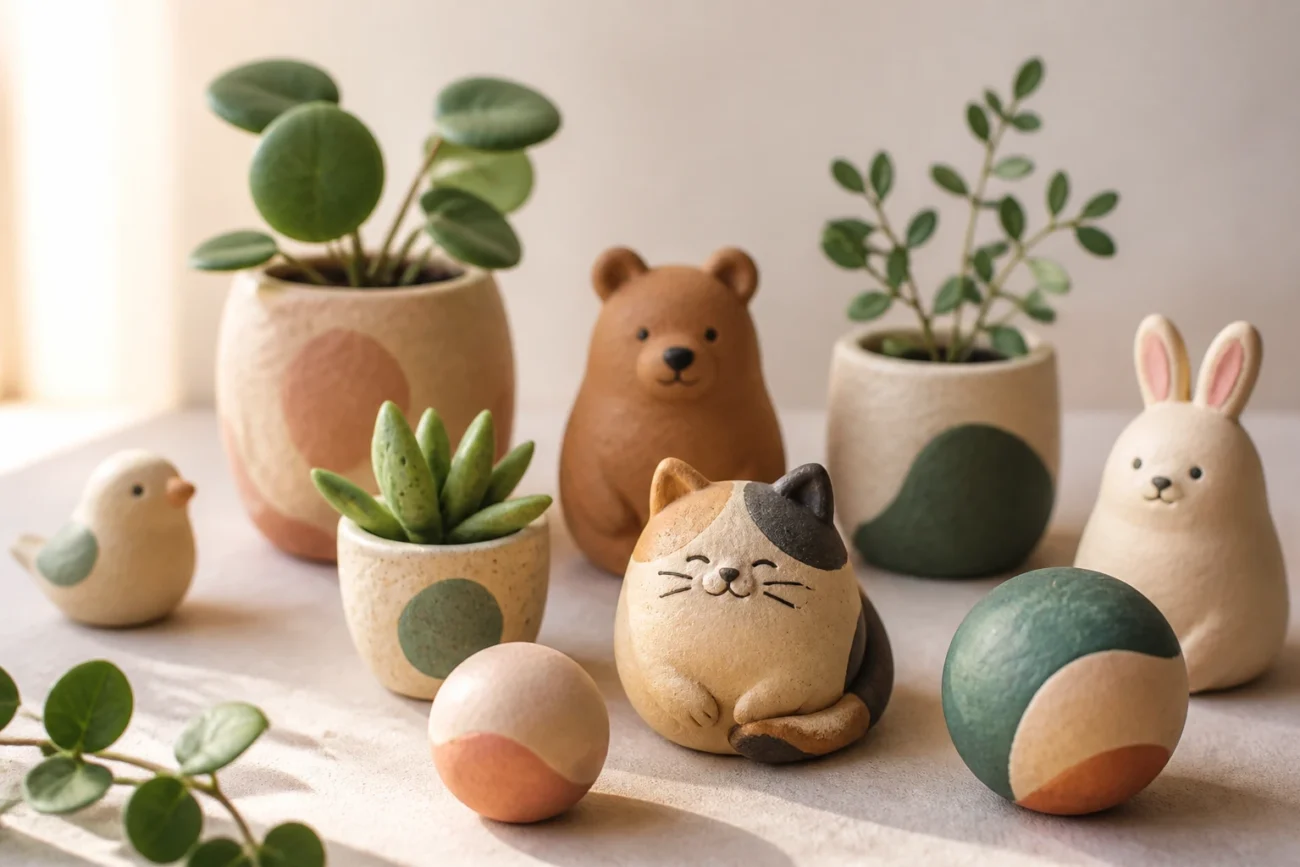
Ready to dive into clay without the drama or a giant mess to clean up later?
These 16 ideas are simple, surprisingly addictive, and totally doable with beginner-friendly materials.
Stick with me and you’ll be turning plain clay into tiny masterpieces before you can say bake time.
1. Miniature Plant Gallery

Plants are endlessly calming, so why not sculpt tiny ones you can display on a shelf or desk?
Keep it playful and realistic with different leaf shapes and a little pot base.
Tips
- Use a needle tool to vein leaves for texture
- Color in layers for depth, starting with a light base
- Seal with a matte finish to keep colors true
Finish with a row of cute pots and you’ve got a botanical corner that never needs watering.
2. Whimsical Animal Miniatures
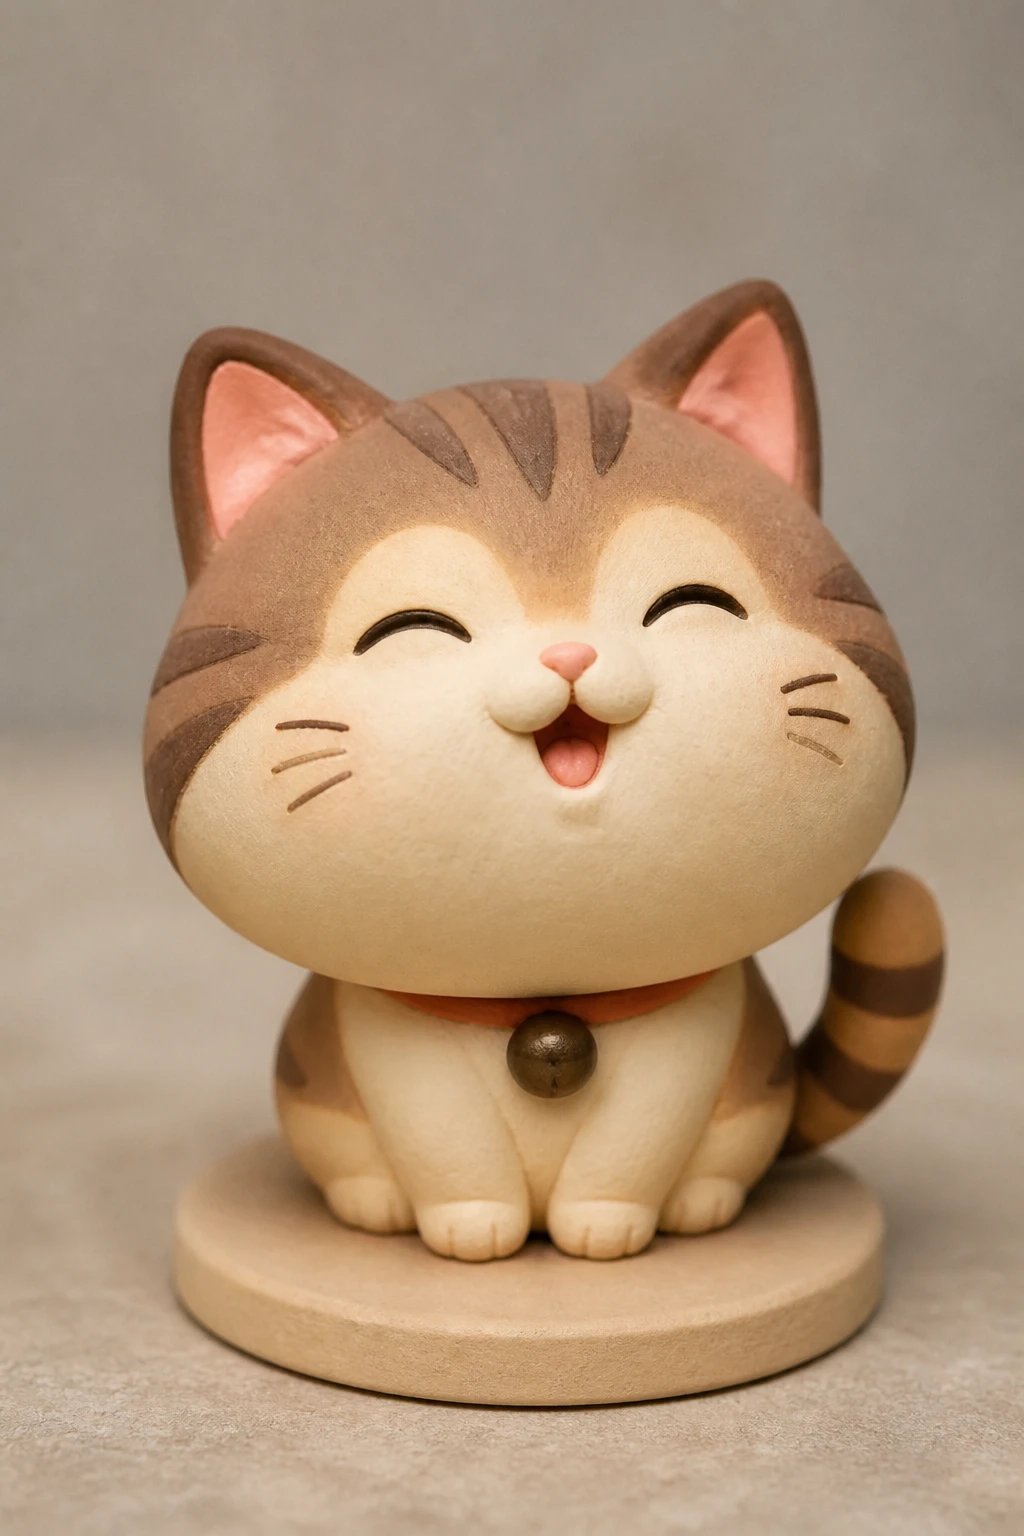
Cartoonish animals are endlessly charming and surprisingly forgiving for newbies.
Pick a simple silhouette—like a cat, fox, or penguin—and exaggerate features for personality.
What to Focus On
- Proportions that emphasize head and cheeks
- Soft curves for friendly vibes
- A tiny base so they can sit on a shelf
These little critters make adorable desk buddies or keychain charms.
3. Geometric Clay Orbs
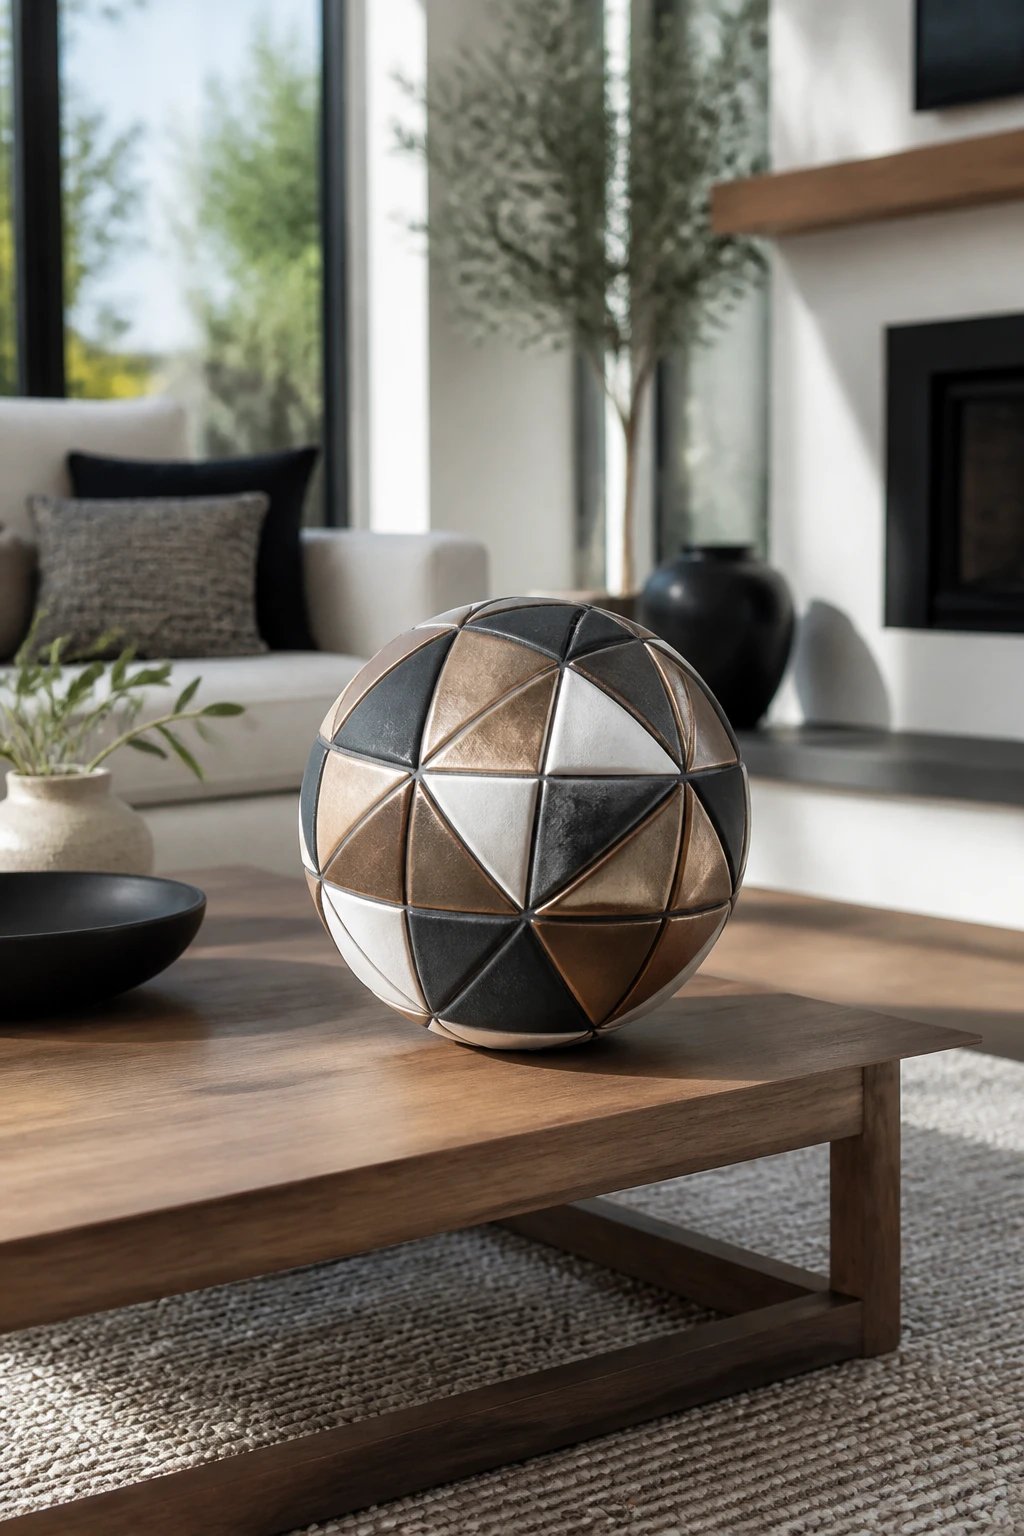
Geometric shapes look modern and sleek on a coffee table or desk.
No need for messy blends; you can create panels of color for a bold effect.
Key Points:
- Roll out even slices and slice into triangles or polygons
- Stack panels as a sphere or flatten into a disc
- Experiment with matte and shiny finishes
Use as a centerpiece or wall decor to add a contemporary vibe to any room.
4. Tiny Food Charms

Who says clay is only for serious art? Tiny donuts, sushi, or avocado toast are irresistibly cute.
Construct in layers and add gloss for a realistic bite without the calories.
How To:
- Layer colors carefully for realistic toppings
- Seal edges to prevent chipping during handling
- Attach a small jump ring for DIY jewelry charms
Great as fridge magnets or playful jewelry pieces that spark conversations.
5. Ocean-Inspired Sea Creatures
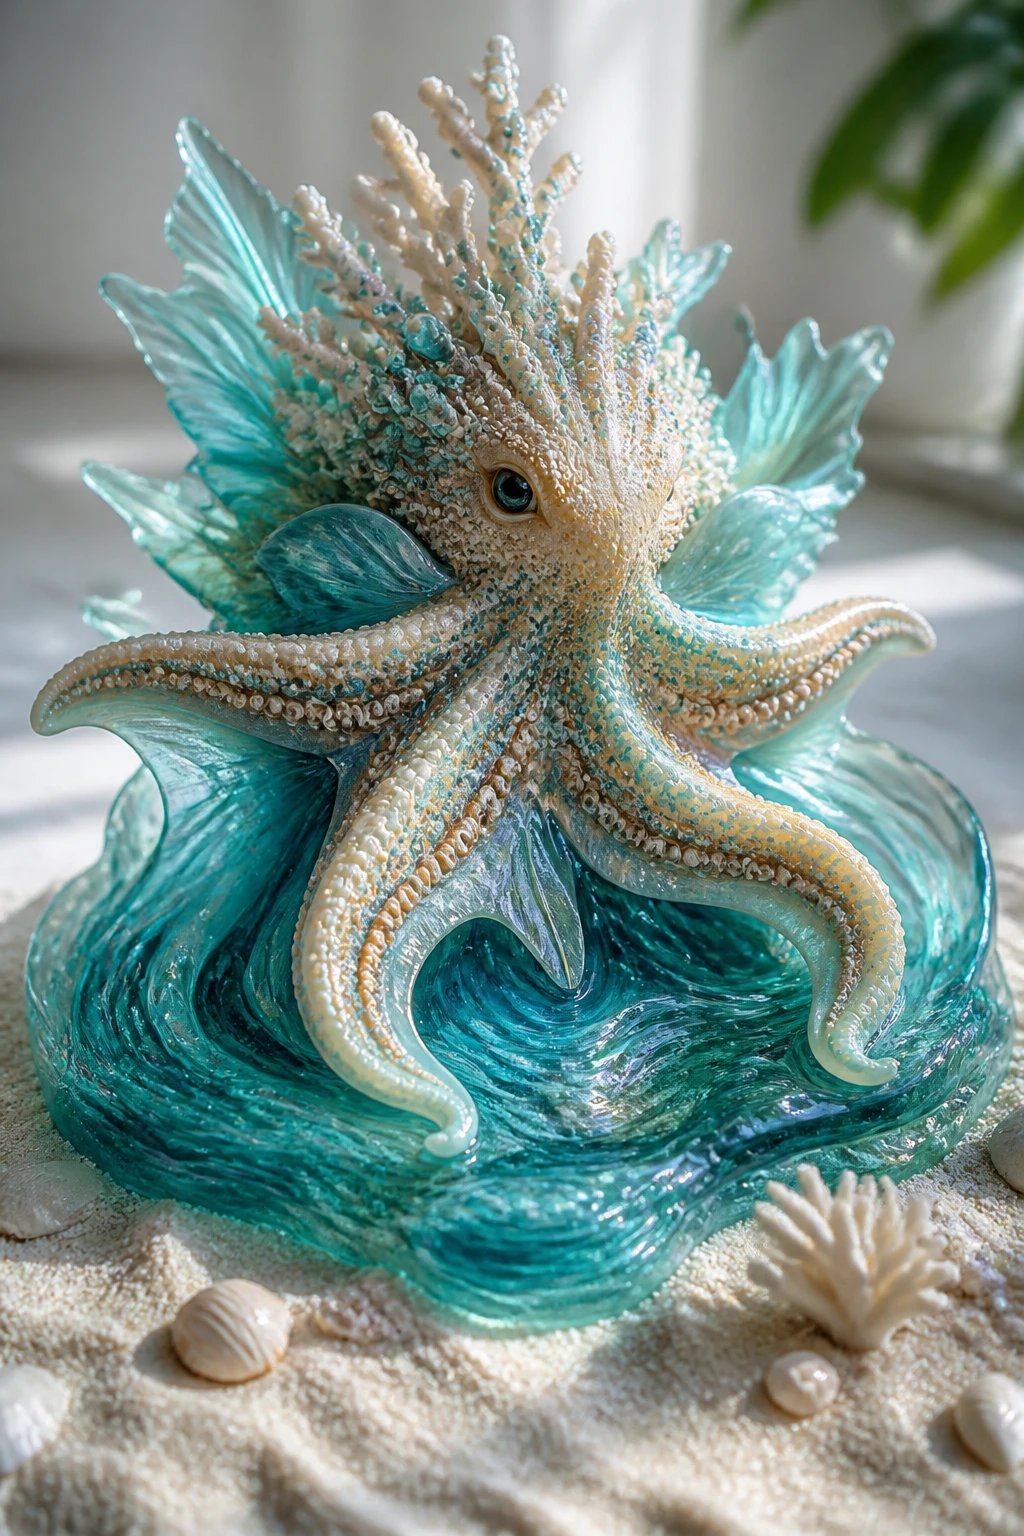
Mermaids might be overdone but sea creatures are endlessly charming and easy.
Think coral textures, starfish arms, and wavy water bases to set the mood.
Materials
- Acrylic paints in sea tones
- Fine brushes for delicate textures
- Soft sand or glitter for a beachy finish
Display on a windowsill to catch the light and your compliments.
6. Fantasy Crystal Cubes
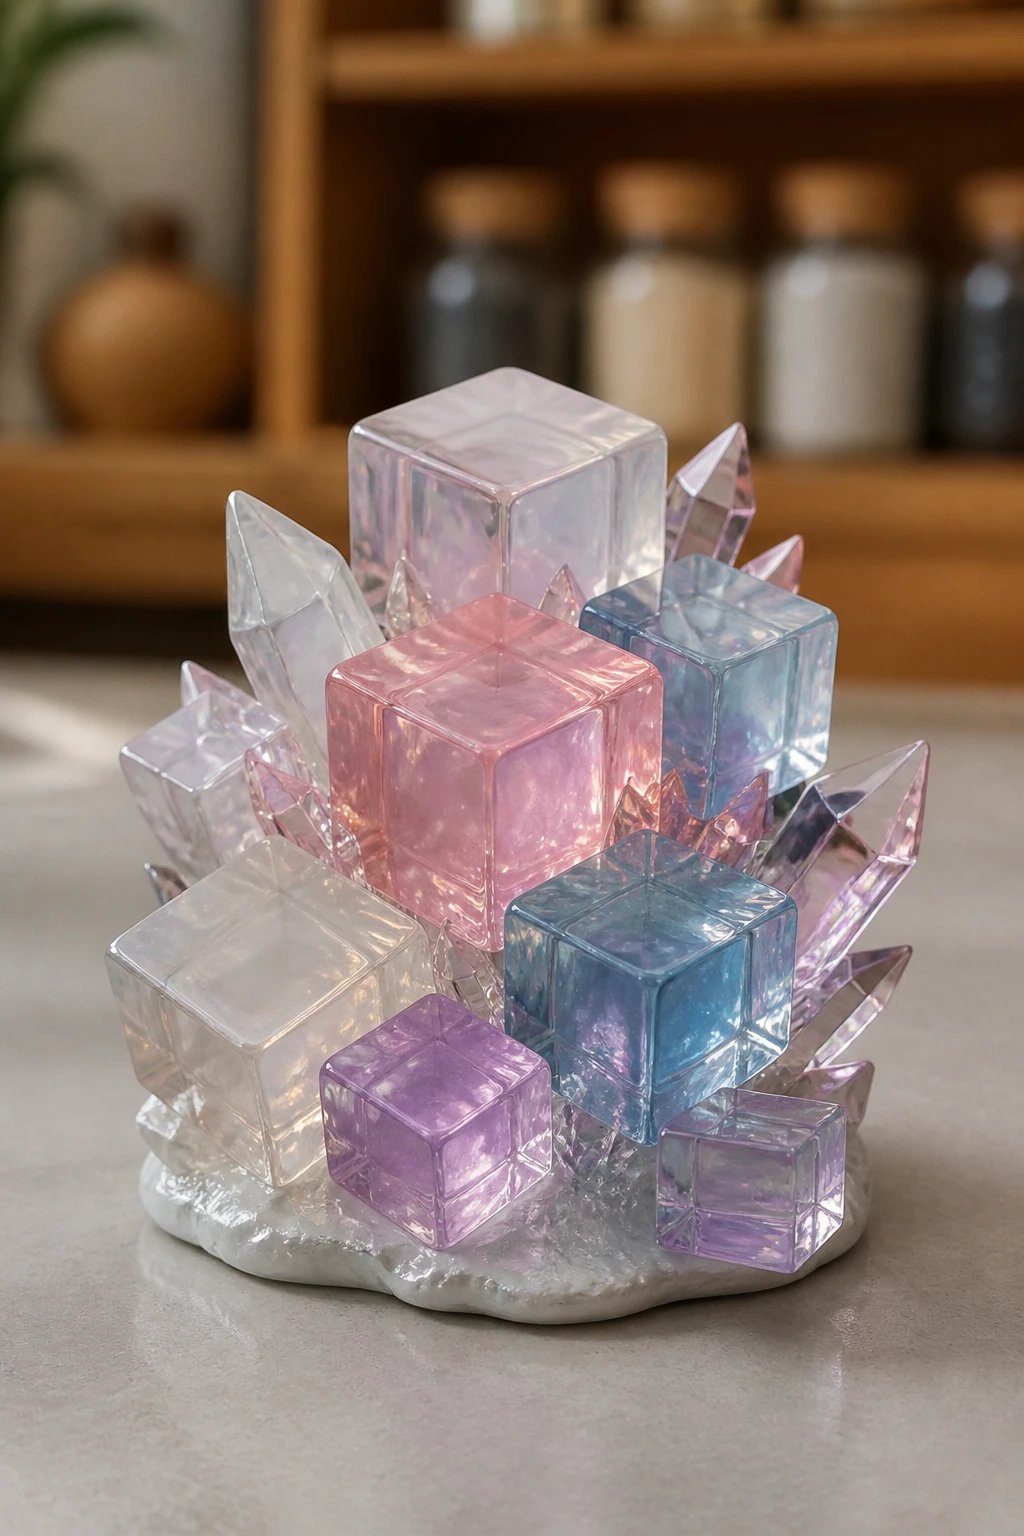
Crystal shards frozen in a little cube feel magical and modern at once.
Mix translucent and opaque colors to mimic natural crystal clarity.
Steps
- Layer translucent clay for a glassy look
- Slice into cube shapes and bevel edges
- Polish lightly with a soft cloth after baking
These little crystals look gorgeous in a spice rack, on a shelf, or as a paperweight gift.
7. Pets in a Silhouette Style

Capture a beloved pet with a minimal silhouette that’s instantly recognizable.
Keep the details understated and let the shape carry the charm.
Tips
- Trace a photo silhouette onto clay and fill with solid color
- Use a contrasting base for pop
- Finish with a light varnish to preserve color
Perfect for memorial gifts or a simple reminder of a furry friend who’s moved on to bigger litter boxes in the sky.
8. Slice-Stacked Landscape Bands
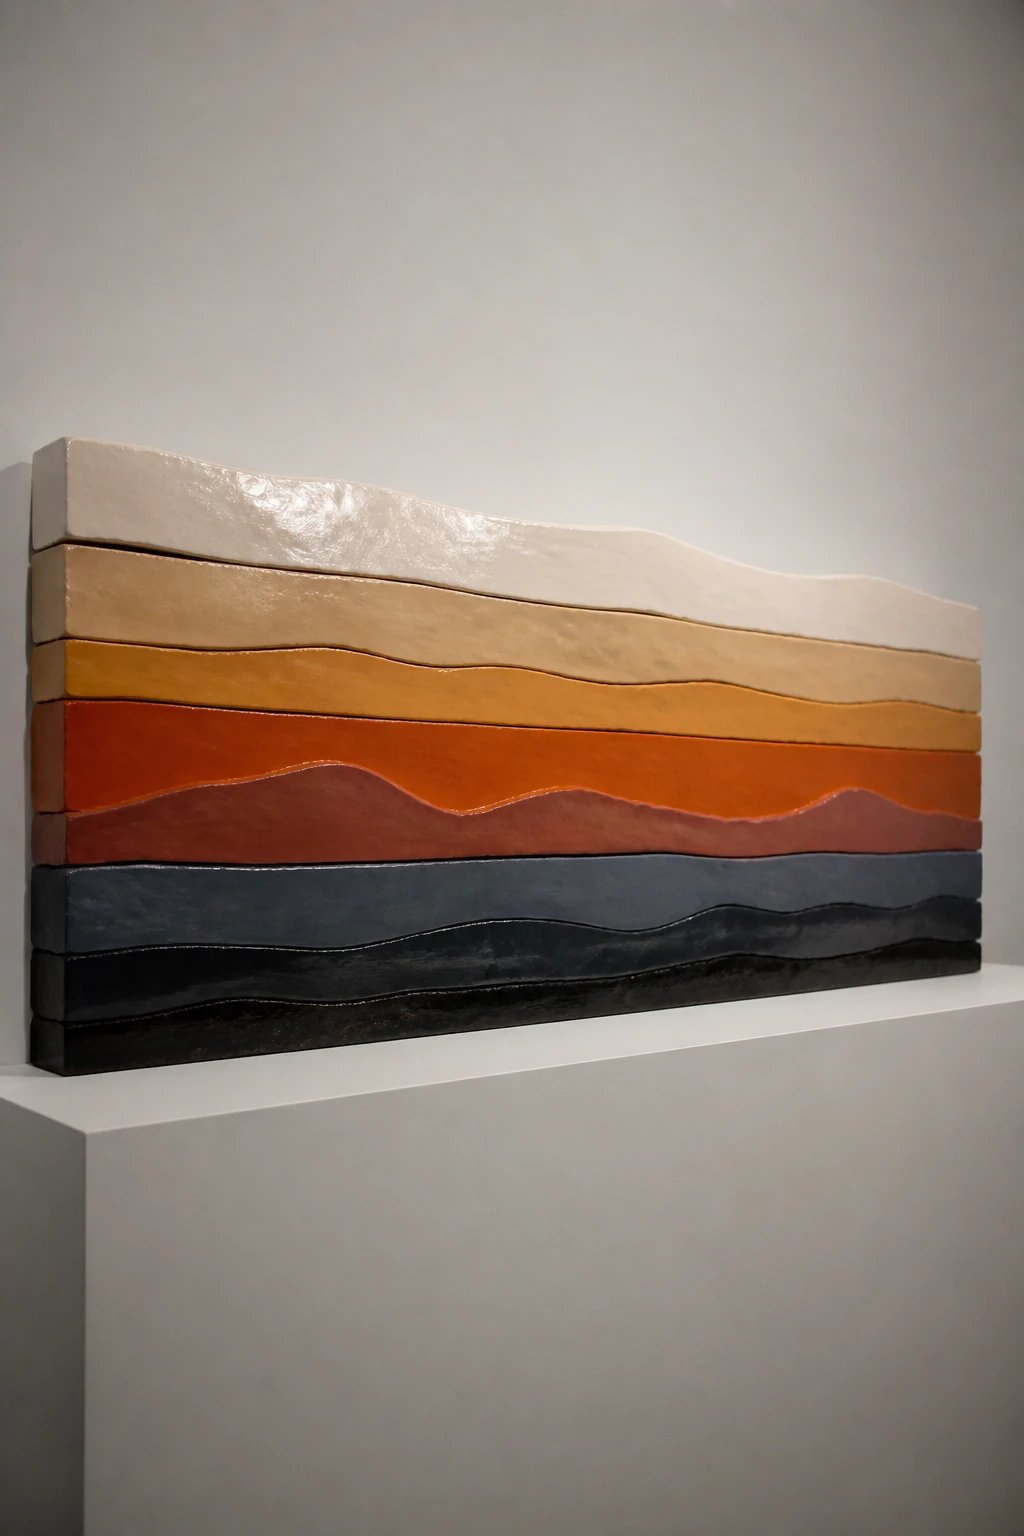
A landscape viewed as stacked slices creates a bold wall piece with depth.
Choose a horizon, then fill layers with color blocks and tiny textures.
What to Do
- Indent lines between layers to enhance depth
- Use a sharp knife to create clean edges
- Seal with a clear gloss for a museum-like finish
Hang as a long strip or in a grid for a dramatic gallery effect.
9. Tiny Tea Party Set

Who can resist a miniature tea set? It’s adorable and surprisingly practical for shelves.
Focus on cute, proportionate cups and a teapot with a removable lid.
Materials
- Small clay balls for cups
- A tiny lid and spout on the teapot
- Glazes in pastel tones
Pair with a clay plate stack and you’ve got a charming scene that sparks joy.
10. Rustic Farmhouse Animals
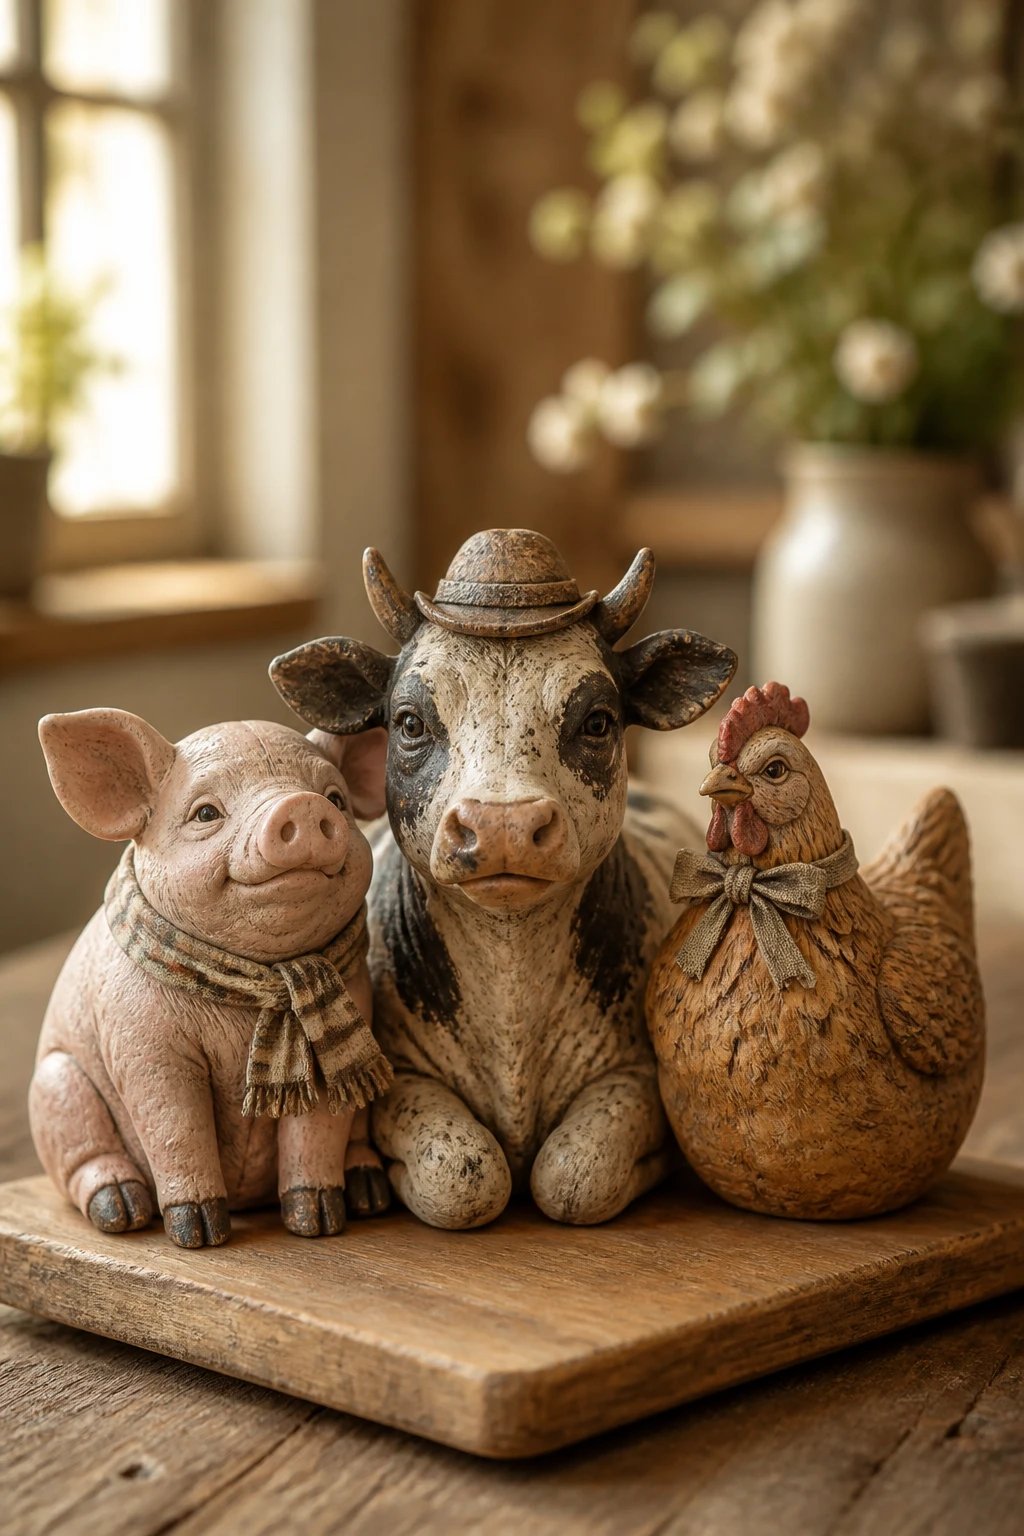
Think pigs, cows, and chickens with a slightly imperfect, rustic charm.
Layer texture to emulate fur or feather, then glaze for a lived-in look.
Notes
- Add tiny accessories like a mini scarf or hat
- Use rough textures for a country vibe
- Set on a wood board base for warmth
These little farm friends bring cozy nostalgia to any room.
11. Abstract Blob Figures
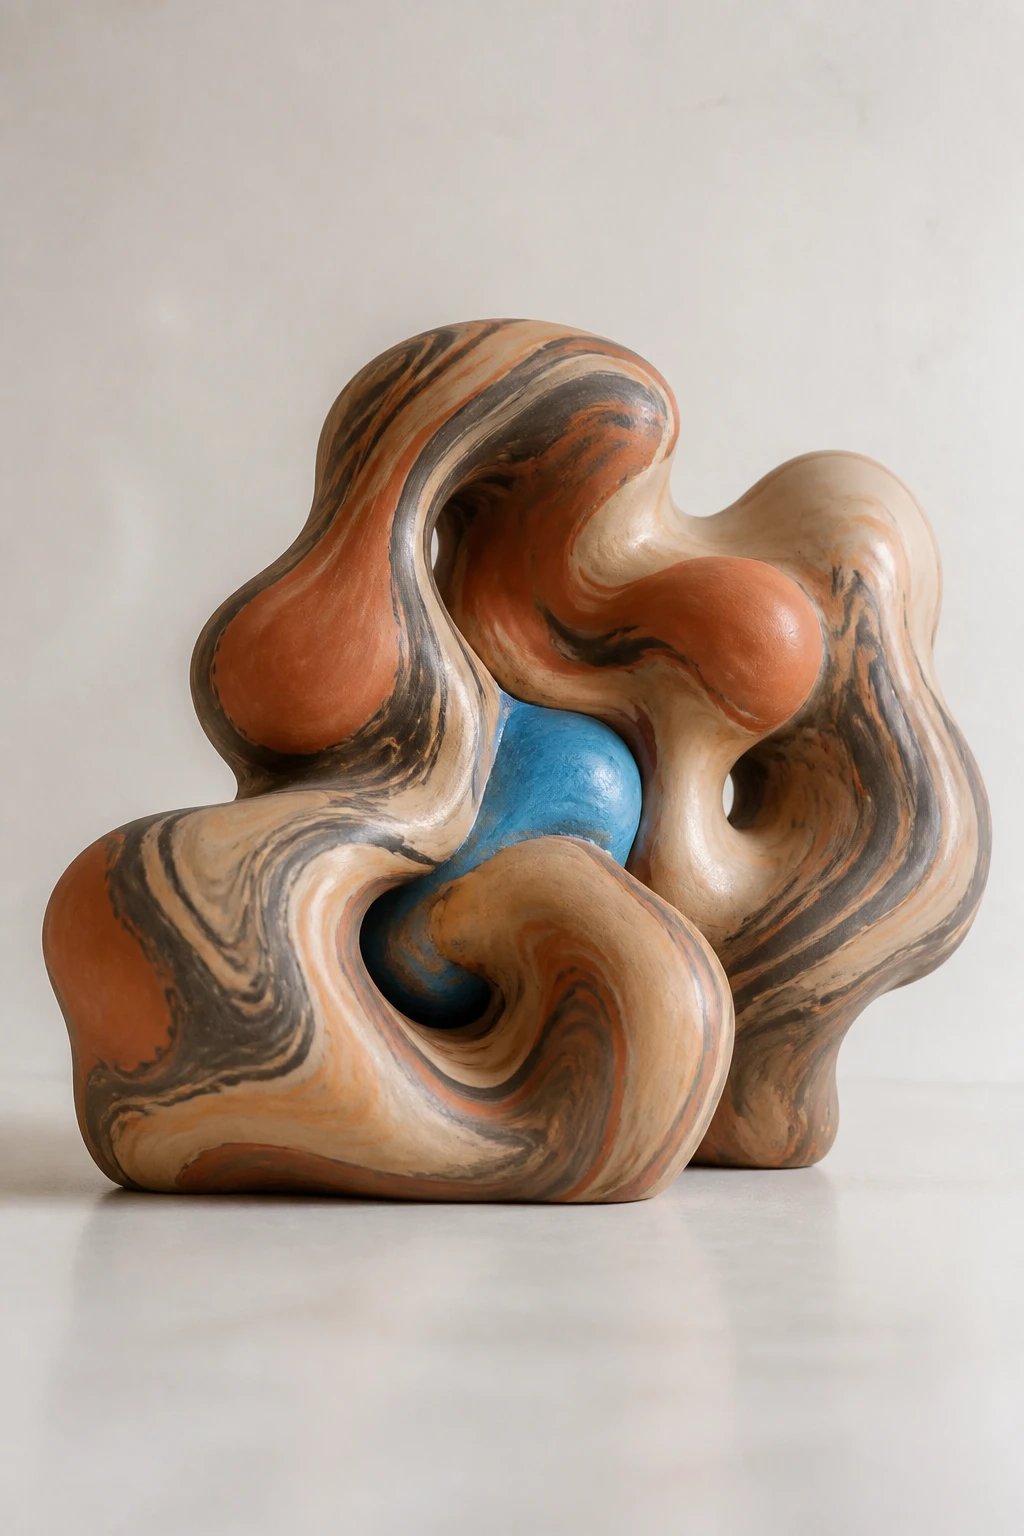
Let your hands wander with freeform blobs and swirls for an abstract piece.
Embrace organic shapes and playful color combos for a modern sculpture.
Tips
- Roll and pinch to form unique silhouettes
- Experiment with marbling by twisting two colors together
- Break up the piece with one bold accent color
Ideal as a conversation starter on a coffee table or desk.
12. Tiny Door and Window Diorama
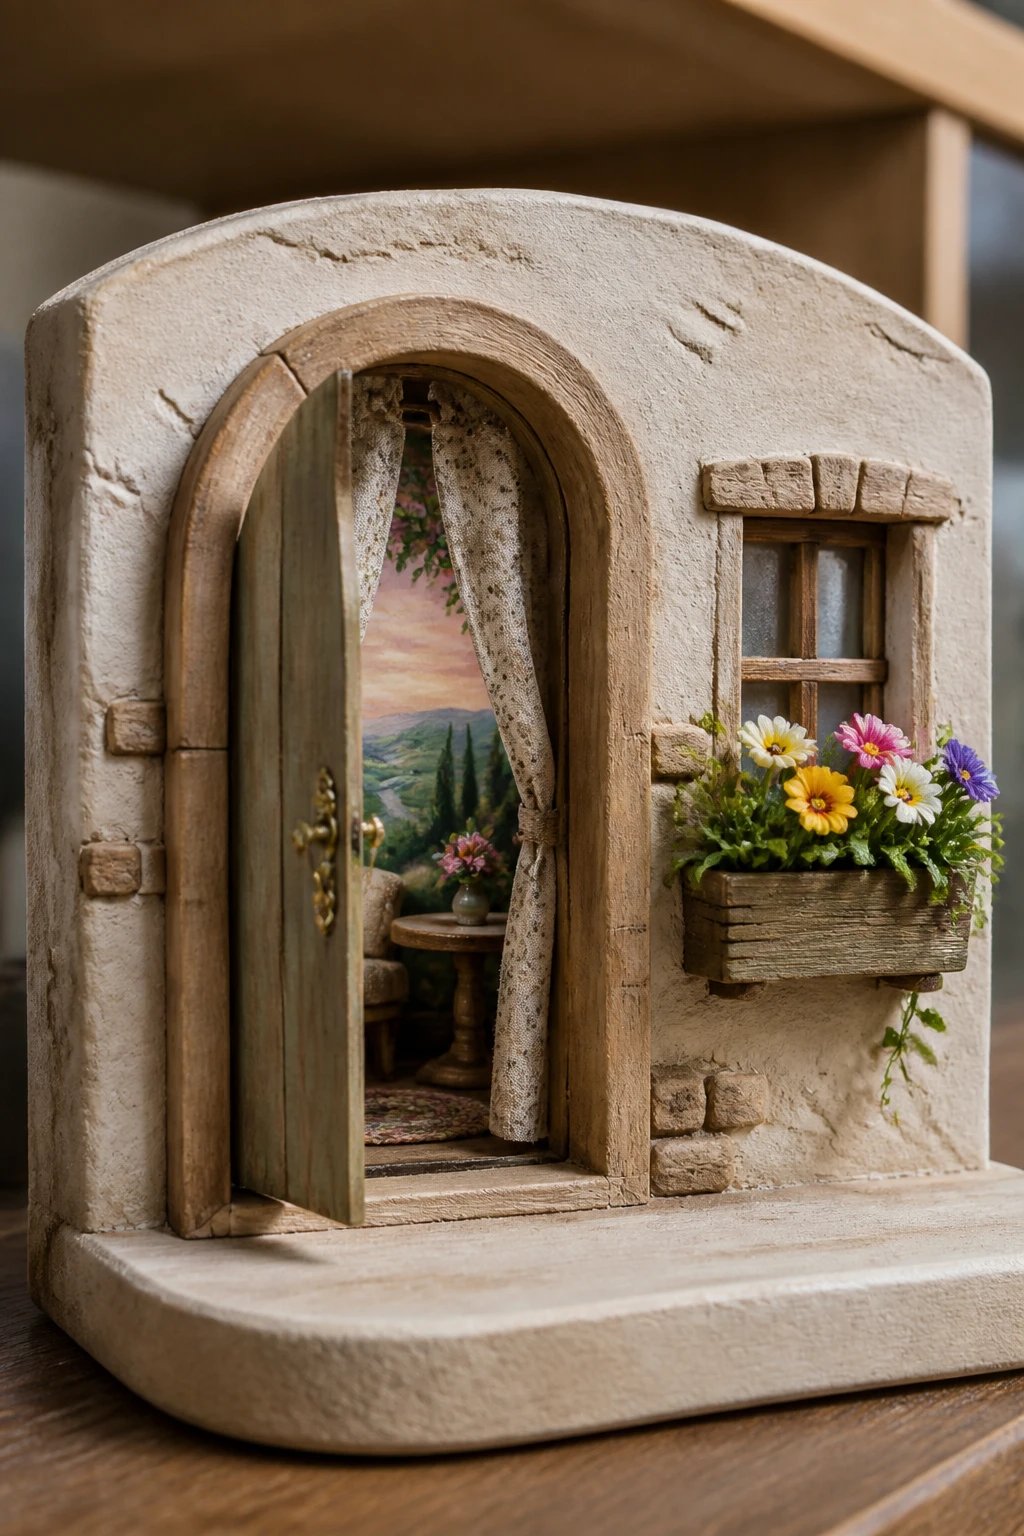
Make a micro world by building a little doorframe with a window or two.
Paint a scene inside the frame for depth and whimsy.
What to Include
- A small arched doorway with a tiny handle
- Miniature curtains or a window box with flowers
- A scenic backdrop painted on the interior wall
Use as a shelf topper or a desk standee to spark imagination.
13. Cute Character Pins
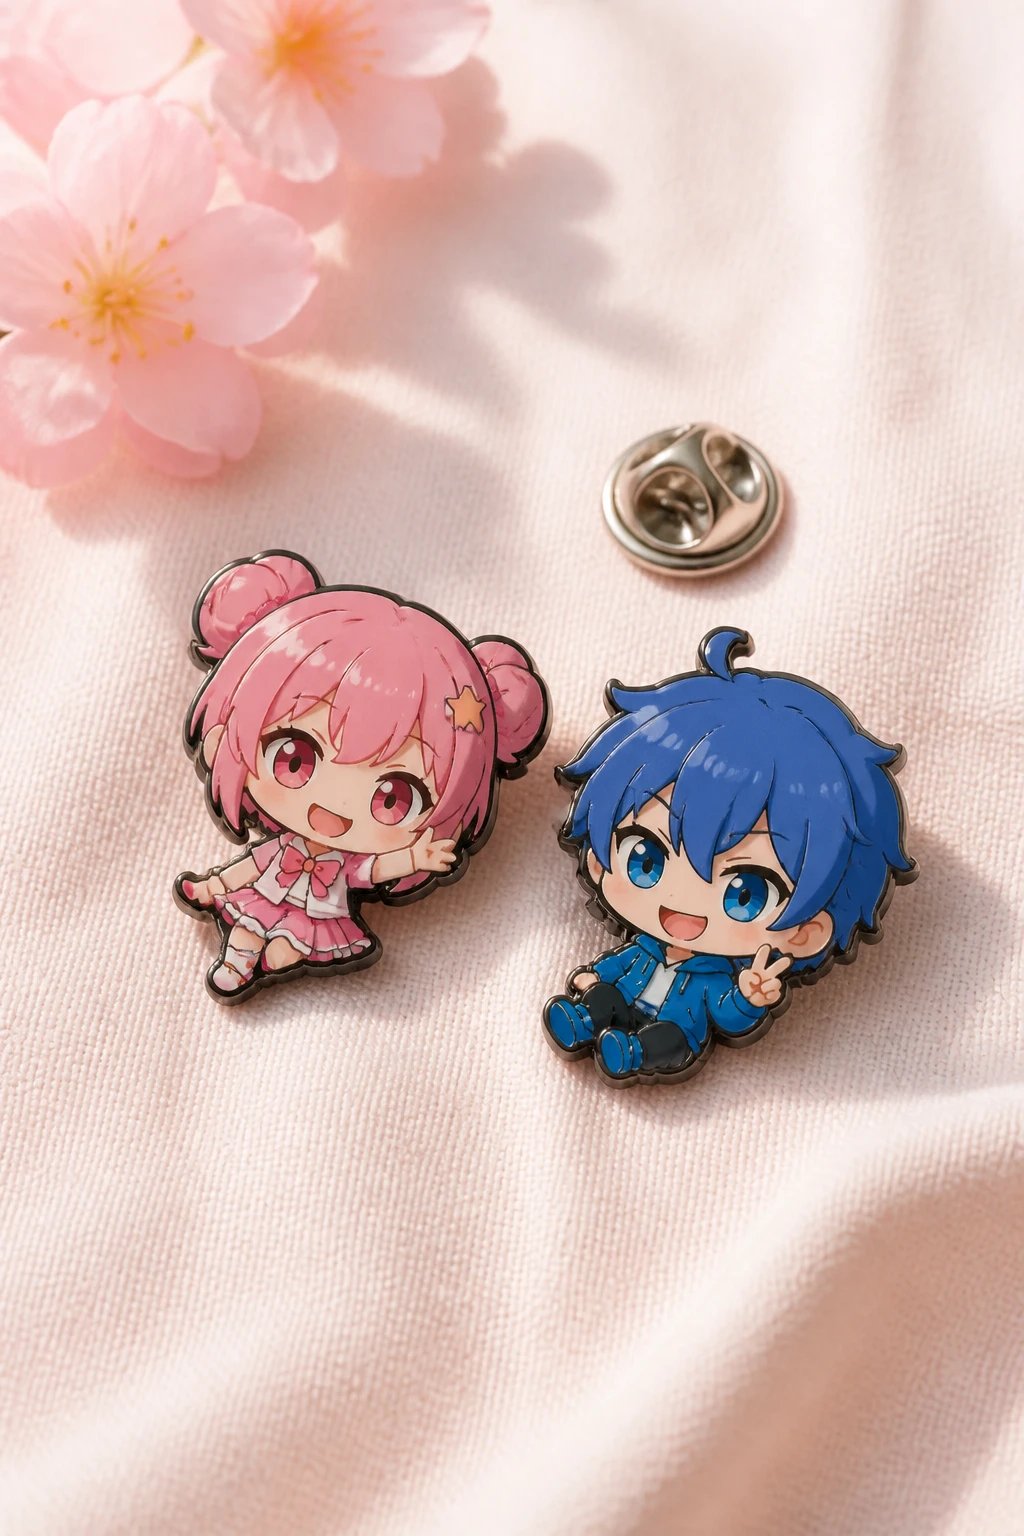
Turn your favorite chibi style into small pins you can wear or share.
Use crisp outlines and bold fills to make them pop.
How To
- Create a flat back so they sit well on fabric
- Add a metal pin backing after baking
- Experiment with glossy or matte finishes
Great as a quick gift or a sprinkle of whimsy on a backpack.
14. Neon Glow Clay Ribbons
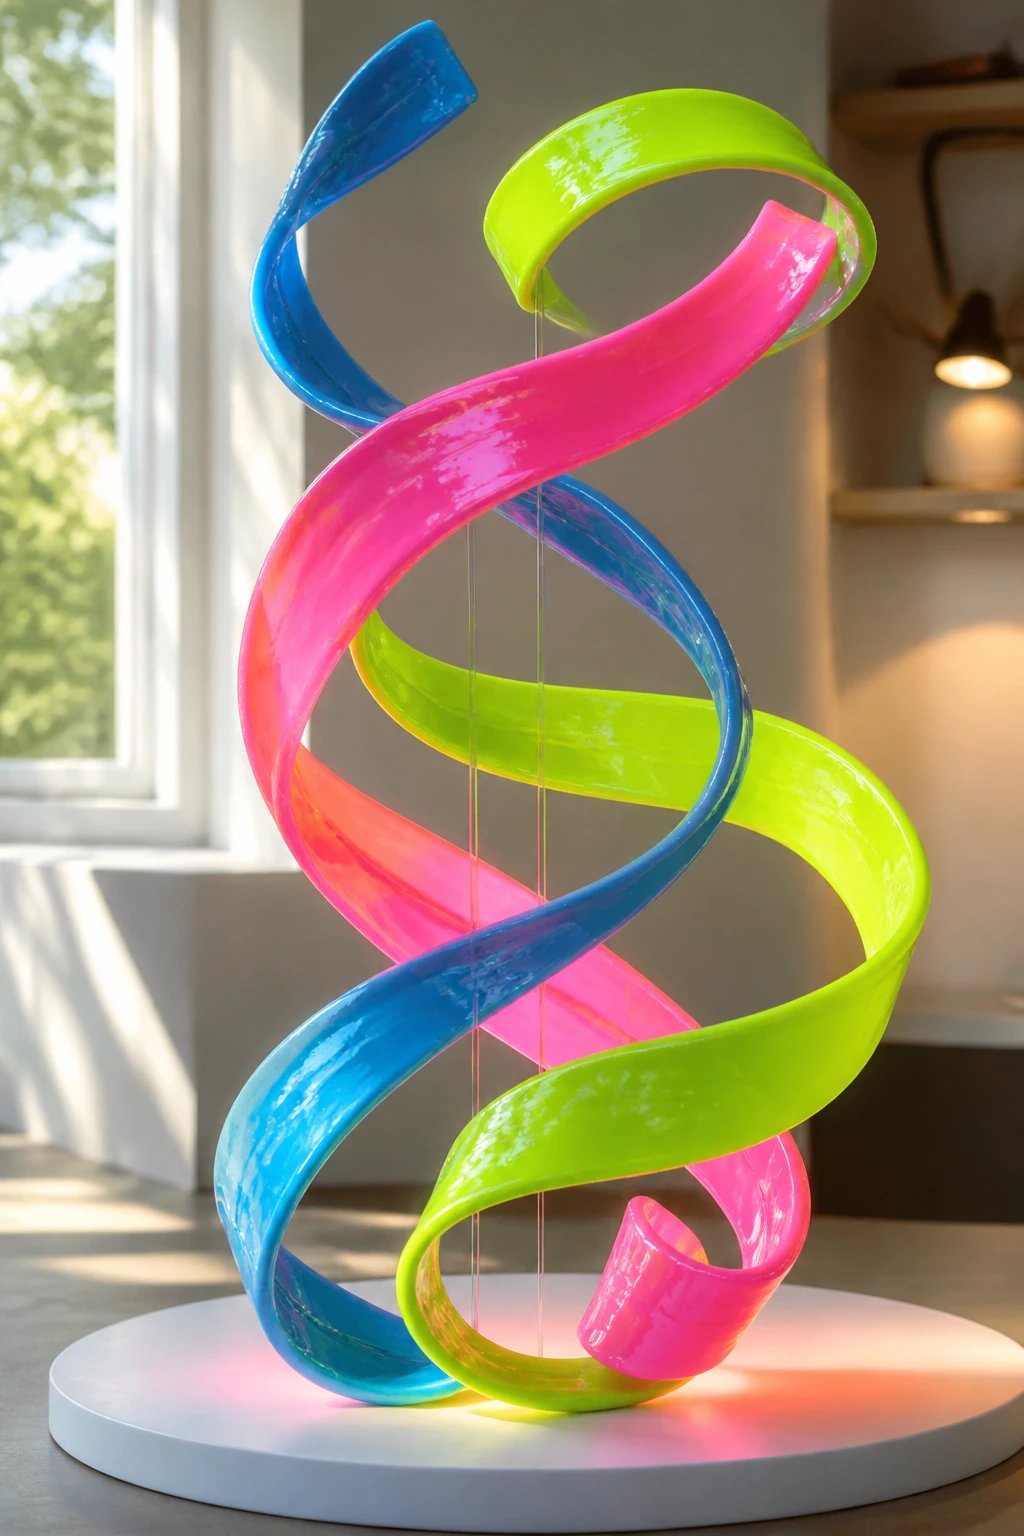
Bright ribbons shaped in flowy curves bring energy to any display.
Mix in glow-in-the-dark pigments for a party-ready twist.
Materials
- Bright clay in lime, pink, and electric blue
- Glow pigment or paint to overlay
- Thin rods for a support base
Hang them in a sunny window or under a shelf light to make colors zing.
15. Mini Bas-Relief Wall Plaques

A shallow relief sculpture adds texture without overwhelming your wall.
Keep the motif small and crisp for a striking effect.
Key Points
- Use fine sculpting tools for delicate lines
- Layer different color clays in tiny panels
- Seal to protect from humidity and dust
Display in a cluster for a bold, tactile wall statement.
16. Storybook Scene Slices
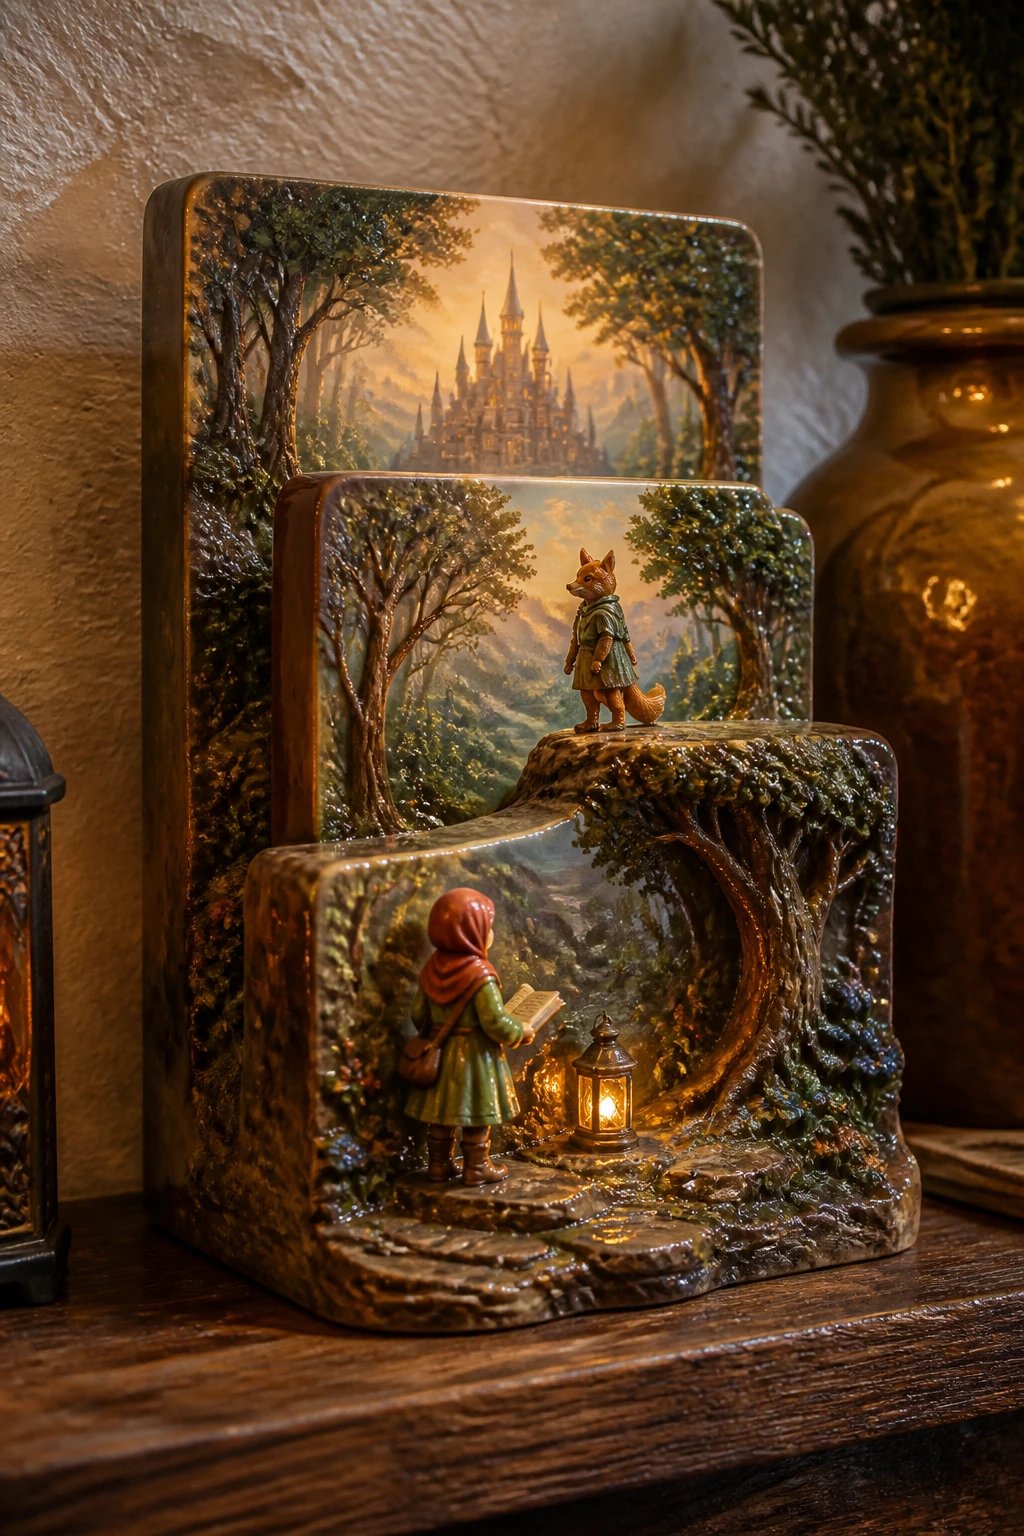
Capture a favorite moment from a tale in slices that stack like a tiny sandwich of imagination.
Play with color blocks and little characters to tell a scene.
How It Works
- Slice a background, midground, and foreground piece
- Attach characters at varying heights for depth
- Finish with a clear coat to protect the artwork
Use on a mantle or shelf to inspire cozy storytelling vibes.
Ready to start sculpting these 16 ideas? FYI you can mix and match techniques, so feel free to combine a few favorites into one project and save the rest for later sessions. Trust me, your future self will thank you for the clay therapy.
Impress friends, decorate your space, and keep your hands busy with something playful and satisfying. Have fun, experiment, and let your creativity run wild!
