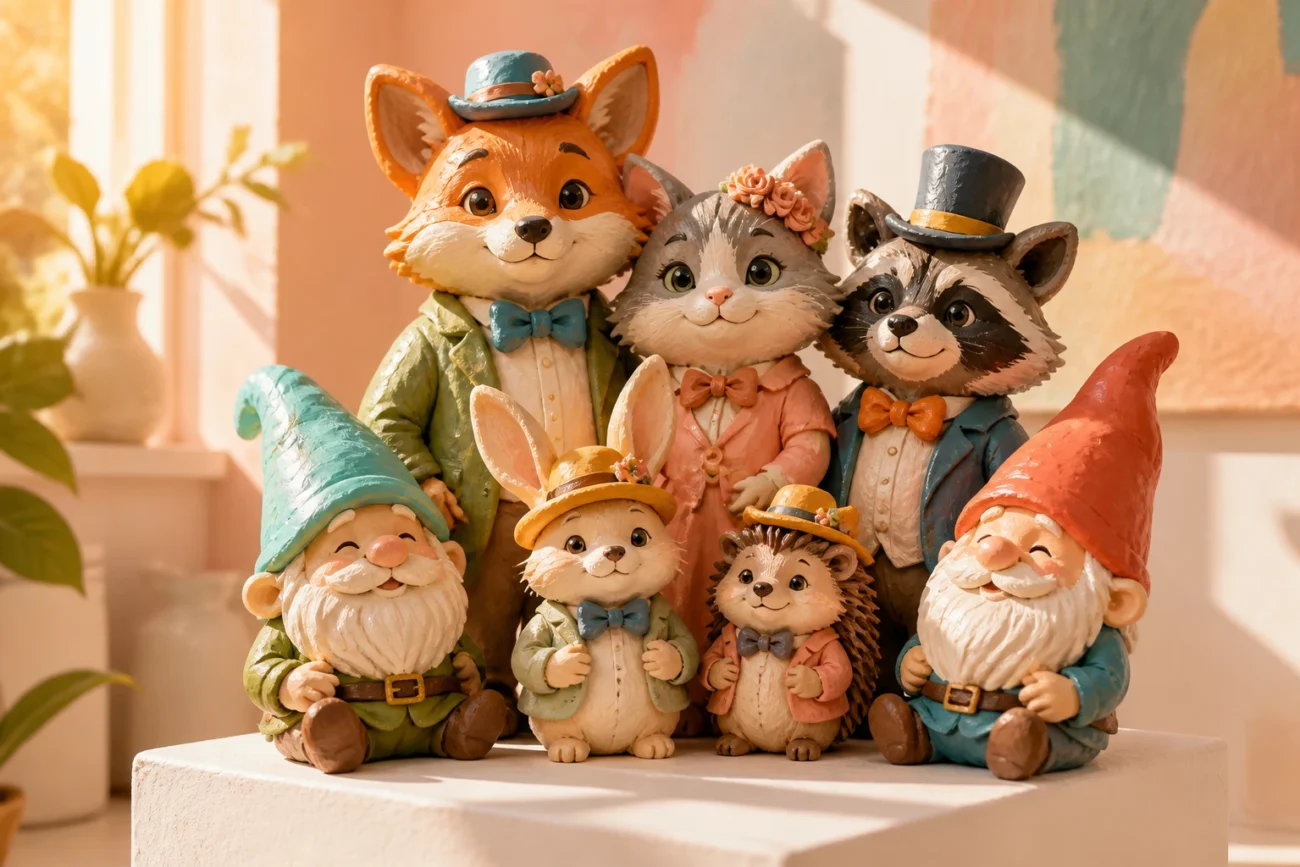
Ready to turn tiny balls of clay into showstoppers you can actually brag about? Let your hands do the talking and your imagination run wild.
These ideas are not just cute; they sharpen your skills, boost creativity, and give you quirky decor that tells a story. FYI, you’ll want to start a little clay studio in your kitchen corner after you try these.
Stick with me and you’ll unlock textures, techniques, and personalities for every clay craving you have. Let’s dive in and get those fingers excited.
1. Whimsical Animal Family Portraits
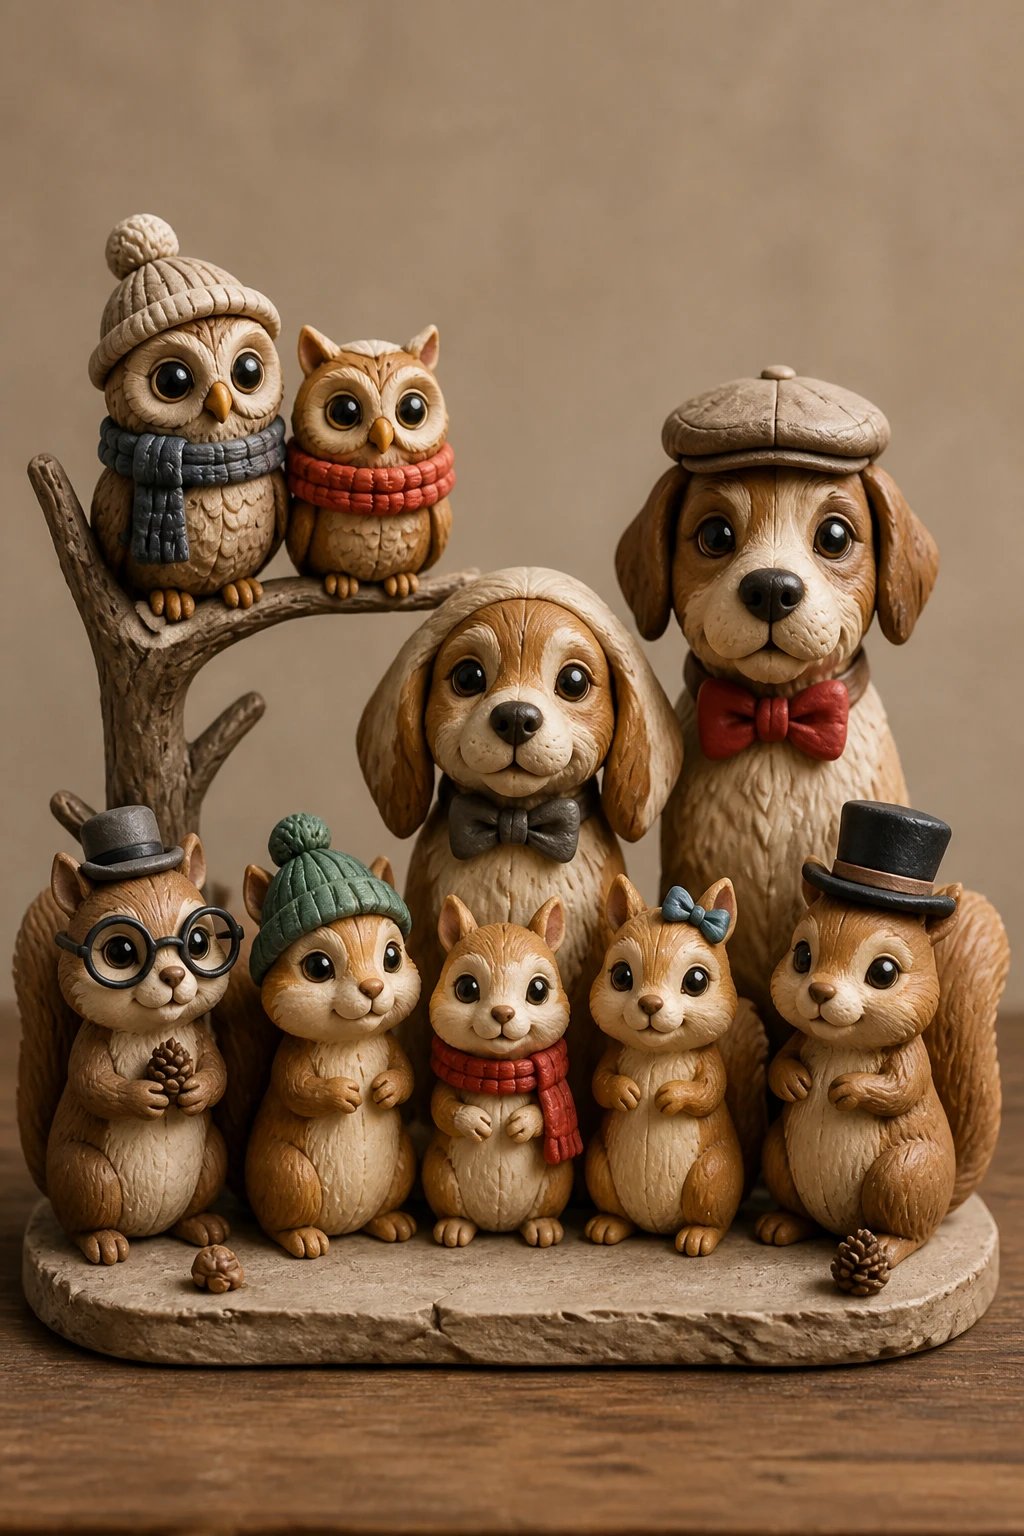
Turn a herd of cute creatures into a family portrait with a playful twist. Think squirrels in a line, tiny dogs wearing bow ties, or owls perched on a branch with comic expressions.
Why this rocks: it’s low pressure and extremely shareable on social feeds. You can experiment with proportions and add personality cues like hats or glasses.
Key Points
- Keep features simple for quick wins
- Use a flat base to display like a mini sculpture
- Vary sizes to create a dynamic scene
End result: a charming, displayable trio or squad that fits on a shelf or desk.
2. Mini Garden Gnomes With Modern Twist
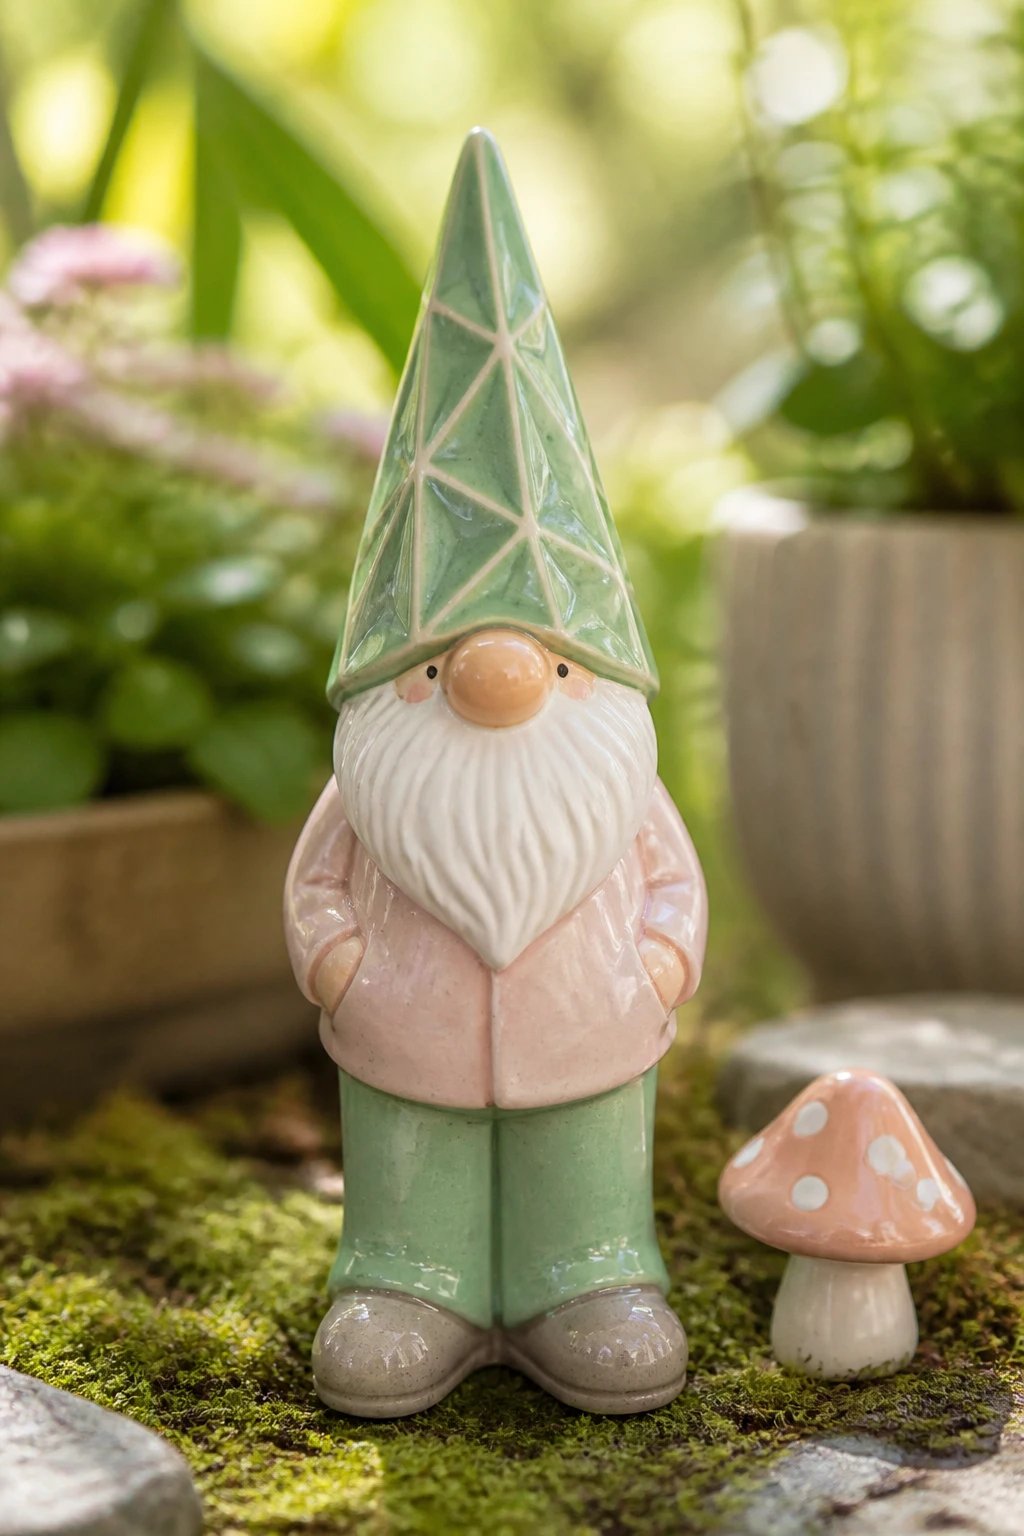
Gnomes are timeless, but give them a modern vibe with sleek lines, pastel palettes, or bold geometric hats. Your little forest crew becomes iconic in seconds.
Why this rocks: approachable scale and forgiving shapes make it perfect for beginners and seasoned sculptors alike.
Tips
- Use needle tool to carve the hat lines
- Add a tiny mushroom or toadstool for cute prop support
- Seal with a flexible glaze to prevent cracking
Benefit: builds confidence in shaping and adds delightful whimsy to your space.
3. Tiny World Landmarks In Clay
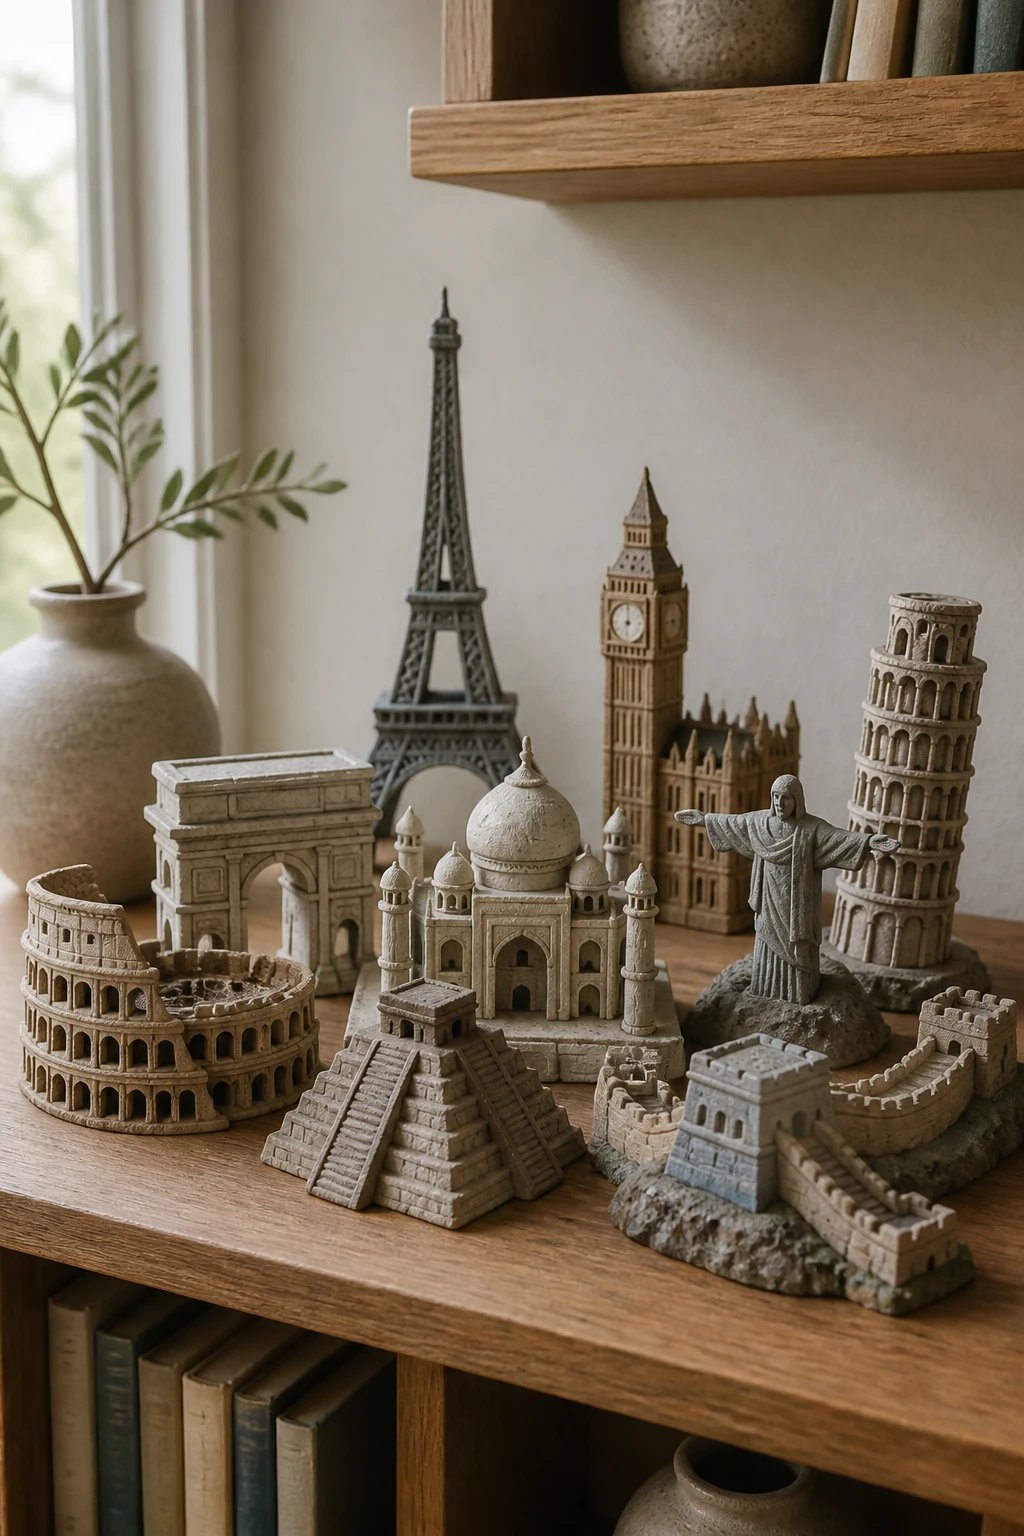
Recreate mini versions of famous landmarks using simple blocks and arch shapes. Your table becomes a travel collage without leaving home.
Why this rocks: you learn proportion and negative space, and you end up with a quirky travel gallery.
What to Include
- Basic arches for doorways
- Texture brushes for stone blocks
- Minimal color palette to keep it cohesive
When to display: on a bookshelf or as a desk centerpiece for daydreaming moments.
4. Abstract Narrative Figures

Craft figures that tell a story through posture and curve. Think elongated torsos, swooping limbs, and faces suggested by simple dots or lines.
Why this rocks: no need for perfect anatomy; the emotion shines through the pose.
Key Points
- Express mood with tilt of the head and curve of the spine
- Use a consistent glaze to unify the piece
- Experiment with scale within the same group
End note: a set of characters can become a conversation starter on your mantle or desk.
5. Ceramic Planter Friends
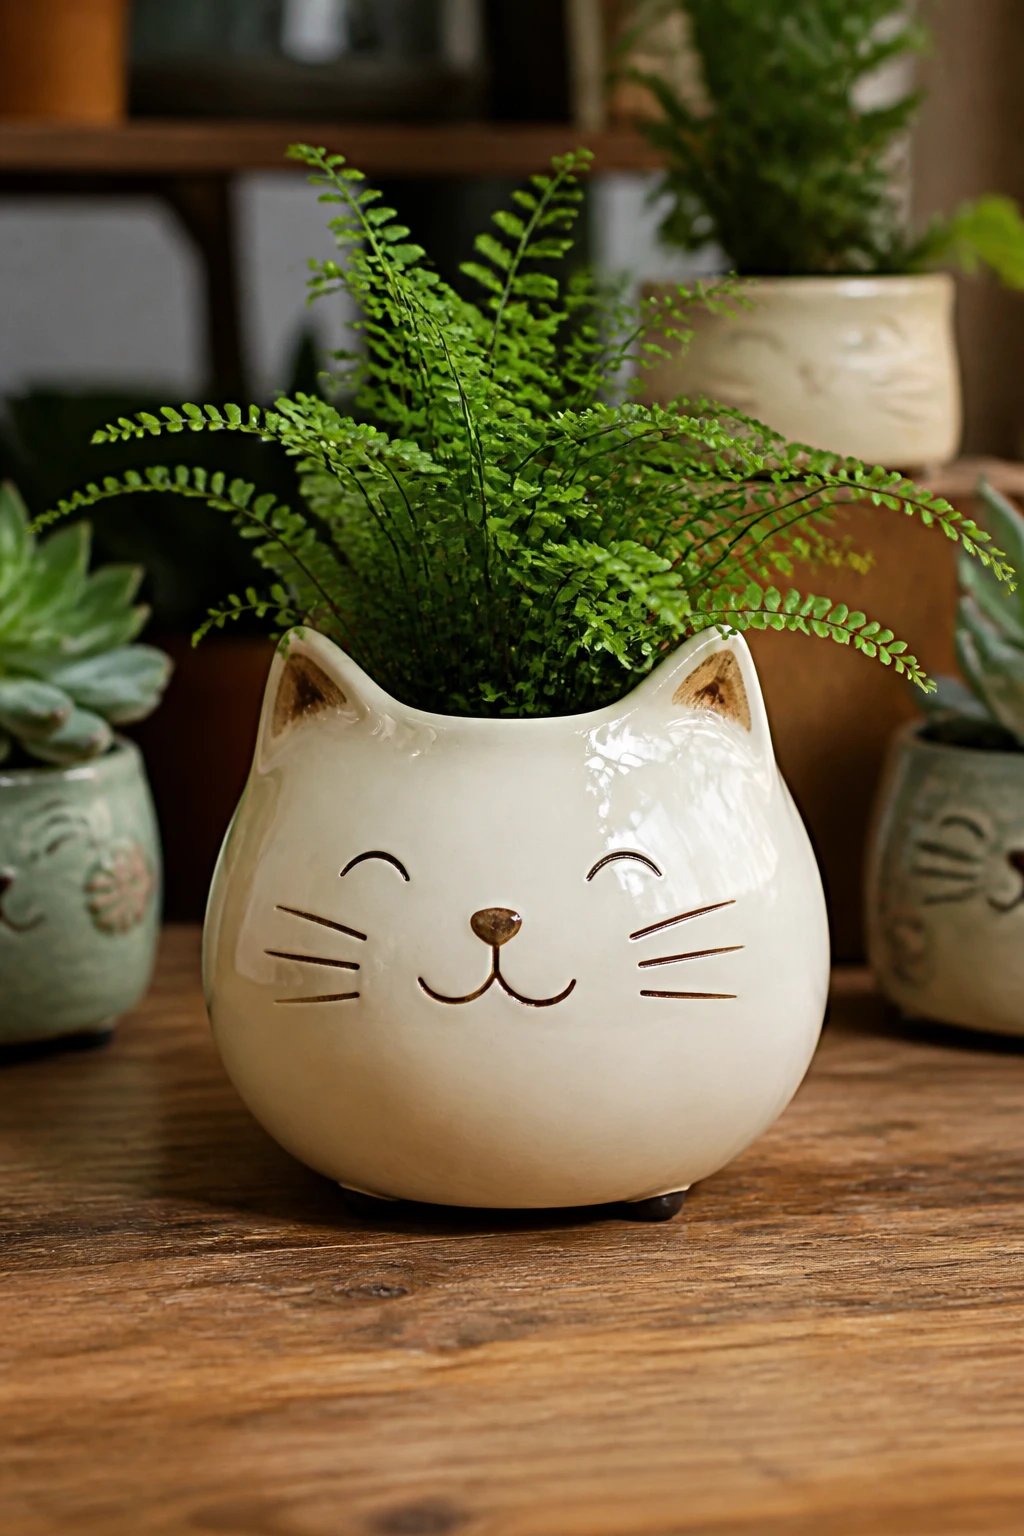
Make hollow clay figures that double as tiny planters. A smiling cat head or a goofy whale can cradle a succulent or tiny fern.
Why this rocks: practical, decorative, and perfect for gifting plant lovers.
Materials
- Clay for sculpting
- Sealant and glaze
- Felt pads for base stability
Tip: punch a couple of drainage holes and you’re all set to plant happiness.
6. Pocket-Sized Foodie Characters
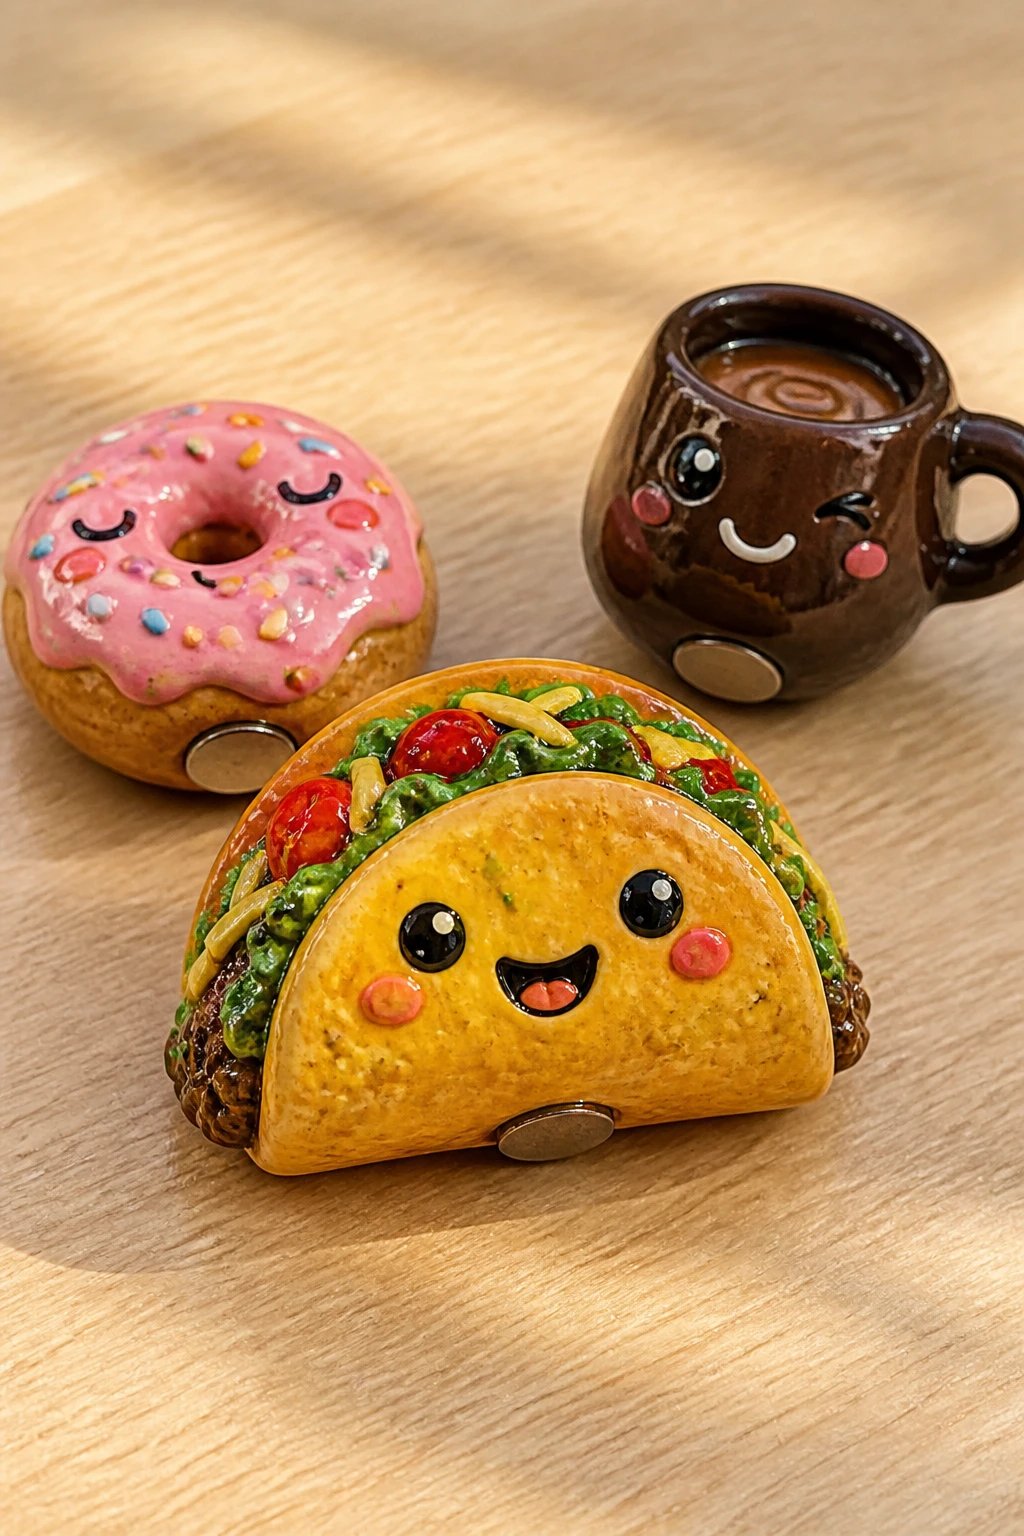
Create adorable clay versions of favorite snacks and meals. A smiling taco, a sleepy donut, or a winking coffee cup will make your display pop.
Why this rocks: food figures are instantly relatable and endlessly charming.
Materials
- Bright underglazes for fun tones
- Gloss glaze for a shiny finish
- Small magnets if you want fridge charm
Benefit: conversation starters during coffee breaks and kitchen table joy.
7. Elemental Spirits: Fire, Water, Earth, Air
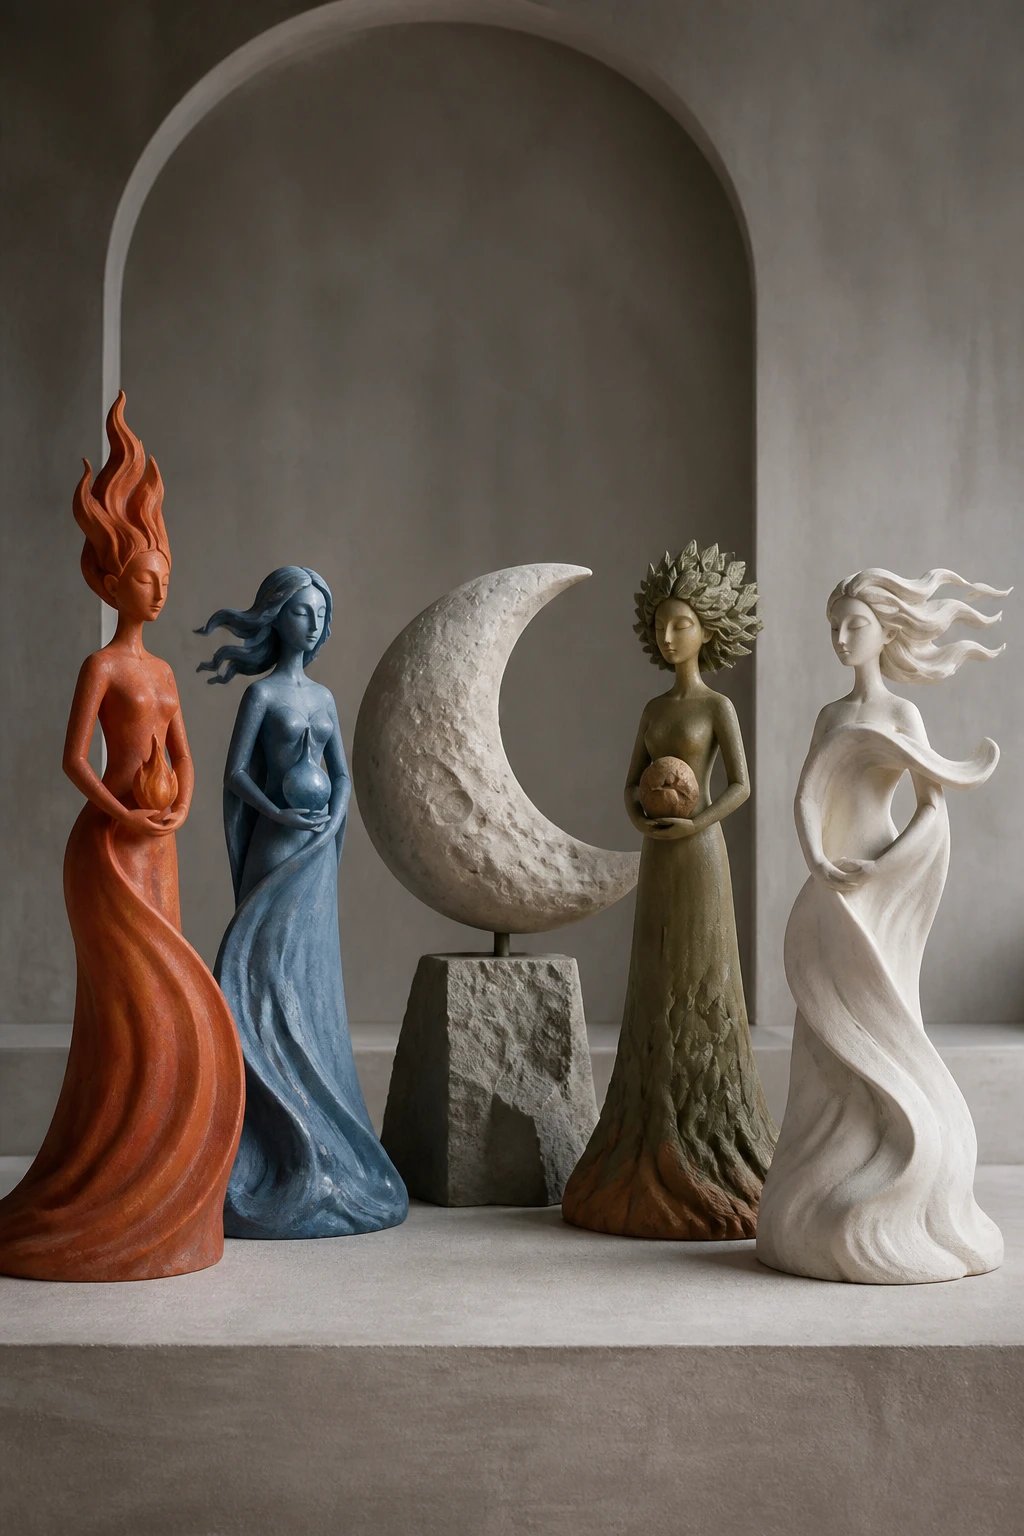
Personify the four elements as sleek figures with simple iconography and color coding. They look striking in a row or orbiting a central moon piece.
Why this rocks: it teaches you about symmetry and storytelling through shape.
Key Points
- Limit color palette per figure
- Use matte glazes for a modern look
- Experiment with asymmetrical balance for drama
End result: a chic triad or quartet that adds mythic energy to any room.
8. Nautical Crew In Clay
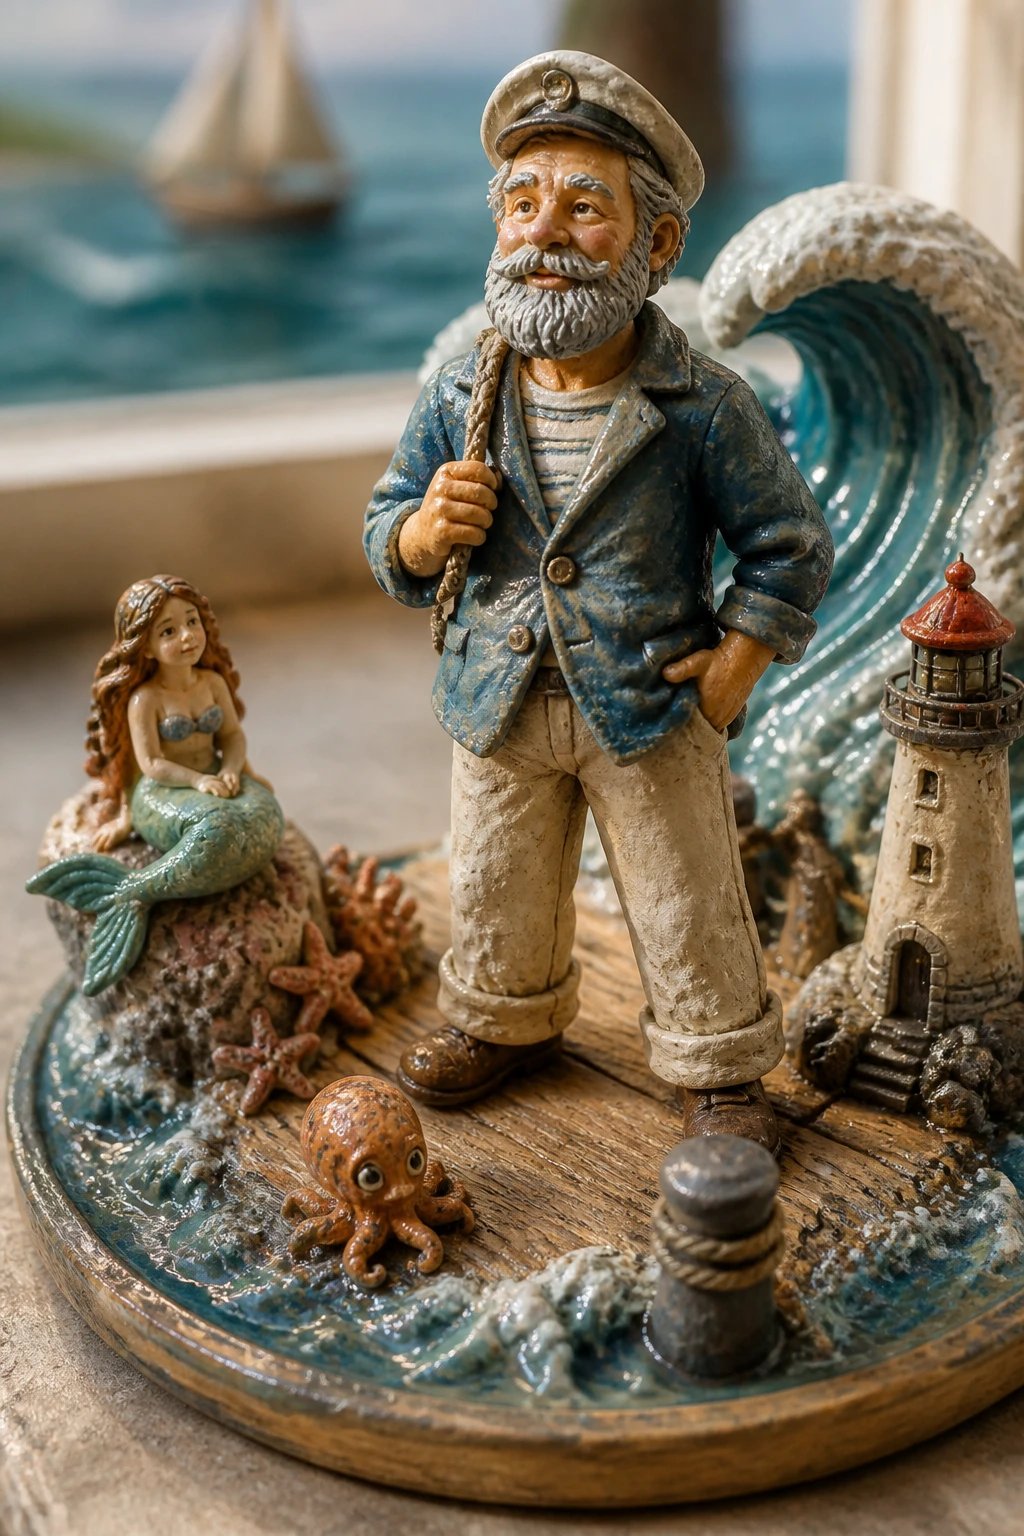
Craft sailors, mermaids, and sea creatures with tiny ship accents. A miniature lighthouse and a wave swirl bring the sea to your shelf.
Why this rocks: coastal vibes without the beachy mess. Great texture practice for water effects.
Tips
- Use scoring and slip for durable joins
- Texture works well on waves with a comb tool
- Seal to keep colors bright
Application: place near a window where light will highlight the glossy glaze on the water.
9. Mascot Charms For Your Wallet
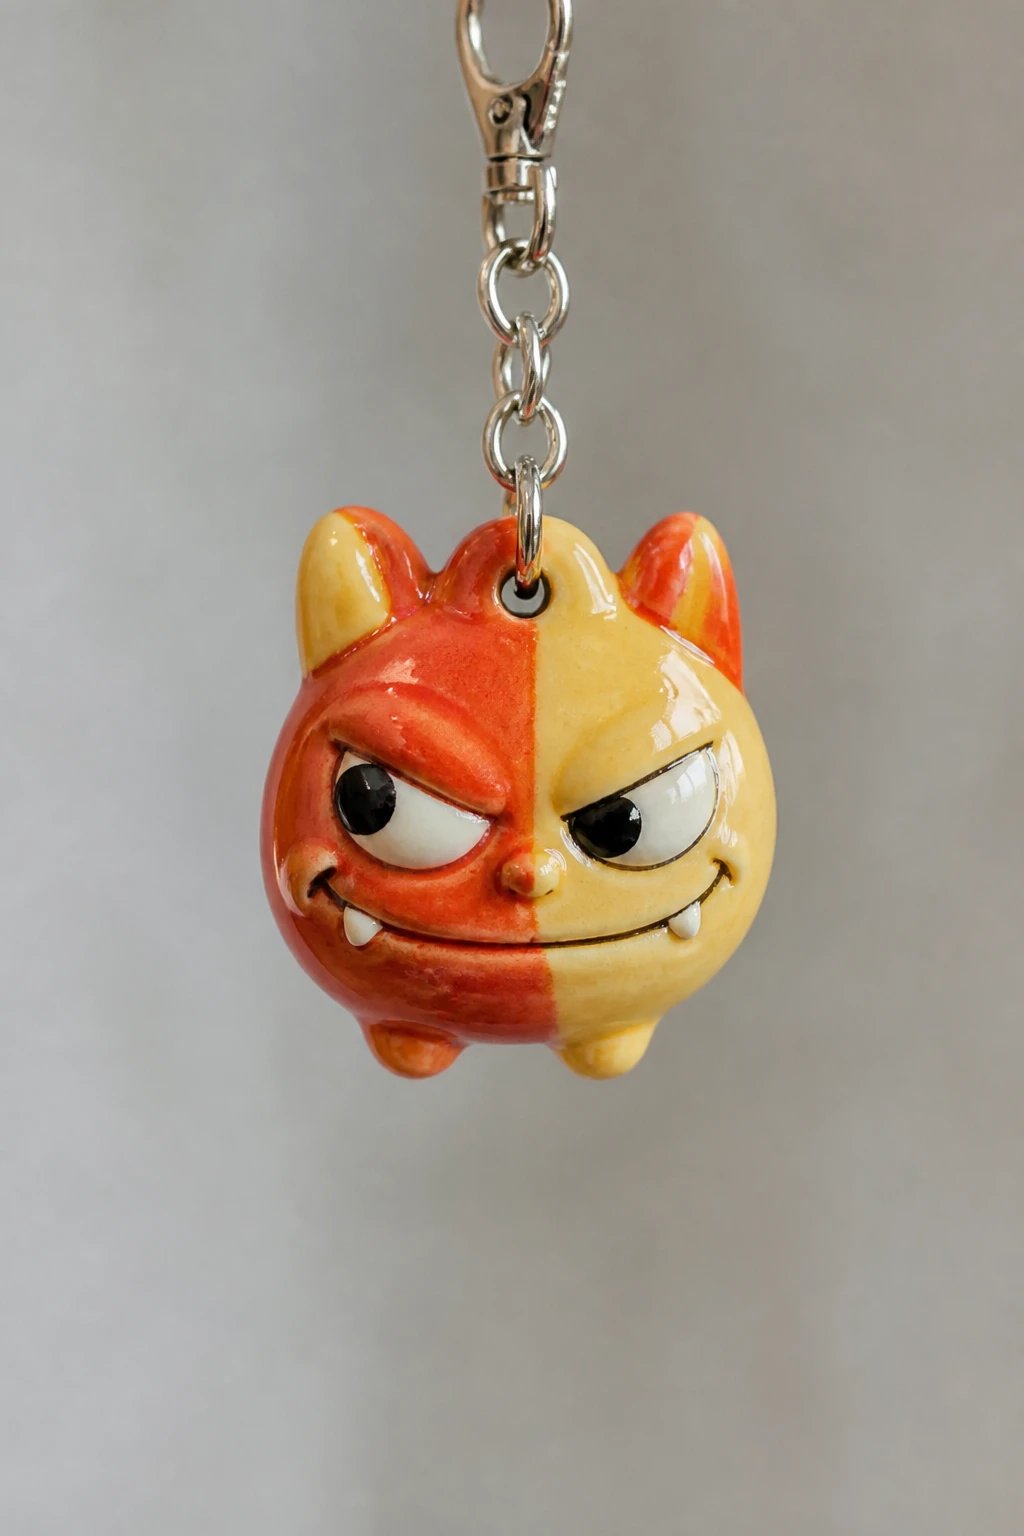
Sculpt tiny mascot emblems that reflect your vibe in a few centimeters of clay. Think cheeky eyes and oversized features for maximum charm.
Why this rocks: you can customize for friends, gifts, or just yourself.
What to Include
- Bold features that read from a distance
- Smooth surfaces with light sanding
- Clear glaze to seal color blocks
Bonus: easy to string into a keychain or necklace for daily joy.
10. Mythical Creatures On A Dime
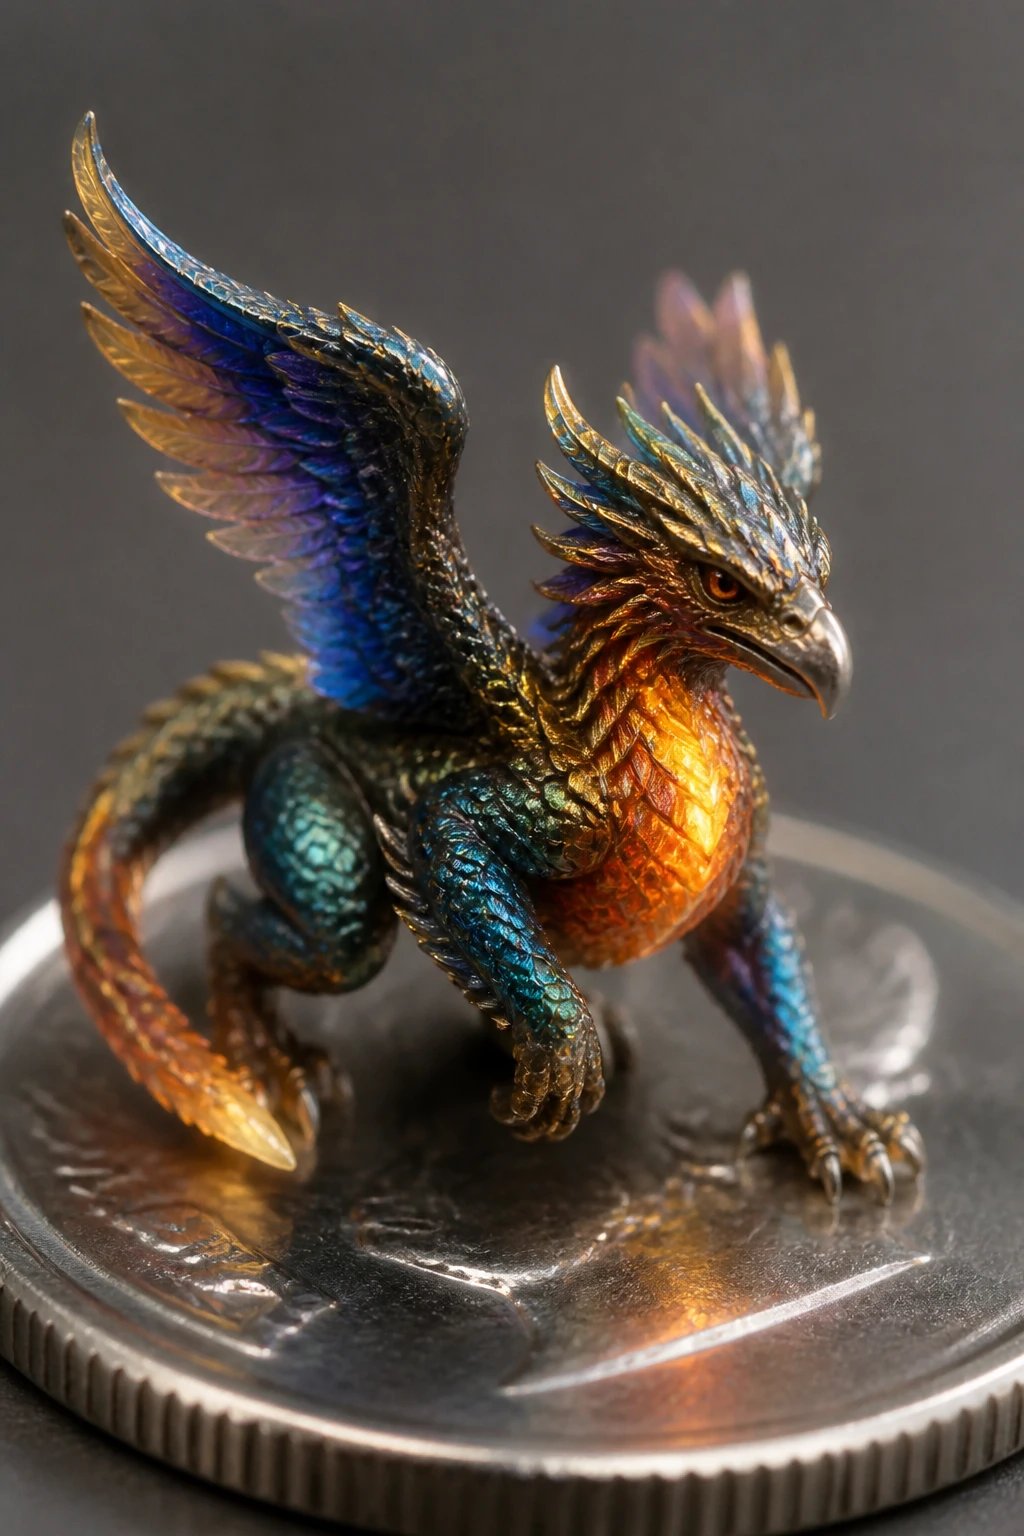
Dragons, griffins, and phoenixes can be tiny but mighty. Use layered scales and feather textures to bring them to life.
Why this rocks: epic vibes without epic scale or complexity.
Techniques
- Layer with small scales using a needle tool
- Feather textures with comb lines
- Gradient glazes to simulate fire or magic glow
Outcome: a magical focal piece that sparks imagination.
11. Portraits In Miniature: Expressive Faces

Try tiny portraits with bold features and exaggerated expressions. A grin, a puzzled look, or a contemplative stare can be laugh out loud funny.
Why this rocks: faces are instantly engaging and perfect for practicing proportion in a tiny format.
Tips
- Keep noses and ears optional for speed
- Emphasize eyes and mouth to convey mood
- Smooth skin texture with a soft brush before firing
Benefit: your display becomes a tiny gallery of emotions.
12. Cozy Textured Cushions Mini-Set
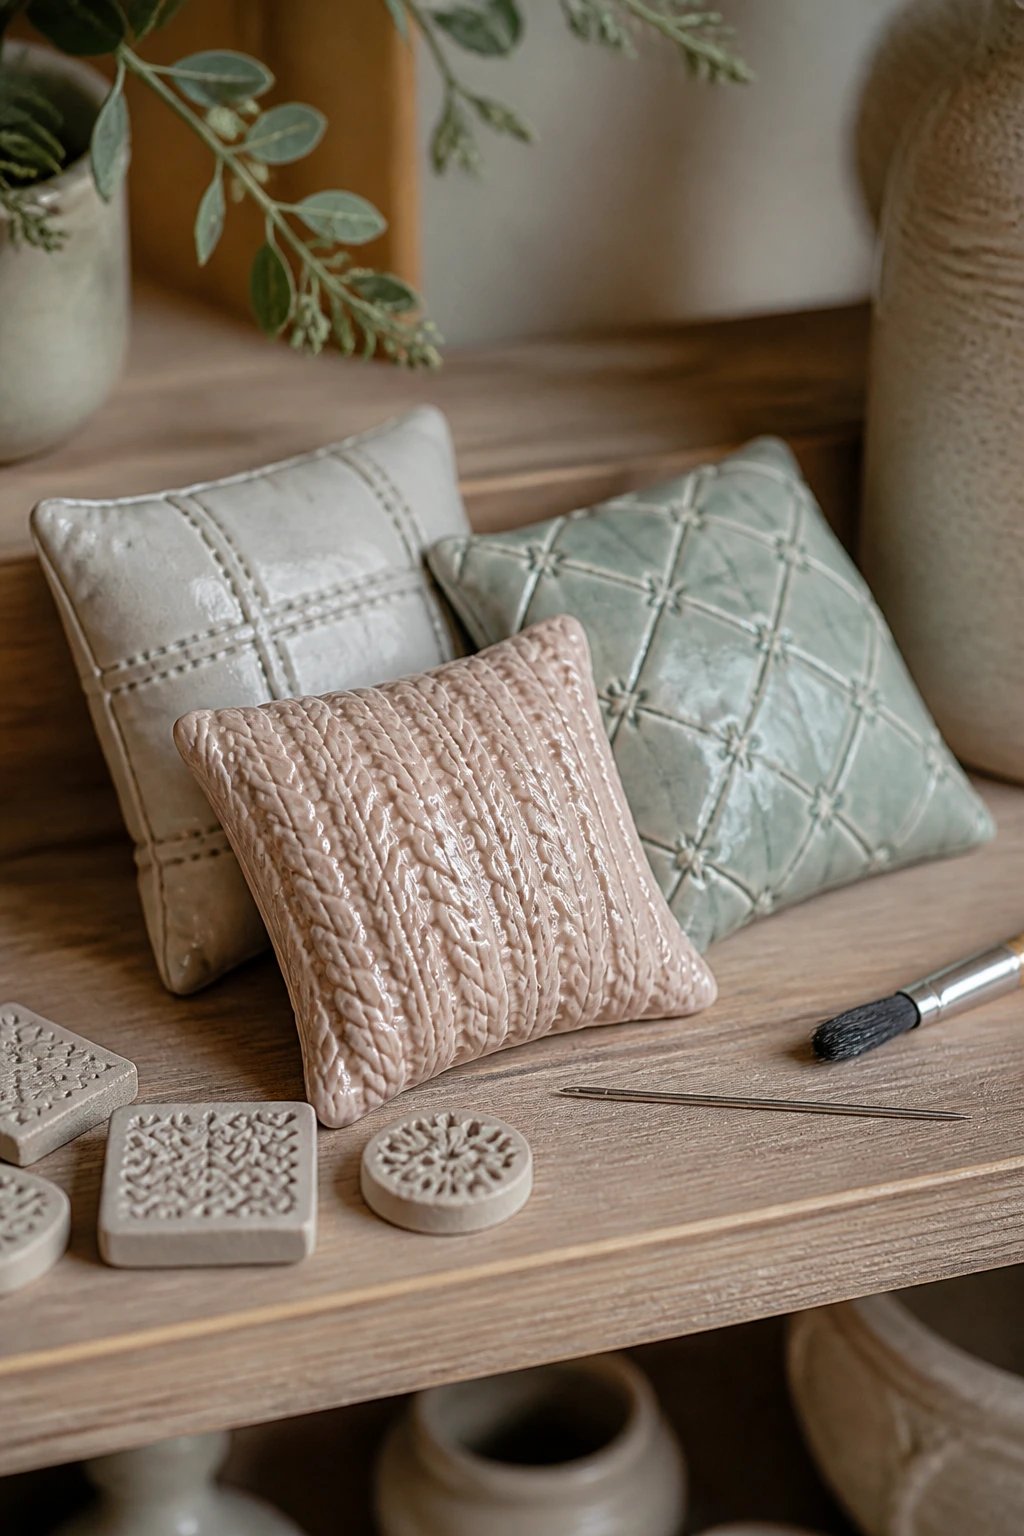
Create small cushion shapes with tactile surfaces like knitted patterns, quilted stitches, or faux seams. They read as plush and invite a closer look.
Why this rocks: texture experimentation is the easiest path to realism in miniature form.
Materials
- Texture stamps or tools
- Underglazes in pastel tones
- Clear glaze to protect details
End note: makes a fantastically cozy shelf trio or a tiny table centerpiece.
13. Weather Forecast Orbs
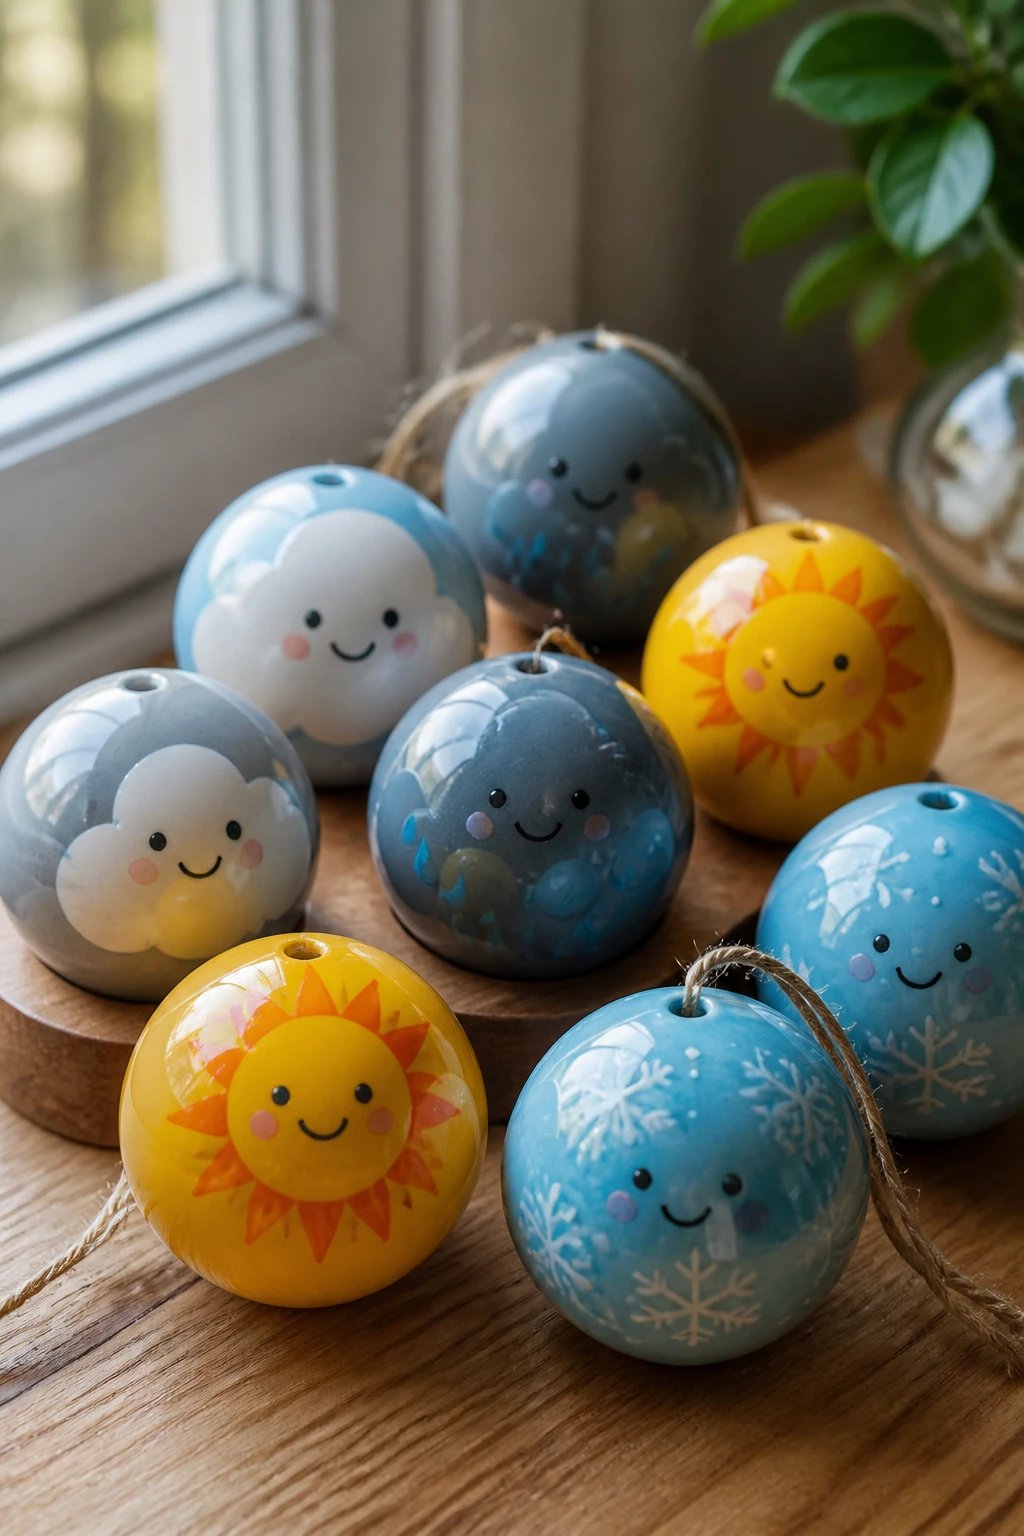
Craft little round weather icons — sun, clouds, rain, snow — with painted faces and gloss finishes. They look cute on a stand or string as charms.
Why this rocks: simple shapes, big smiles, and great color blocking practice.
How To
- Use contrasting colors for each element
- Seal with a satin glaze for a soft glow
- Attach a small peg or hole for hanging
Application: great decor for a desk nook or windowsill.
14. Space Explorer Figurines

Cosmic travelers in helmets, jet packs, and starry capes offer bold silhouettes and futuristic vibes. Glow-in-the-dark accents make them pop at night.
Why this rocks: you’ll push sculpting into dynamic motion and add playful sci fi charm.
Tips
- Keep helmets oversized for humor
- Add a tiny space flag as a finishing touch
- Use metallic glaze for rocket accents
Benefit: a standout display that doubles as a conversation starter.
15. Dreamy Seasonal Figures
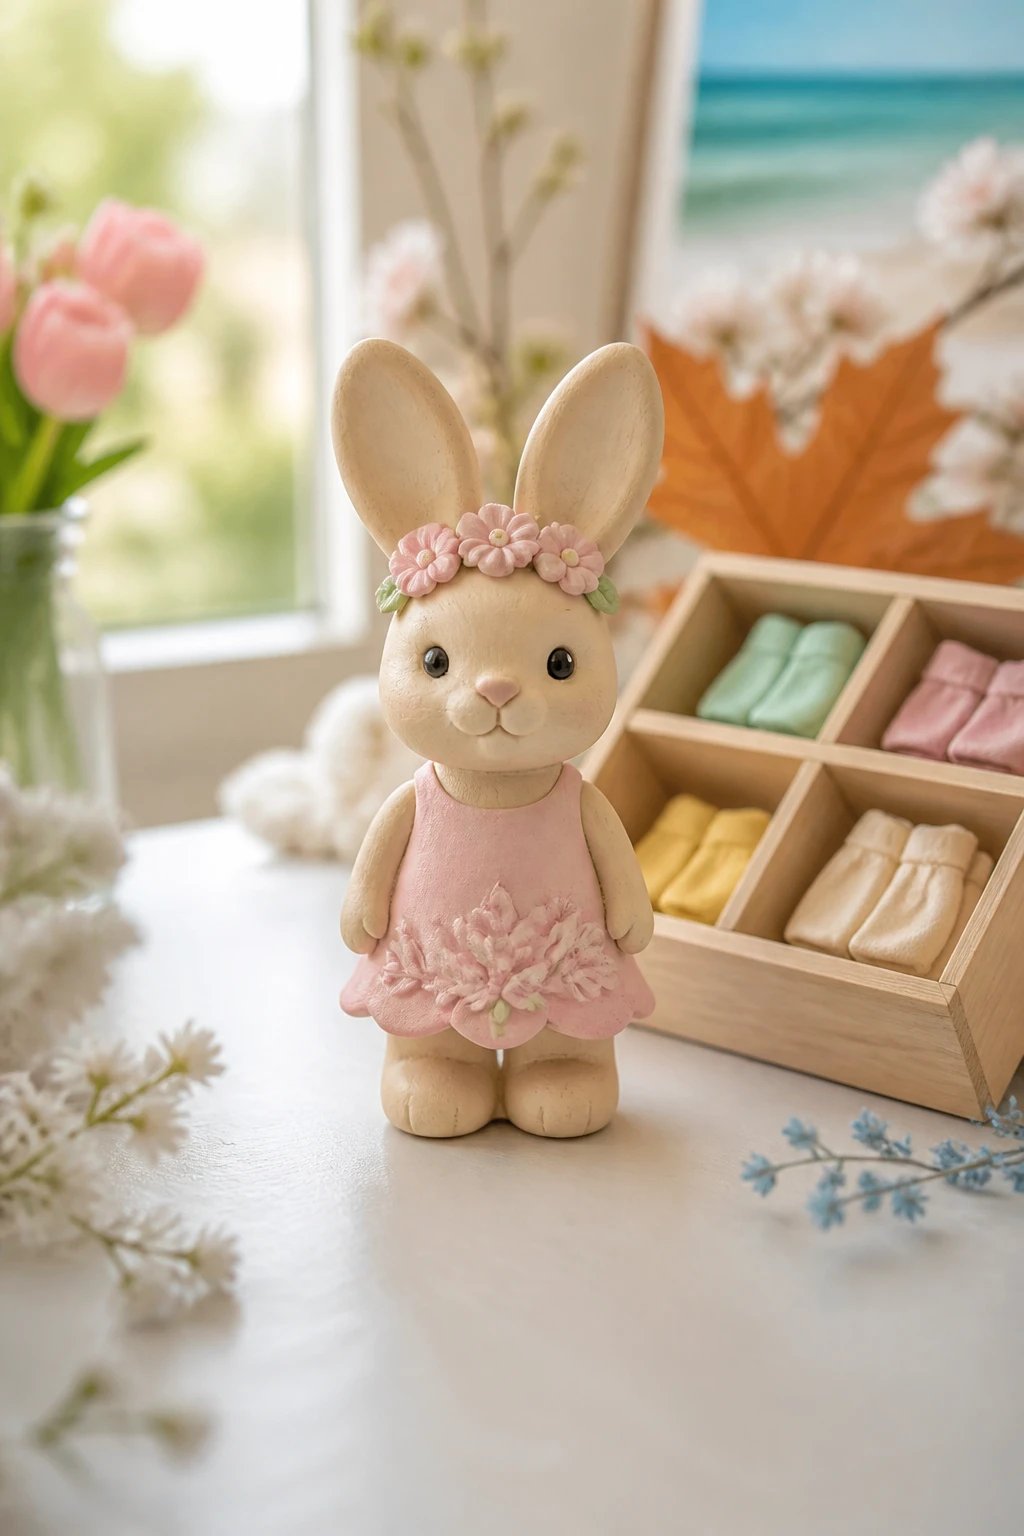
Seasonal vibes with a twist — a spring bunny, autumn fox, winter panda, or summer mermaid. Change the palette as the year goes by.
Why this rocks: continuity across seasons keeps your studio lively and current.
Key Points
- Rotate color schemes to match the season
- Keep a simple base so you can mix up outfits
- Store securely to keep them pristine between showcases
End result: a rotating collection that always feels fresh.
16. Friendly Dialogue Buddies
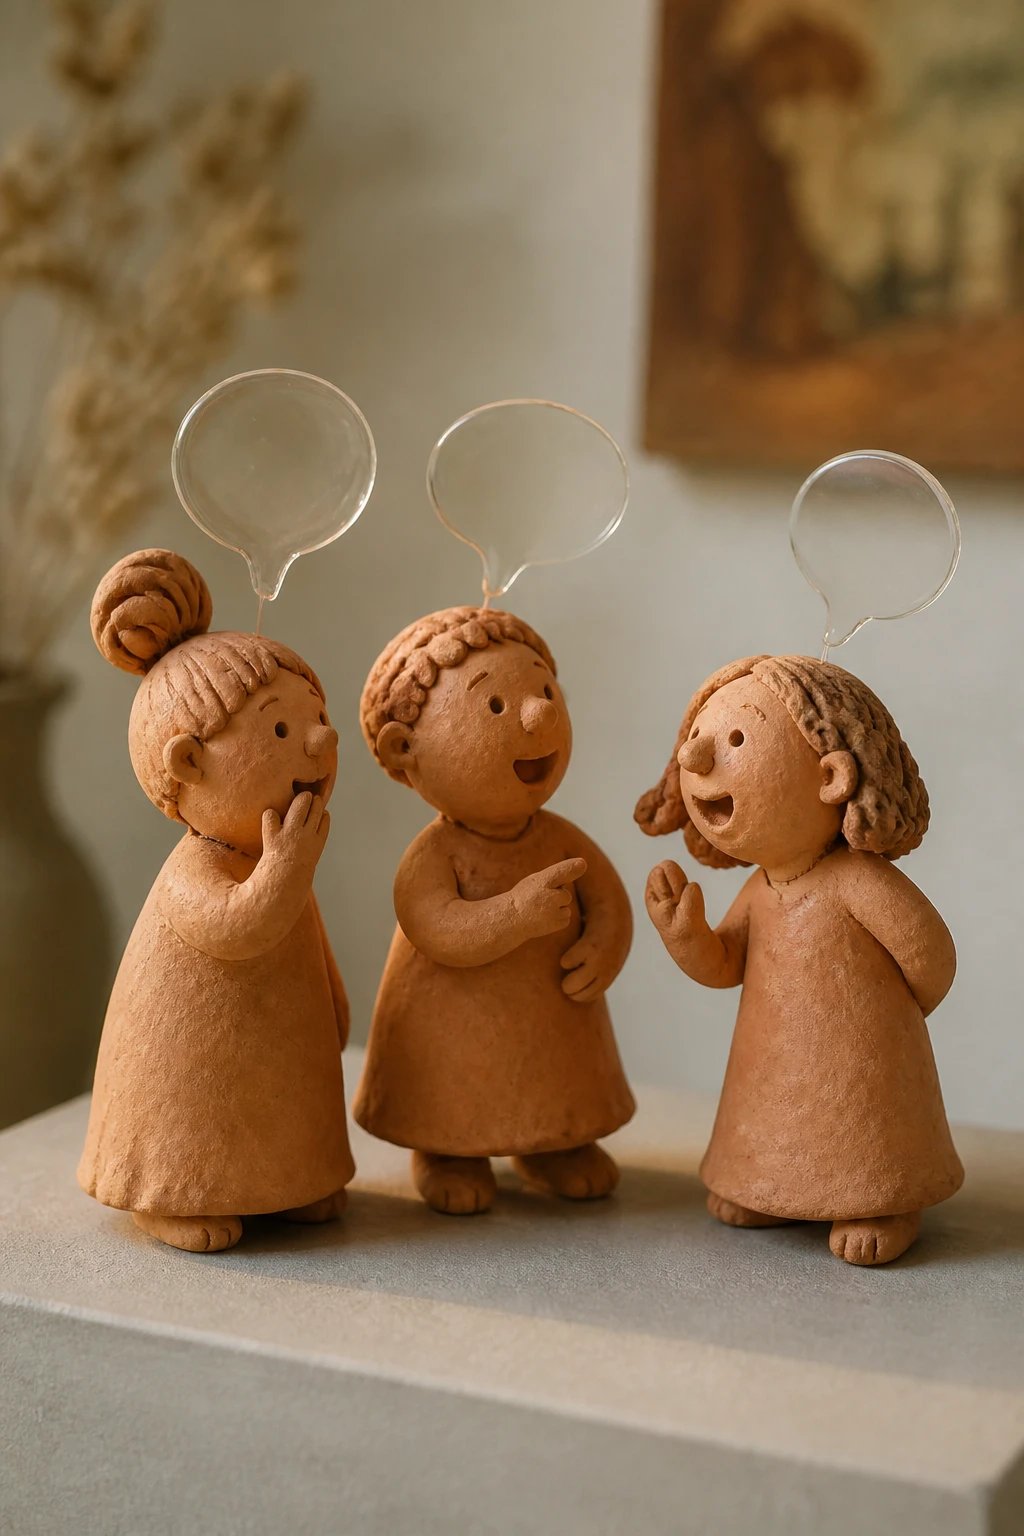
Two or three figures posed as if sharing a joke or gossip. Add tiny speech bubbles using thin rolled clay to capture the moment.
Why this rocks: storytelling is the heart of sculpture and these pieces invite interaction.
How To Include Speech
- Flatten small balls for bubbles
- Write short phrases in a readable font style with glaze after firing
- Keep the bubbles translucent for a playful touch
Benefit: a playful trio that instantly creates a sense of whimsy in any room.
Ready to pick your first project or two? These ideas are designed to be layered, so you can start simple and grow into more complex scenes as your skills sharpen. Trust me, the more you sculpt, the more you want to try new textures and colors. Seriously, you’ll surprise yourself with how quickly you improve.
Plus, these pieces mix easily with store bought decor, so your space feels uniquely yours without blowing your budget. Have fun, experiment with palettes, and don’t fear goofy mistakes — they often turn into the best parts of your gallery.
Now grab your clay, fire up your imagination, and start creating your own clay figure gallery. Your future self will thank you for the creativity boost and the brag-worthy display options.
