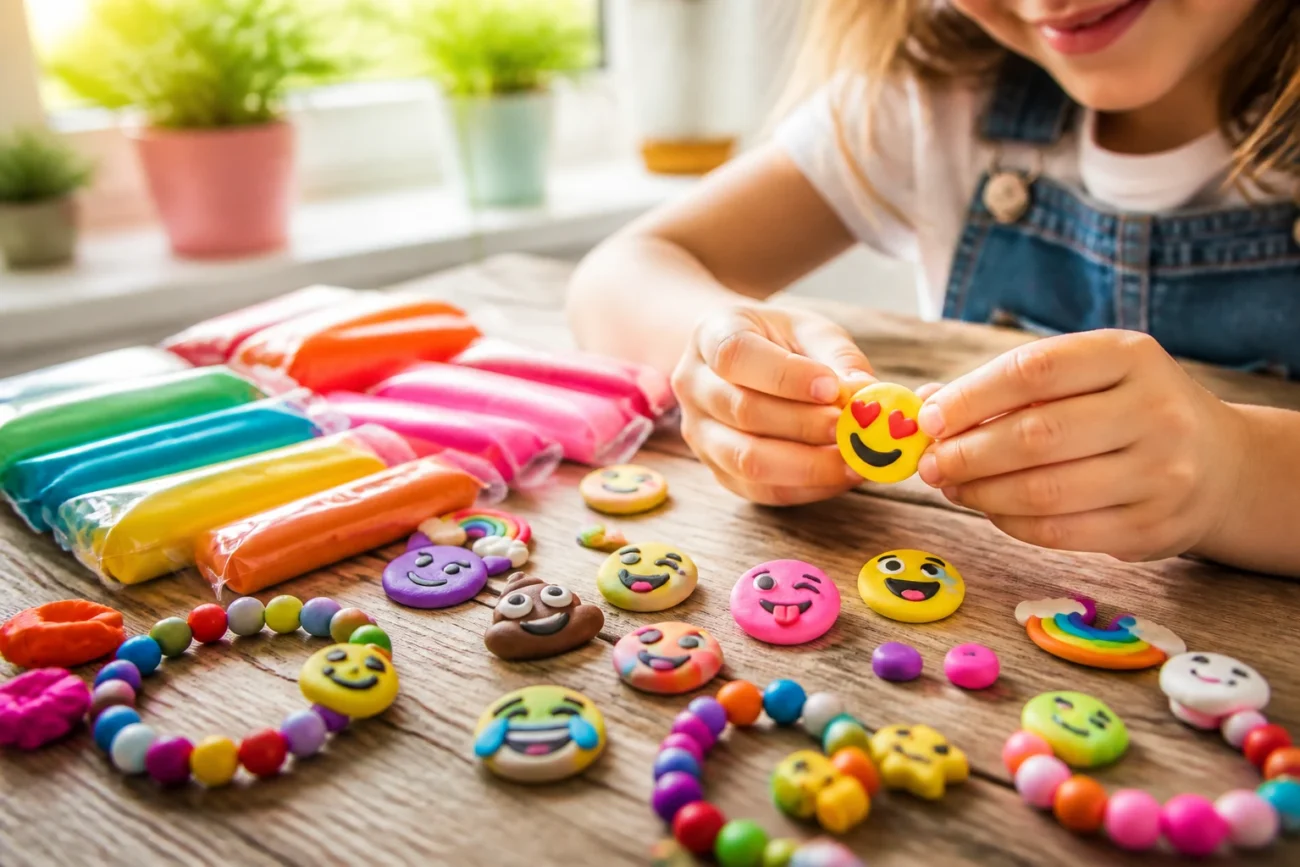
Ever kinda secretly wished your kid could craft amazing stuff while you sip coffee? You’re in luck because these ideas are simple, fun, and totally doable.
They spark creativity, teach new skills, and end with adorable finished pieces you’ll actually want to display. FYI, you’ll want to grab extra clay and a smidge of patience — it pays off big time.
Stick around and you’ll uncover playful projects, clever tips, and a few surprise twists that make polymer clay feel like a magic kit for kids.
1. Mini Emoji Keychains That Say It All
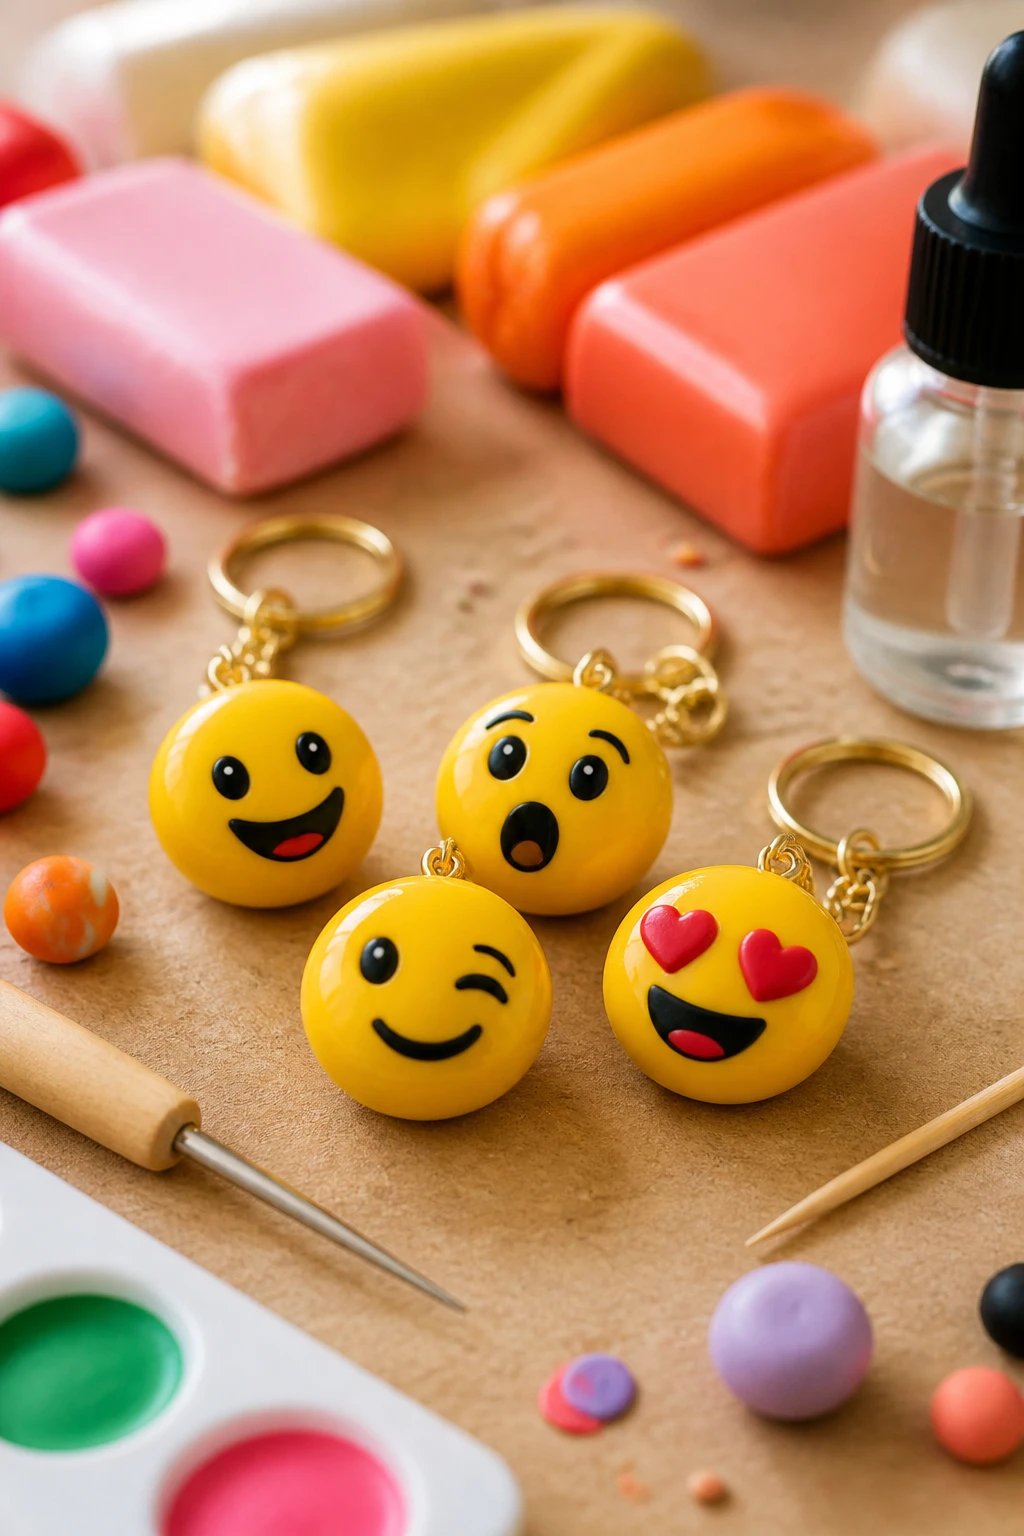
Emoji faces are instantly recognizable, which makes this project a hit with kids. Simple shapes, bold colors, and a little gloss finish transform into cute keychains.
Why it works for kids: short steps, big smiles, and a quick win that builds confidence.
Materials you’ll need: bright polymer clay bundles, a small keyring, a needle or toothpick for eyes, and gloss glaze for shine.
Tips
- Roll tiny balls for the eyes and mouth to keep expressions crisp
- Seal with a gloss glaze to keep colors vibrant
- Bake in thin shapes to avoid cracking
Finish with a tiny reminder card about when to use it — as a key tag or a backpack charm. This project builds kid pride and a sense of accomplishment.
2. Colorful Polymer Clay Beads for Jewelry Fun
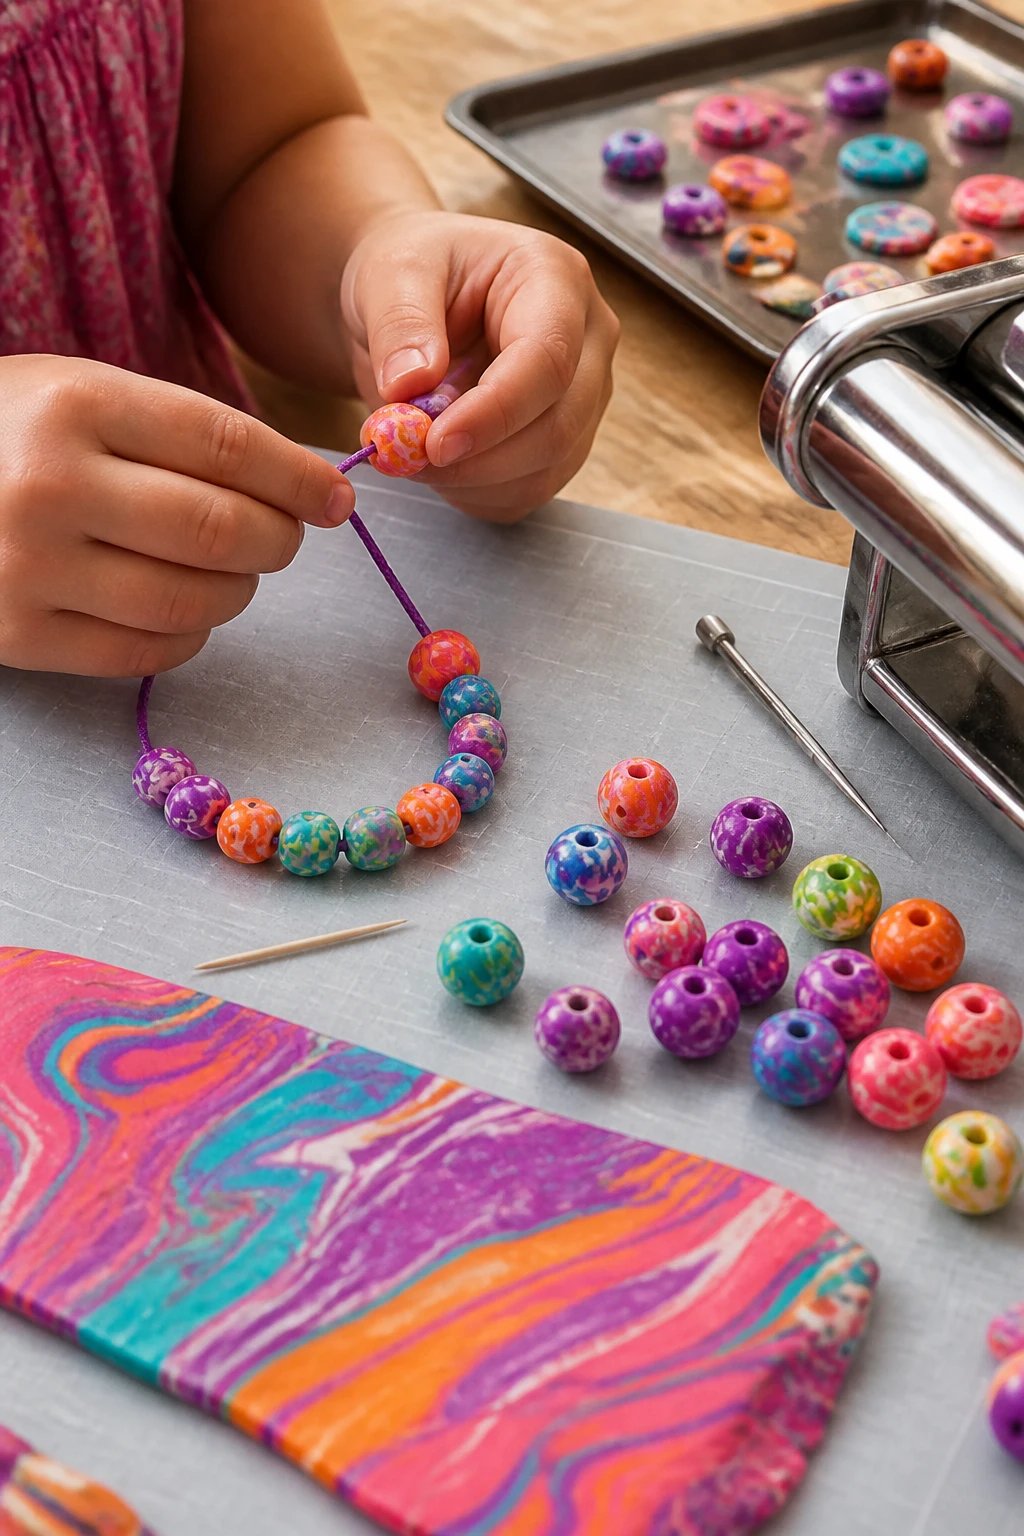
Beads let kids experiment with color combos and patterns while building fine motor skills. The result is wearable art kids can brag about.
Why it works: it’s a no-fail project where patterns emerge organically, keeping kids engaged.
Materials: different color packs, a thin needle or toothpick, a baking tray, and a tiny hole punch or skewer for bead holes.
Key Points
- Mix two colors for marble effects
- Use a pasta machine or rolling pin to get uniform sheets
- Thread with sturdy cords for longevity
Tip: bake in small batches to avoid long wait times and keep the kitchen calm while colors set.
3. Fairy Garden Mini Mushrooms
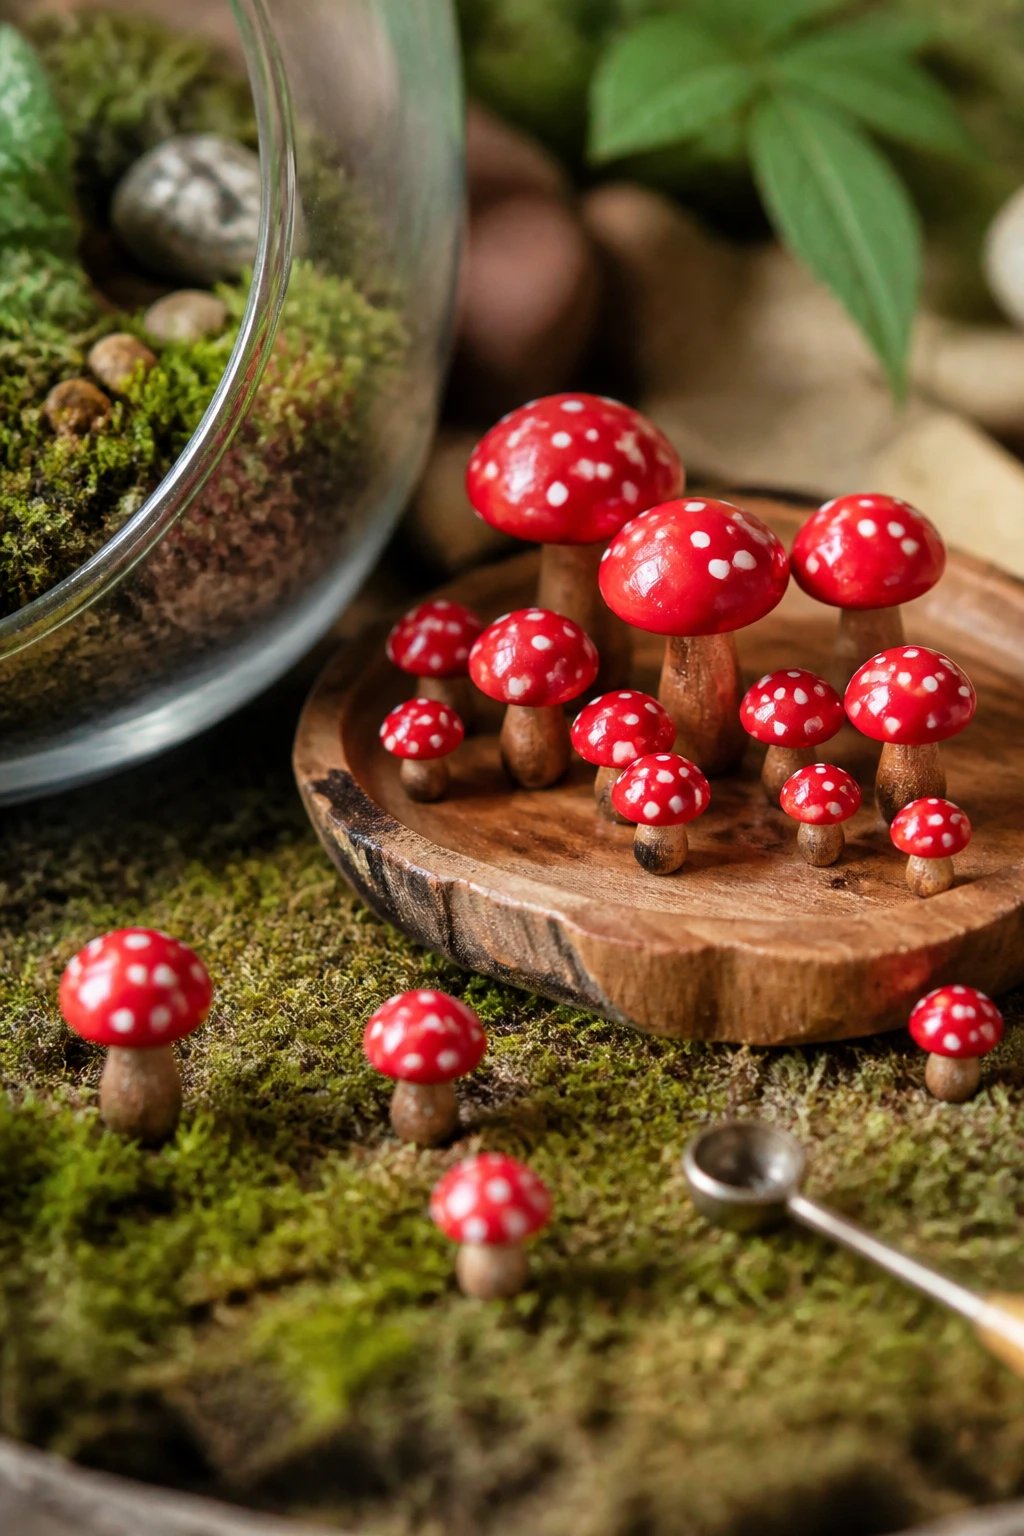
Tiny mushrooms are irresistibly cute and scale-friendly for little hands. They double as desk decor or a charming terrarium addition.
Why it rocks: goofy, joyful shapes with surprising detail in tiny packages.
Materials: red, white, and brown clay; a small dotting tool; gloss for a shiny cap.
Tips
- Shape caps using a rounded cutter for consistency
- Add tiny polka dots with a toothpick
- Make a few to create a cheerful mushroom patch
Benefit: kids practice symmetry and patterning while making something they can place around the house.
4. Tiny Animal Totems
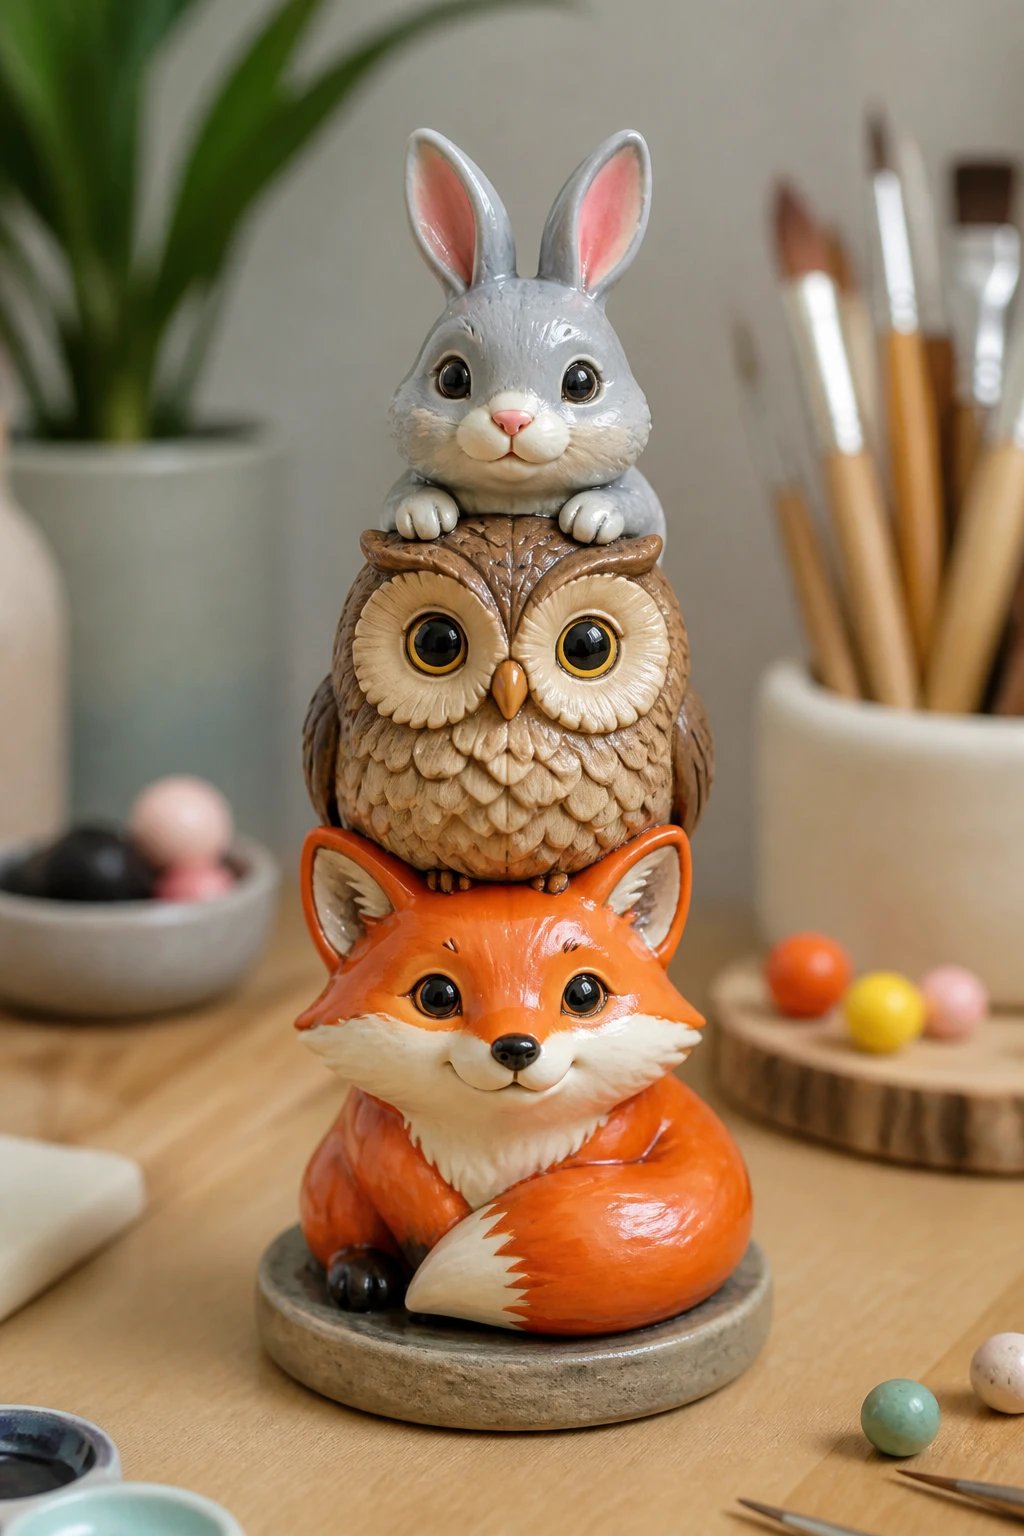
Animals are universally loved and lend themselves to expressive faces and creative color combos. Build a tiny totem stack with multiple animals.
Why it’s awesome: storytelling potential — each animal can represent a memory or favorite color.
Materials: assorted colored clays, small mallets or blunt tools, sealing glaze if you want a shiny finish.
What to include
- Two or three animals per stack
- Different textures on each animal for variety
- A flat base to keep it stable
Use these as desk ornaments or a fun topic starter for kids to tell a micro-story about each creature.
5. Flower Chowder: Layered Petal Bouquets
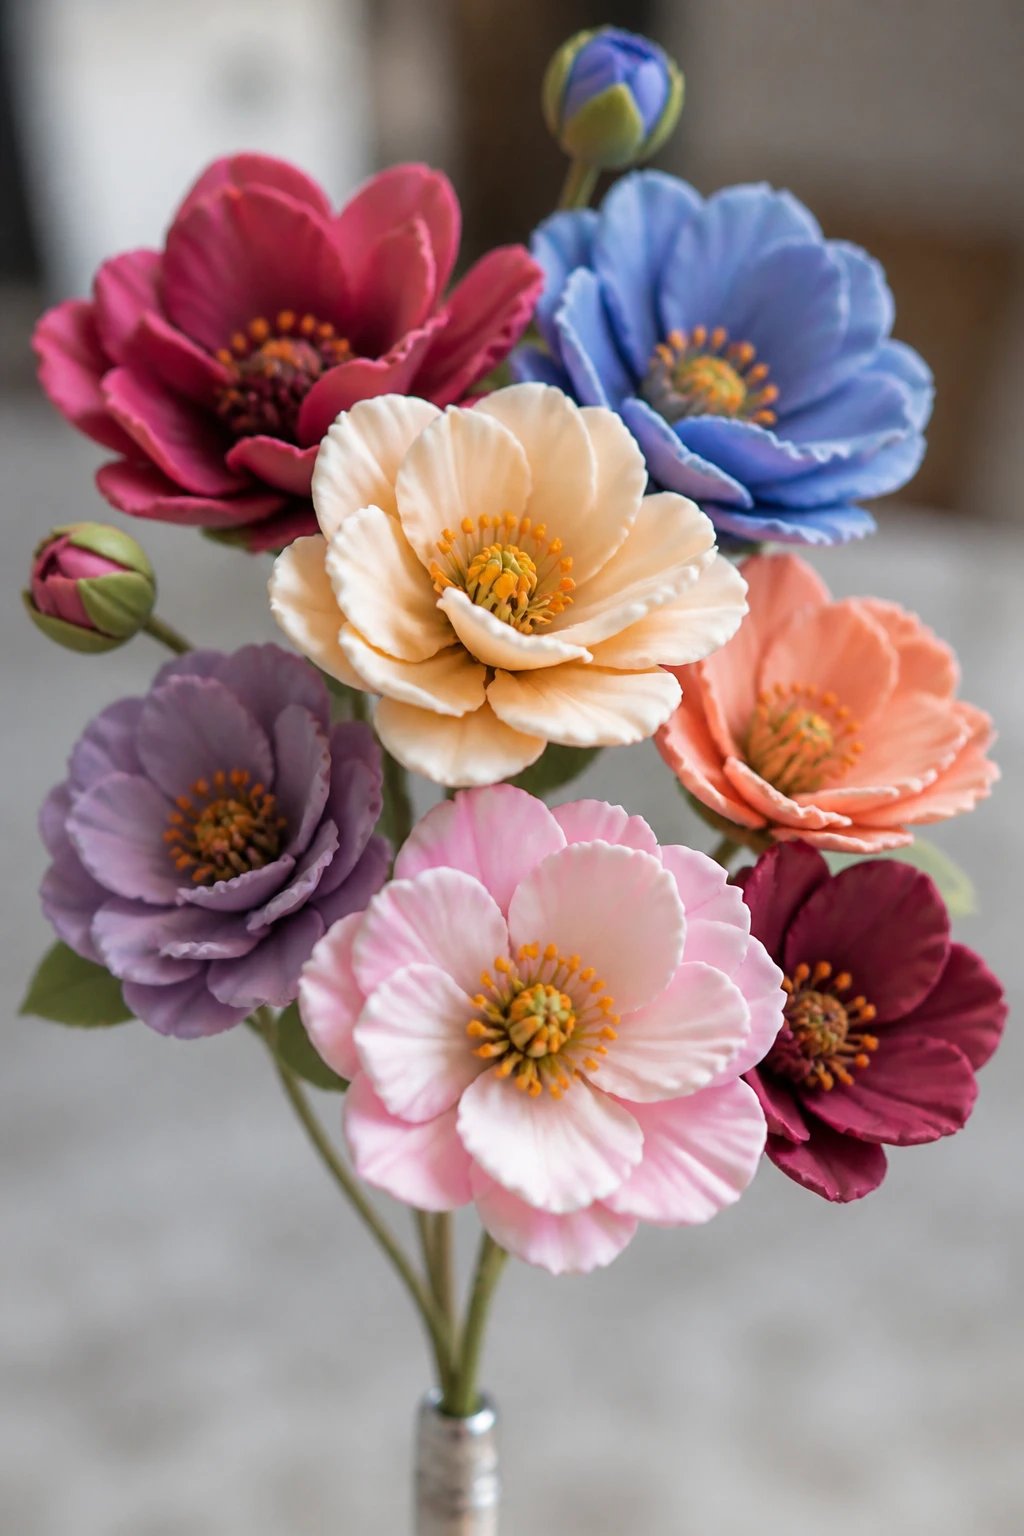
Layering petals creates dimensional flowers that look like mini bouquets. It’s a soothing project with a gorgeous payoff.
Why it shines: kids love seeing a flat sheet become a blooming flower with depth.
Materials: clay in several colors, blade or cutter for petals, a toothpick for center details.
Steps
- Roll small petal shapes and stack them gradually
- Blend colors at the tips for depth
- Attach to a thin stem or pin for easy display
Bonus: turn a bouquet into a brooch or a decorative pin for backpacks.
6. Satisfyingly Squishy Slime-Beads
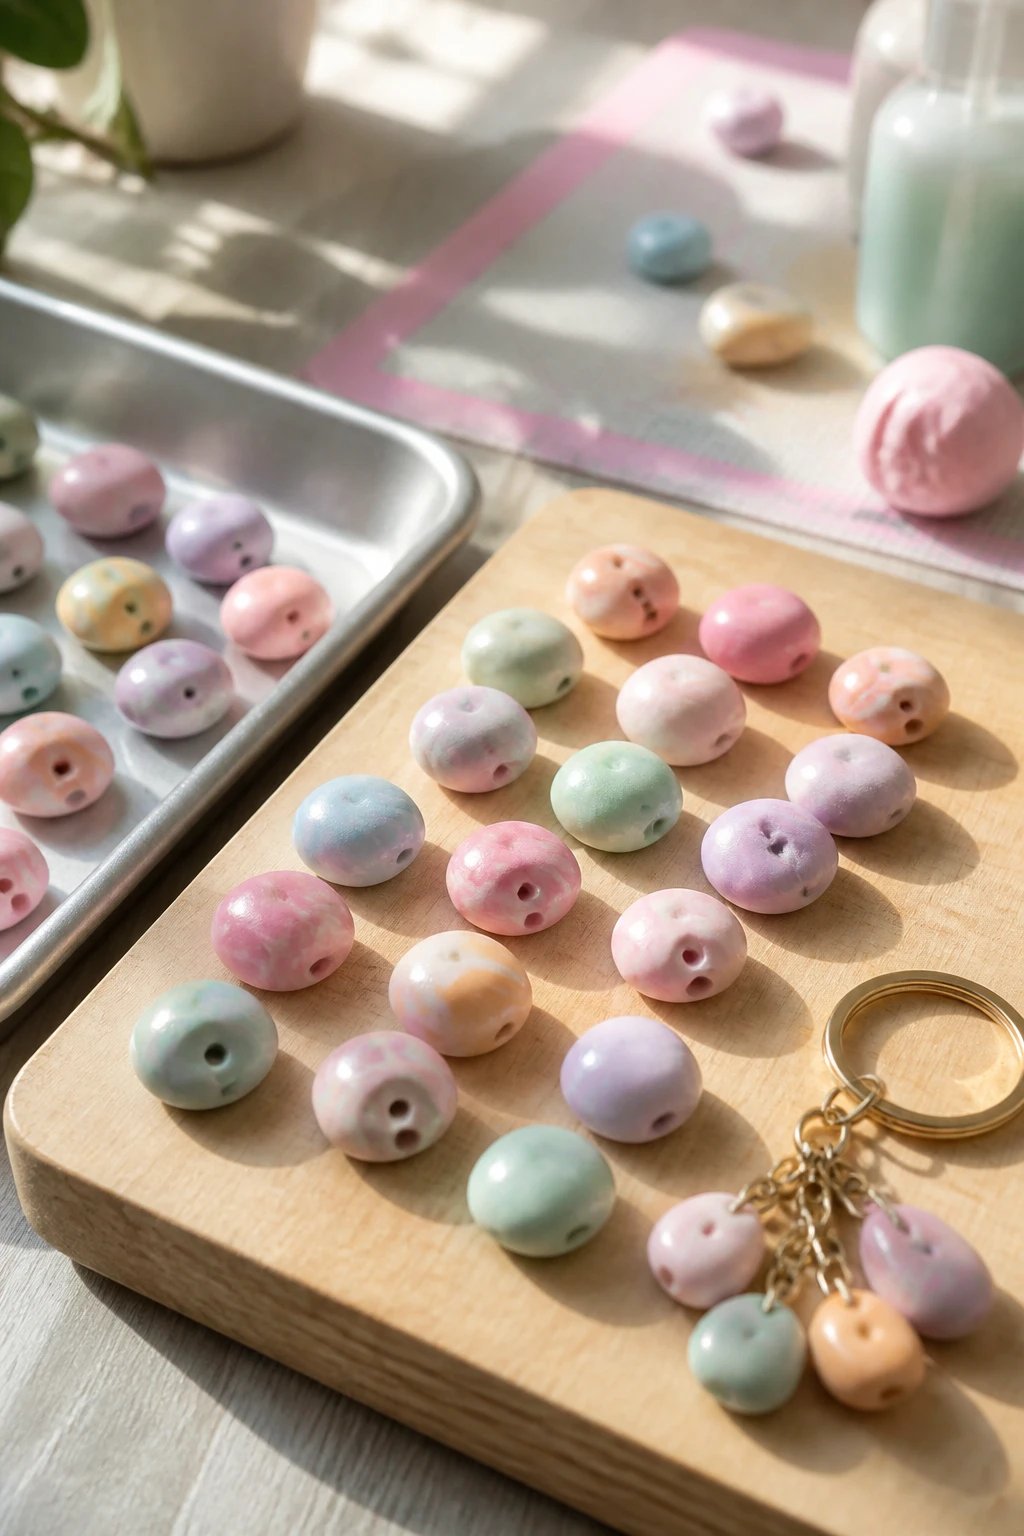
Slime is great, but beads that mimic slime texture feel fancy enough for a DIY show-and-tell. Shape bead-like blobs and bake them for a firm finish.
Why it clicks: tactile, squishy vibes without the mess of actual slime.
Materials: polymer clay in pastel tones, small bead holes, baking sheet.
Pro Tips
- Make some beads with a soft marbled look
- Use a clear glaze to mimic slime shine
- Smooth edges for a clean finish
End result: a quirky keychain collection that looks both stylish and fun to touch.
7. Pizza Slice Ornaments
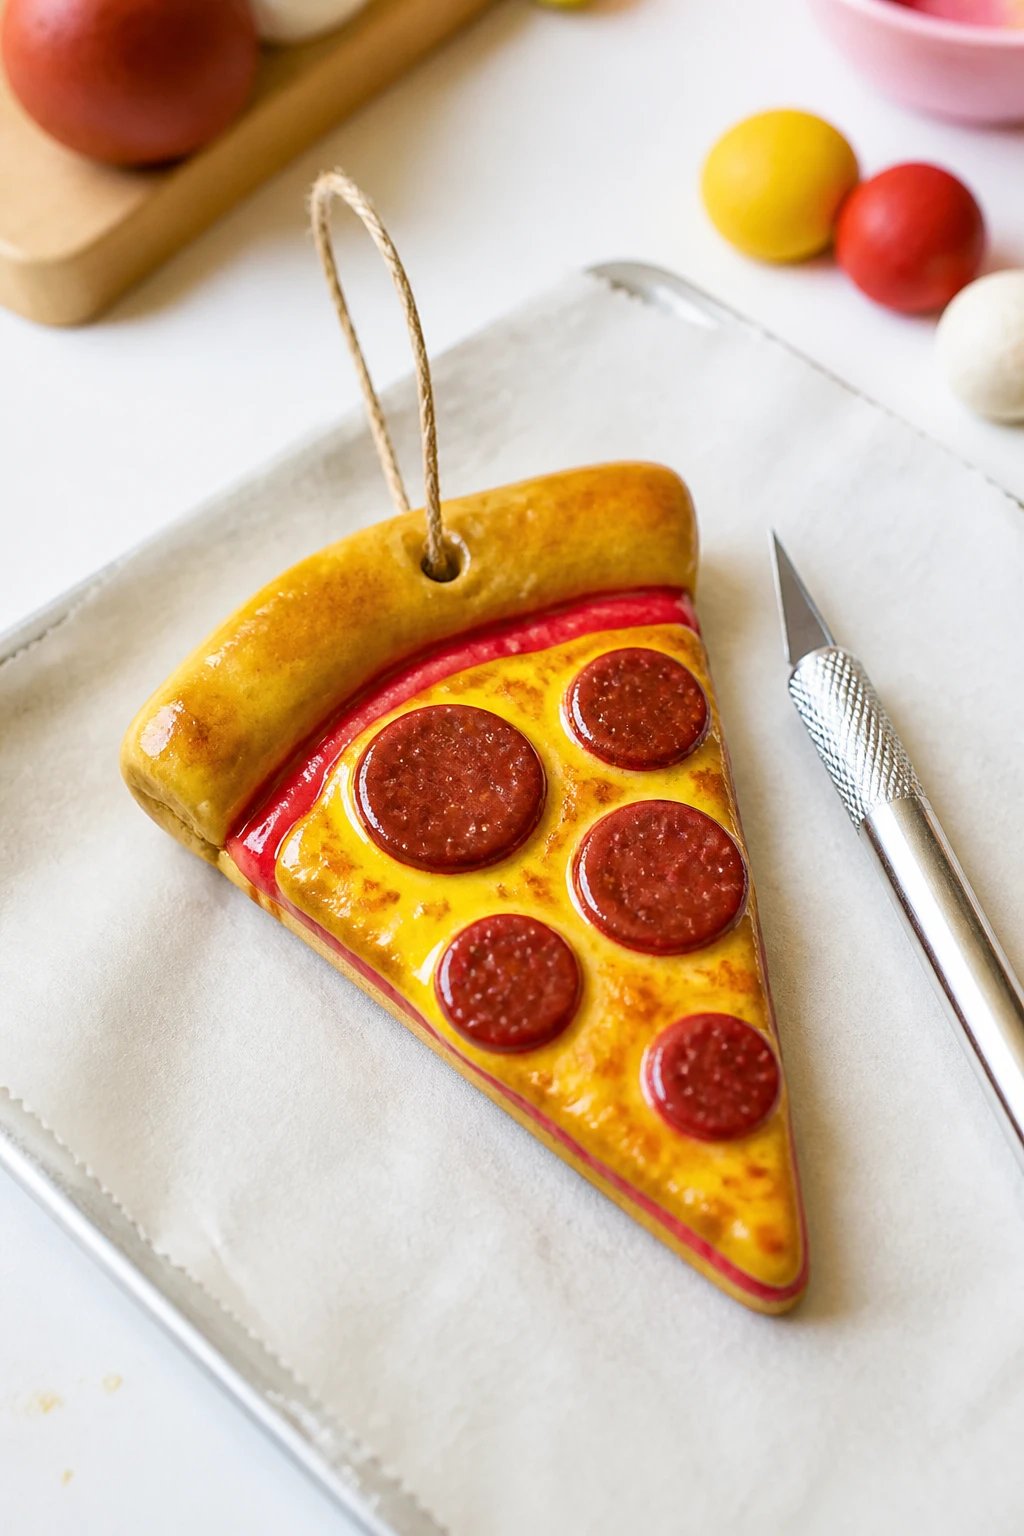
Who says pizza can’t be art? Slice shapes come together quickly and they’re perfect for play pretend kitchens or as ornaments.
Why it’s a hit: bold colors and recognizable shapes spark conversation and laughter.
Materials: clay in breadstick yellow, red sauce red, pepperoni brown, a small knife for detail.
Notes
- Use a baking sheet liner to prevent sticking
- Bright glossy glaze makes toppings pop
- Attach a string for hanging with minimal effort
Use these as a quirky party favor or fun fridge magnets after a bake session.
8. Ocean Pebbles and Cute Sea Creatures
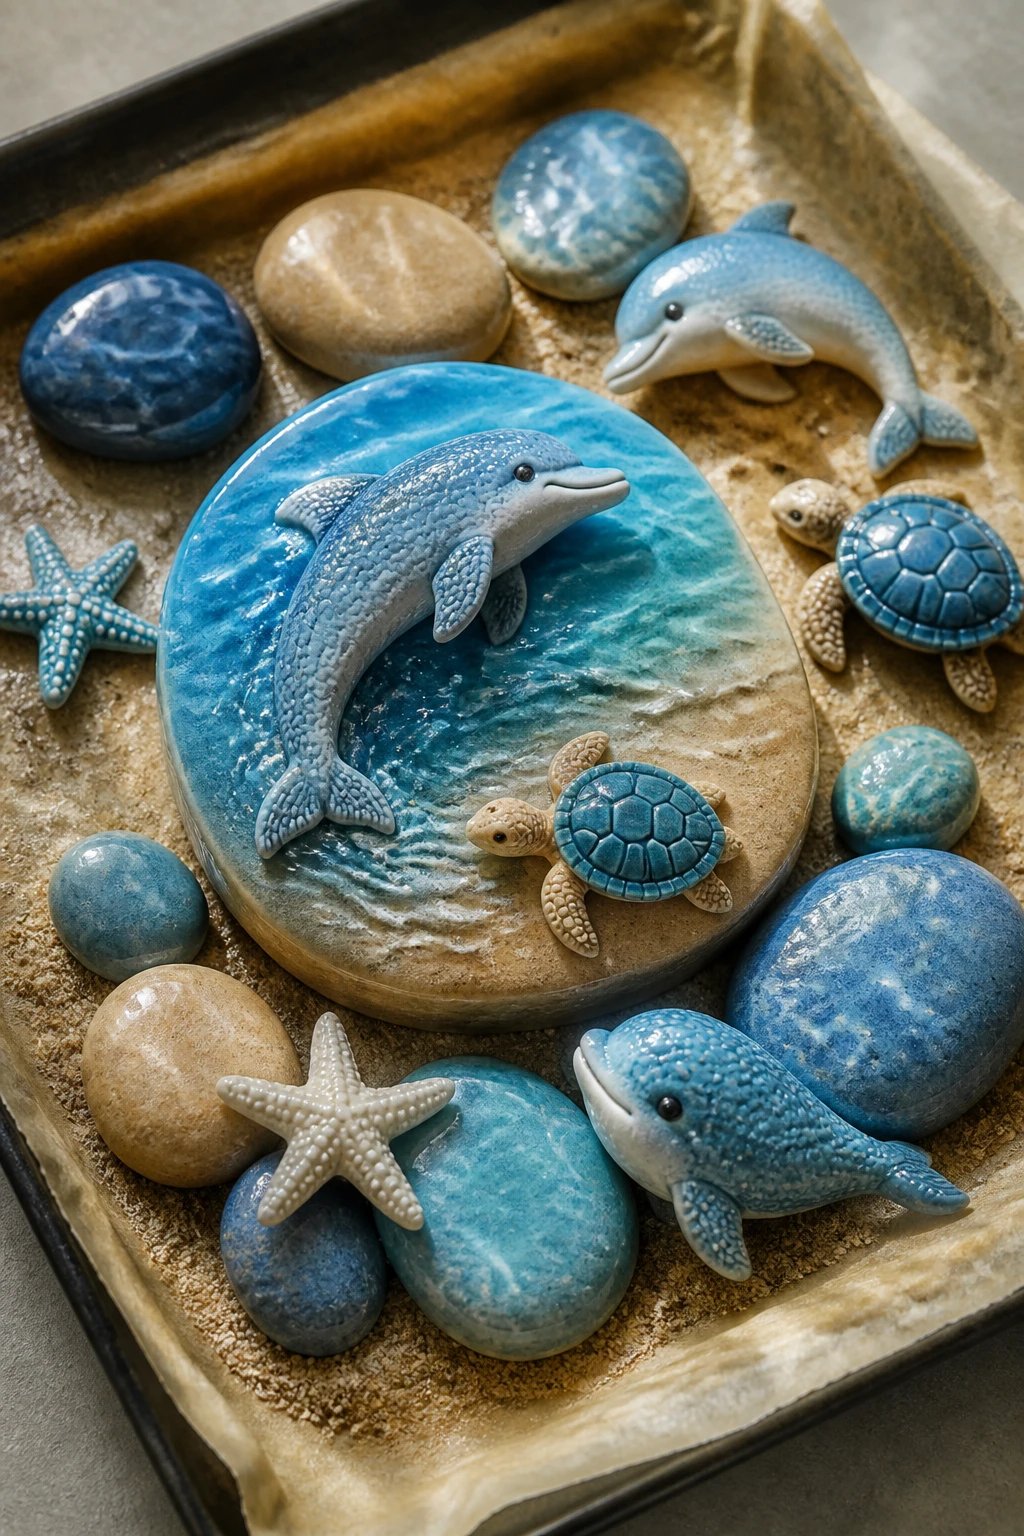
Sea themes are perfect for kids who love the water. Pebbles, dolphins, and turtles become a tiny underwater world on your shelf.
Why it’s awesome: calming colors and simple shapes that still feel premium.
Materials: blues, sandy tans, white for highlights; tiny brushes or toothpicks for details.
Tips
- Stamp delicate scales with a tool for texture
- Use a glossy glaze to simulate water sheen
- Bundle a few creatures into a mini scene
Bonus: create a display tray with a sandy texture using baking paper and light coat of clay on the bottom.
9. Rainbow Pony Ovals
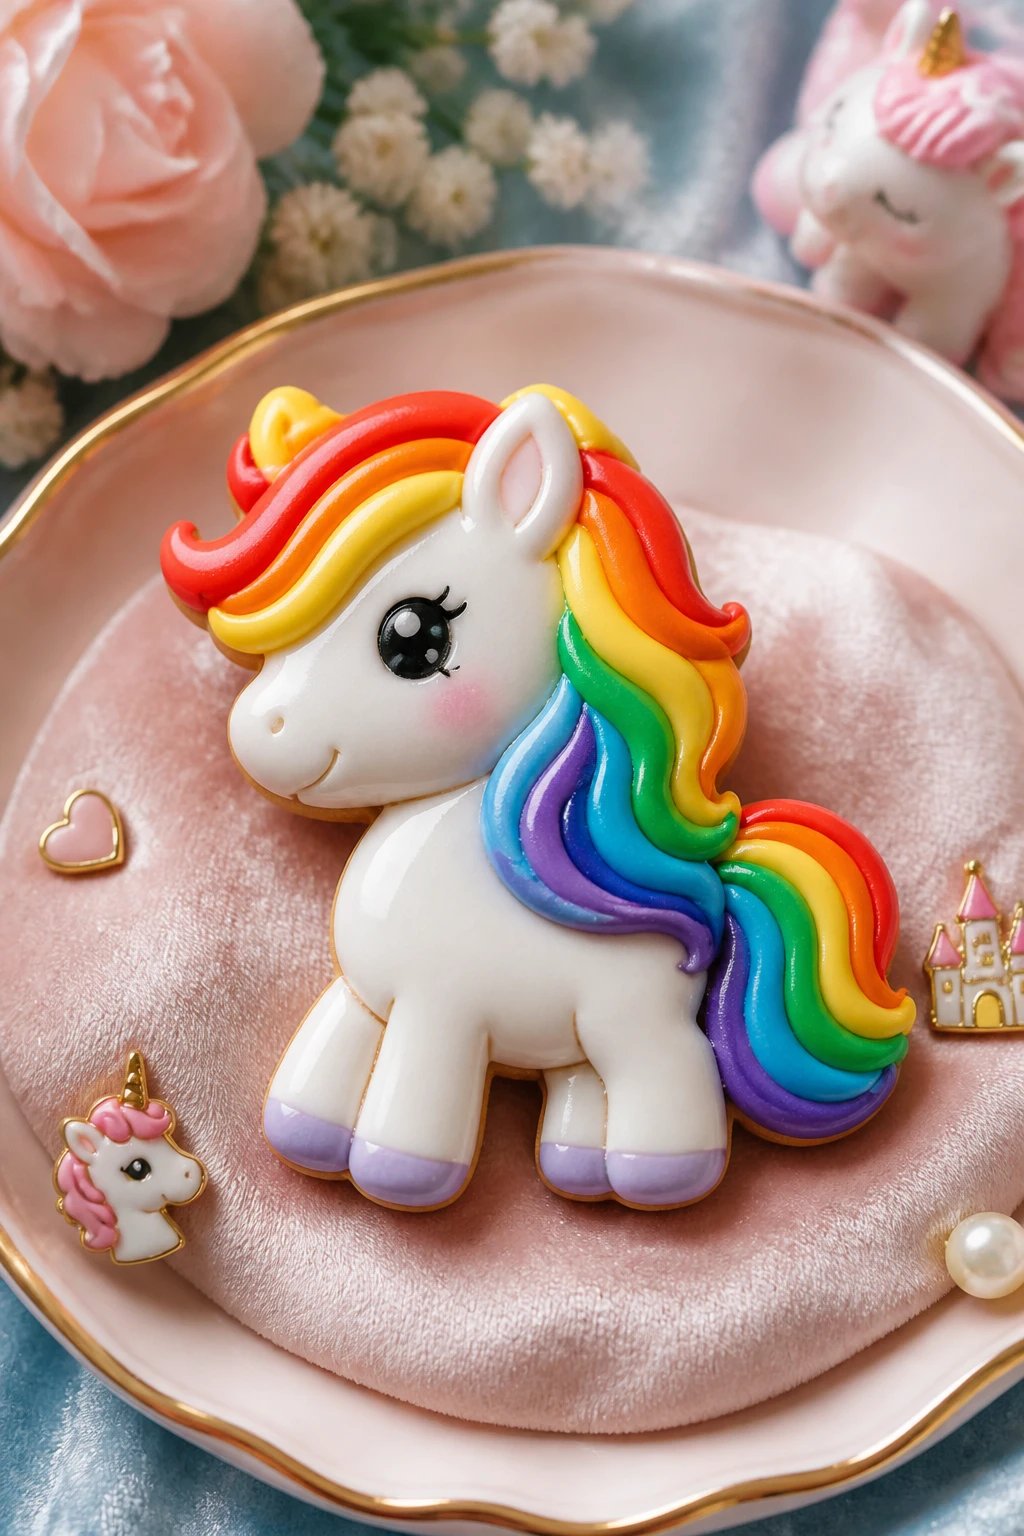
Pony shapes with rainbow manes feel magical and child-friendly. They’re adorable as pins or tiny figurines.
Why kids love it: bright colors and simple silhouettes keep the project breezy.
Materials: white or neutral base, colorful strands for manes, small eyes, bake-ready glaze.
Tips
- Apply color in layers to keep strands distinct
- Finish with a soft satin glaze for a gentle sheen
- Store on a soft surface to prevent flattening
Use these as party favors or part of a year-end display of kid art.
10. Fun Gecko Beads with Tiny Limbs
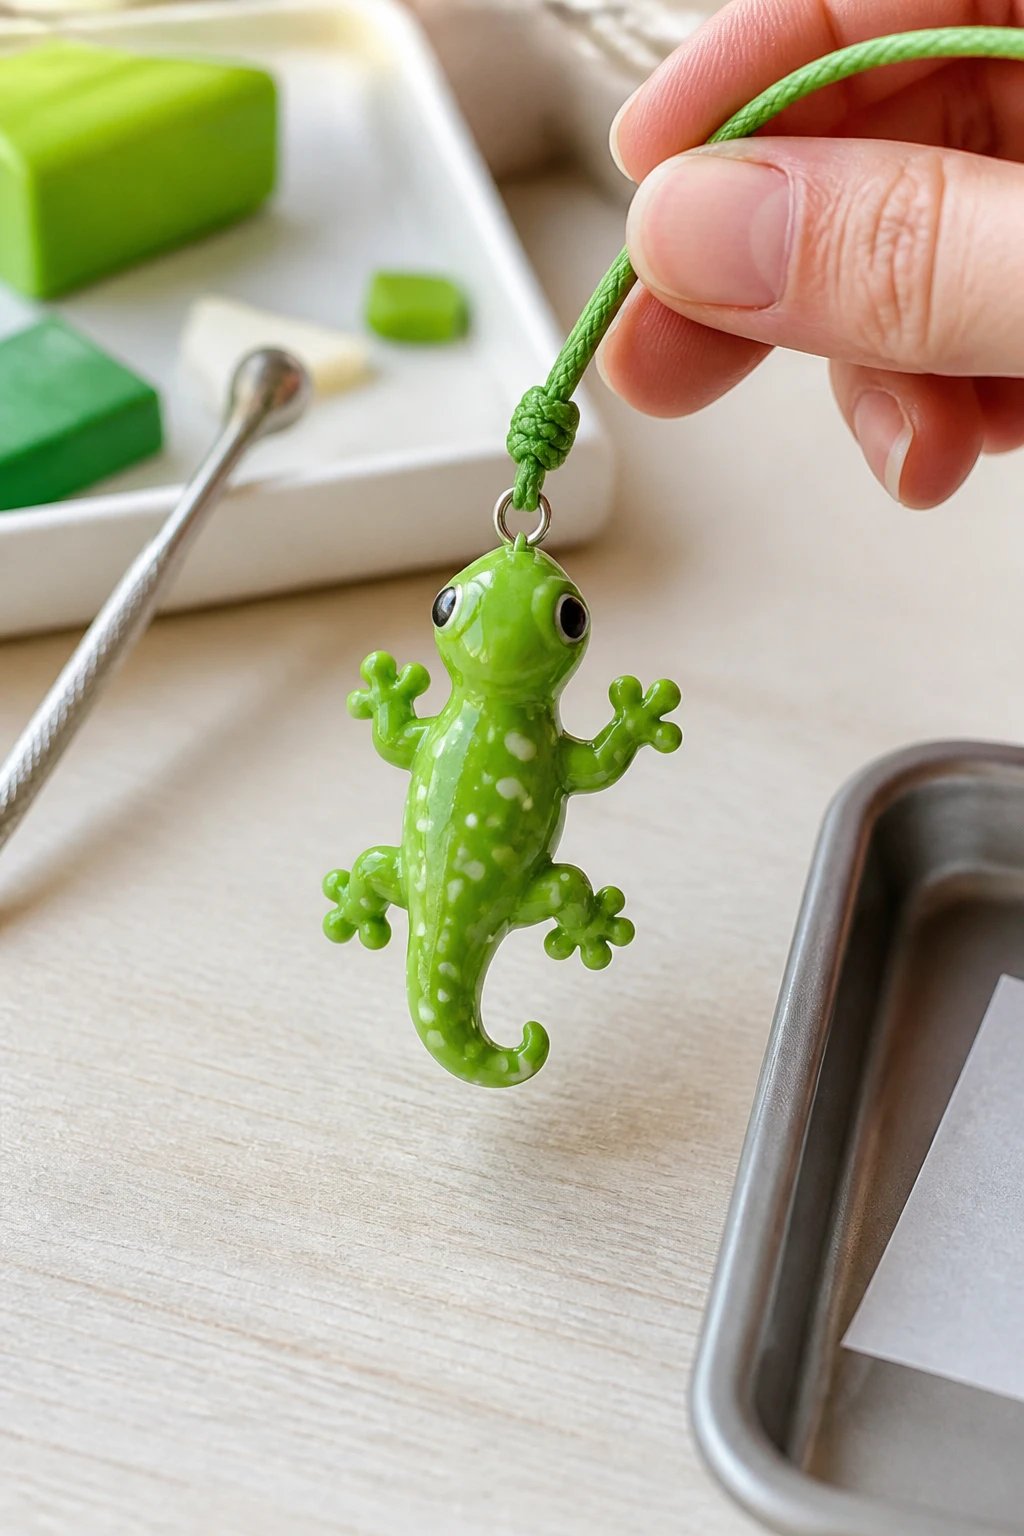
Geckos are quirky and surprisingly easy to sculpt. Turn them into playful beads or zipper pulls for bags.
Why it works: geometric limbs and cute tails are surprisingly simple to render.
Materials: green clay, tiny added details for toes, tiny glaze for sparkle.
Notes
- Shape limbs with a modelling tool for precision
- Bake small batches to verify doneness quickly
- Decorate with white spots for a whimsical look
Finish with a bright cord to turn into a charm that travels everywhere with your kid.
11. Starry Night Mini Ornaments
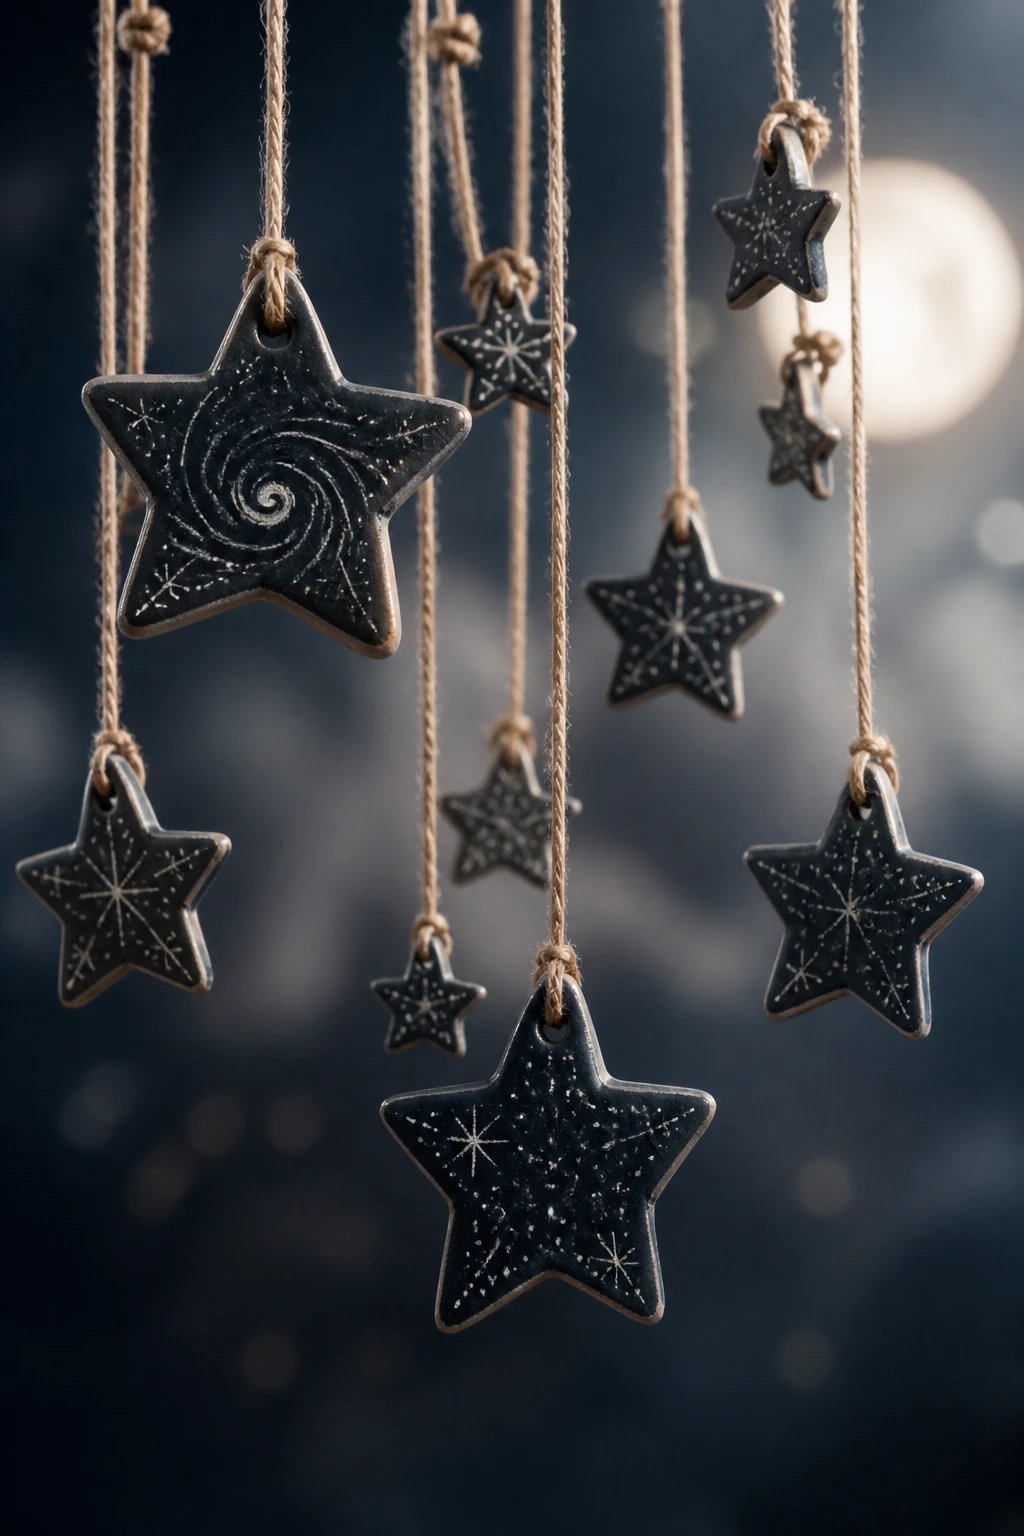
Stars in different sizes create a constellation of mini ornaments ready for hanging on bags or desktops.
Why this stands out: a lullaby of shapes that looks like it belongs in a moonlit sky.
Materials: dark clay for stars, white or silver accents, a tiny hole for hanging.
Key Points
- Layer stars to create a celestial feel
- Use a pearly glaze for a magical shimmer
- Pair with a soft twine for hanging
Use them as a bedroom garland or party decor to bring a twinkle to any space.
12. Monster Mash Magnets
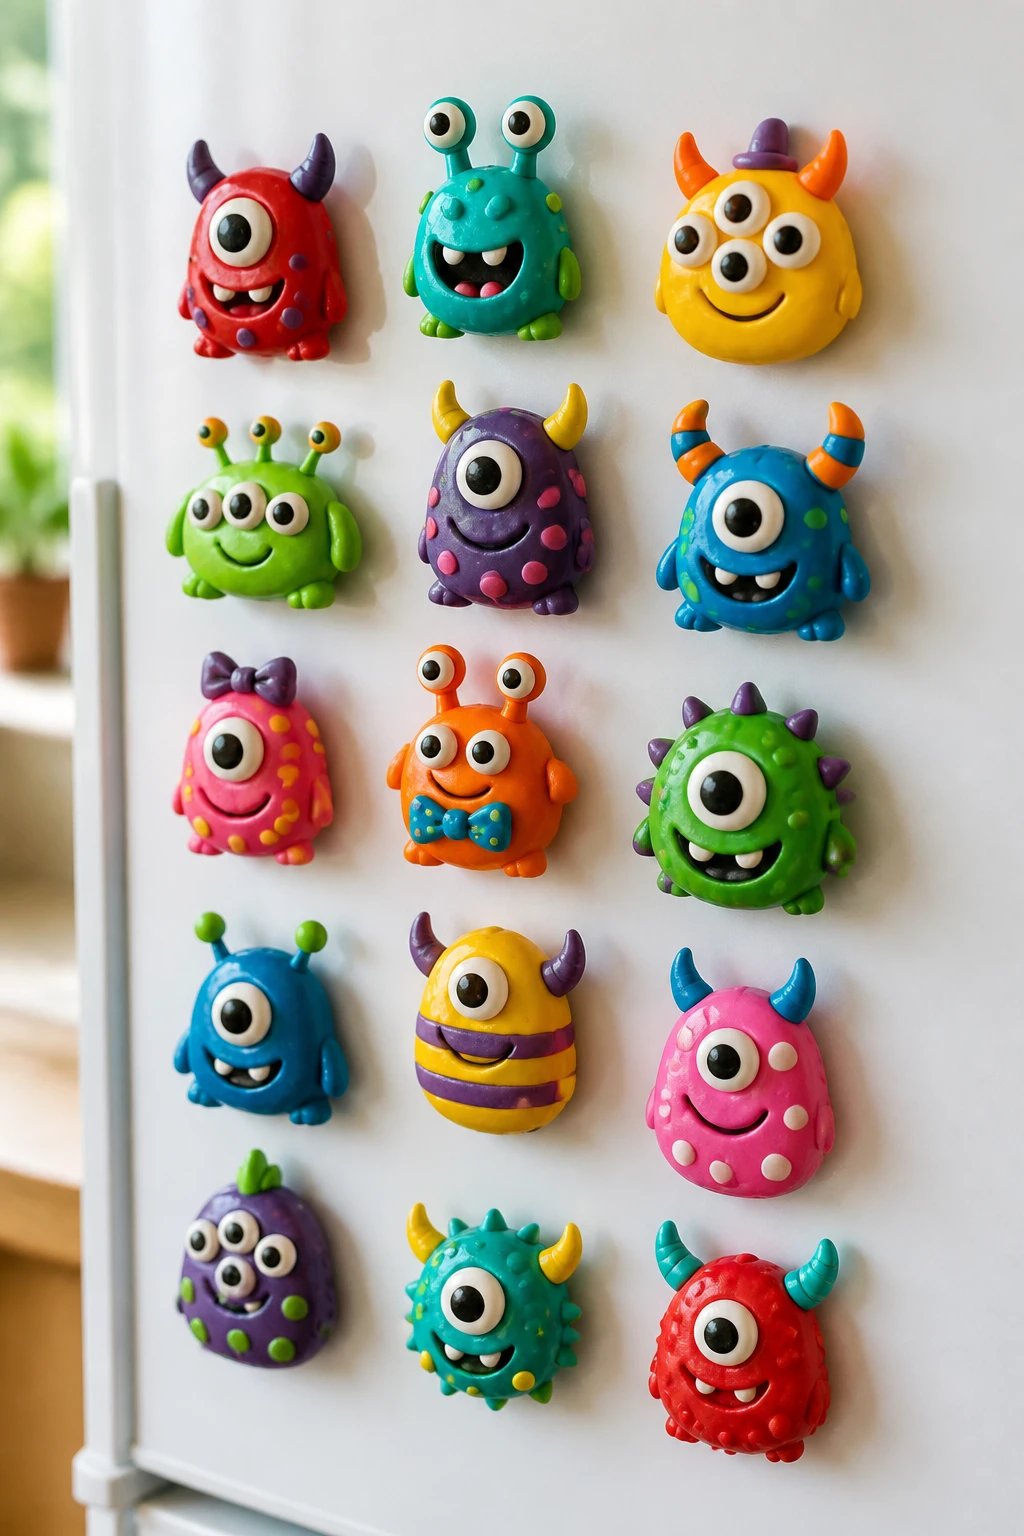
Friendly monsters make magnets entertaining and collectible. Each one can show off a different personality.
Why it’s addicting: kids love inventing quirky monsters and giving them names.
Materials: bright clay, magnetic discs or thick felt, a strong glue for magnet backing.
Tips
- Give each monster a signature feature (horns, antennae, eyes)
- Keep magnets lightweight for easy fridge display
Best used as fridge friends or a fun desk buddy set.
13. Sushi Roll Charms
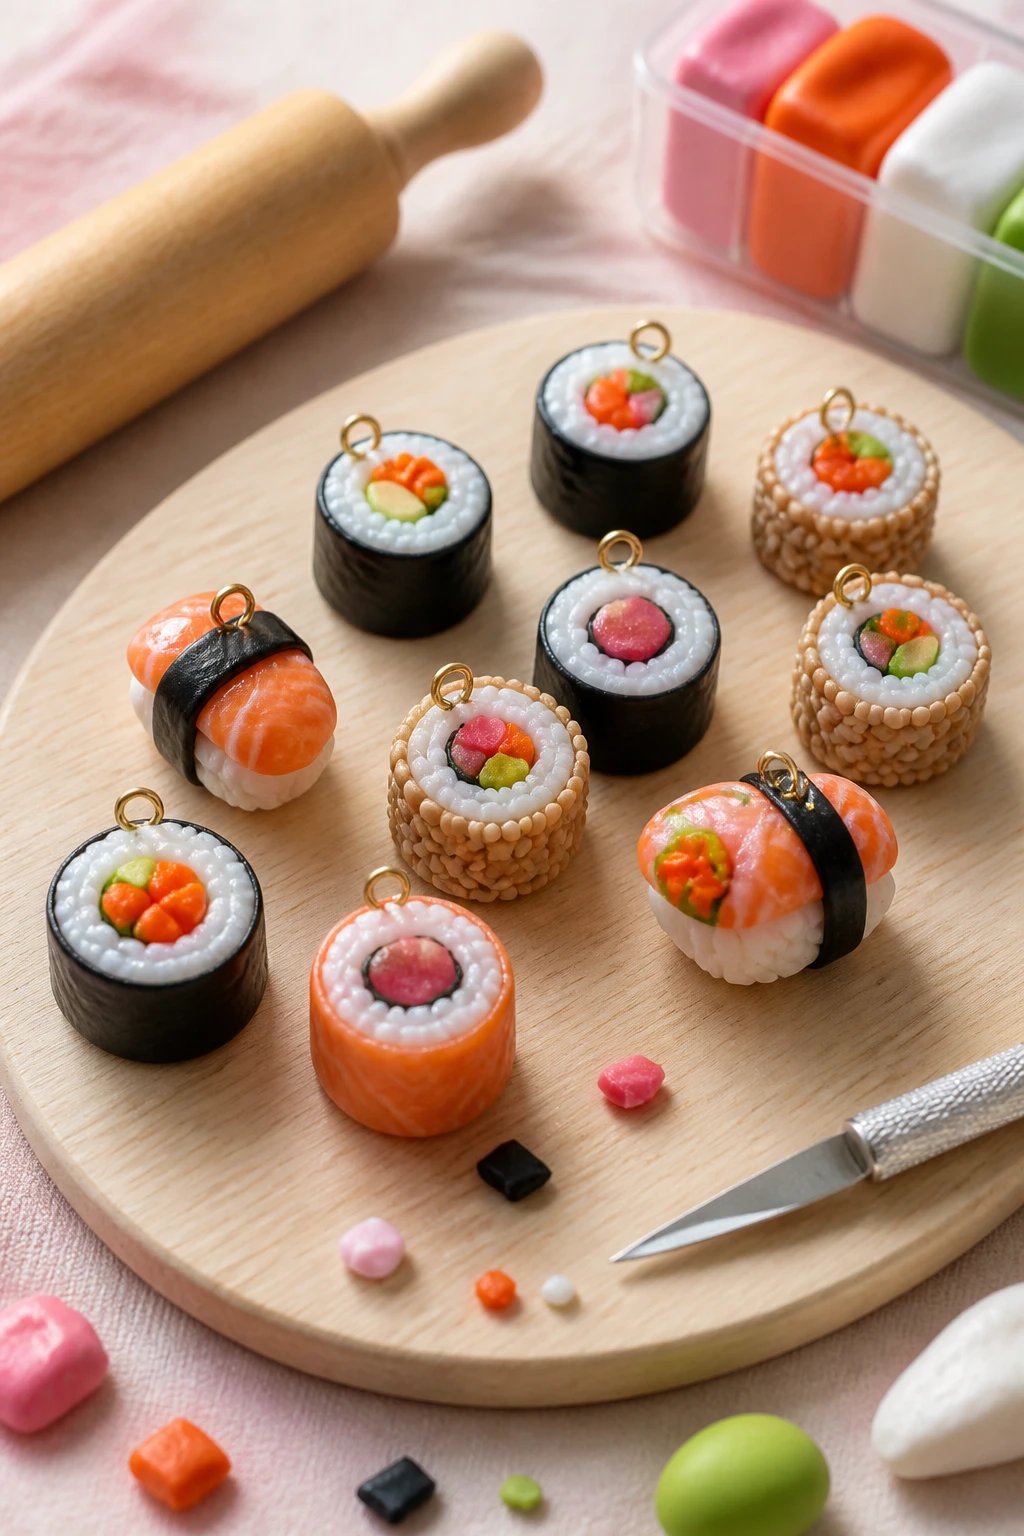
Sushi shapes are surprisingly cute and incredibly snackable in clay form. Roll out tiny pieces and assemble in a kit-like charm set.
Why it works: familiar shapes translate into delightful miniatures kids can manage.
Materials: white, orange, pink, and black clay; a rolling pin; small blades for neat lines.
Strategies
- Layer colors to mimic real sushi texture
- Put a miniature seed on top for a sesame touch
Display as a set on a display board or turn into a playful necklace collection.
14. Cookie Cutout Characters
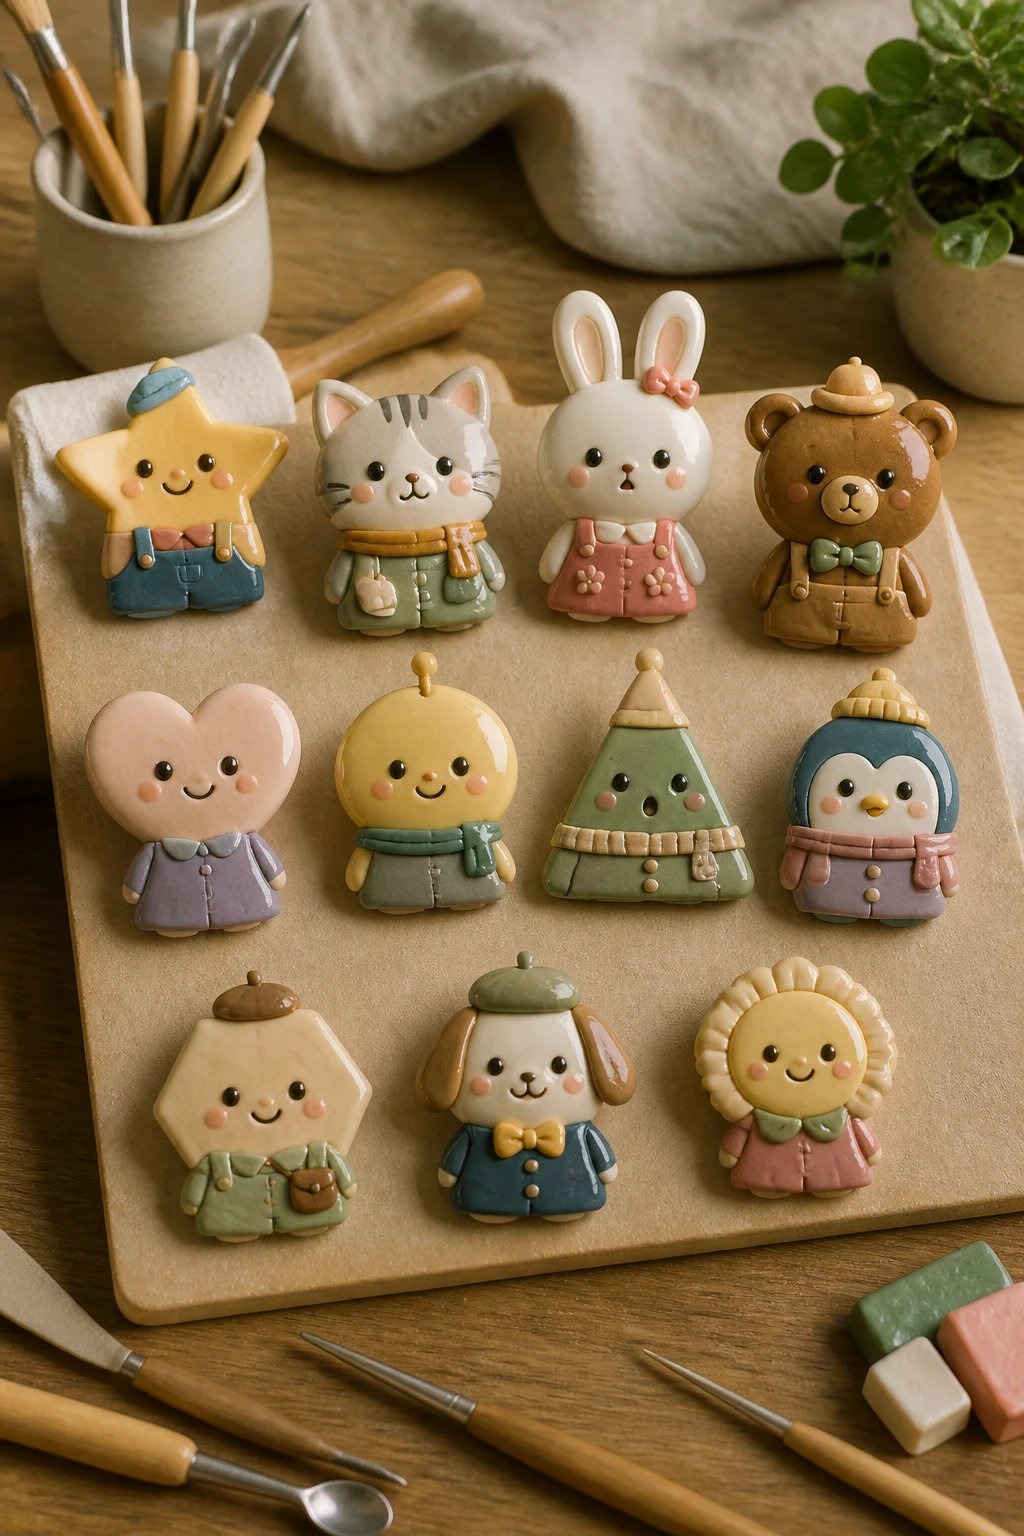
Turn cookie shapes into personality-rich characters with faces and outfits. It’s simple craft theatre in clay form.
Why this clicks: kids love giving each cutout its own story and vibe.
Materials: neutral base color, accent colors, small detailing tools for faces and outfits.
Tips
- Paint tiny facial expressions with a fine brush after baking
- Use a glaze to preserve color and shine
Deploy as a cut-out display or a tiny character collection for a make-believe gallery.
15. Pinecone Pixie Ornaments
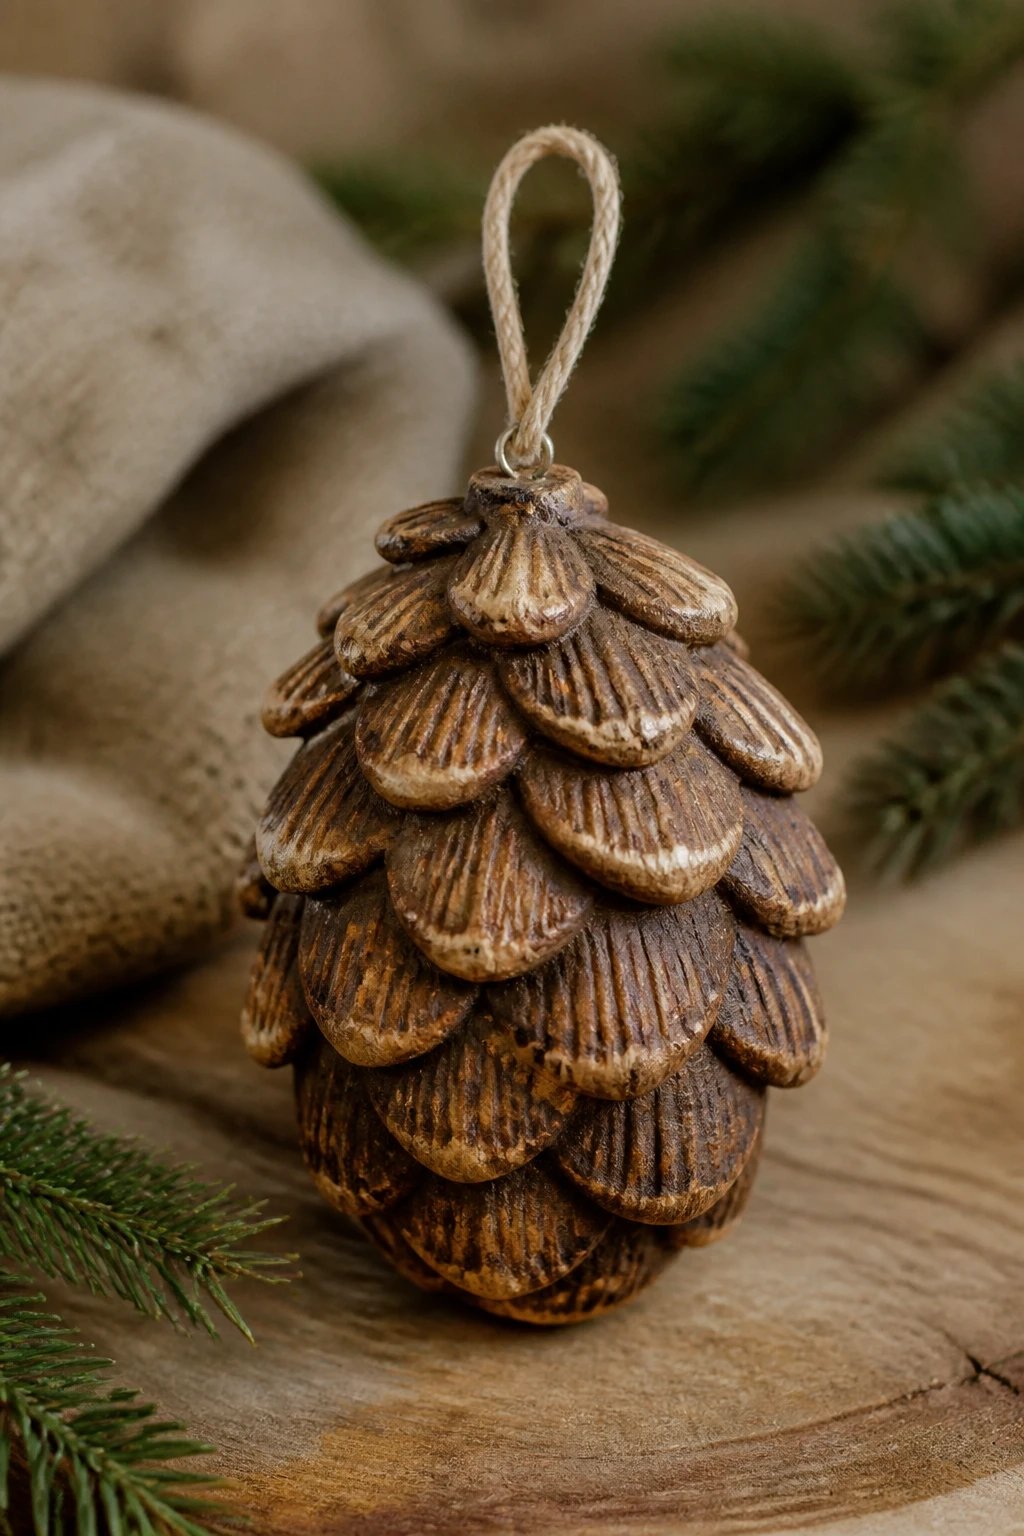
Pinecone shapes bring a nature-inspired vibe into polymer clay. They look chic on a tree or desk display.
Why it’s appealing: earthy tones and textured surfaces give a sophisticated yet kid-friendly look.
Materials: brown and tan clays, texturing tool, a small hook for hanging.
Notes
- Texture with a comb or other textured tool to mimic bark
- Seal with a matte glaze for an organic finish
Perfect as a seasonal craft that evolves with the year.
16. Dino Egg Shelves and Mini Dinosaurs
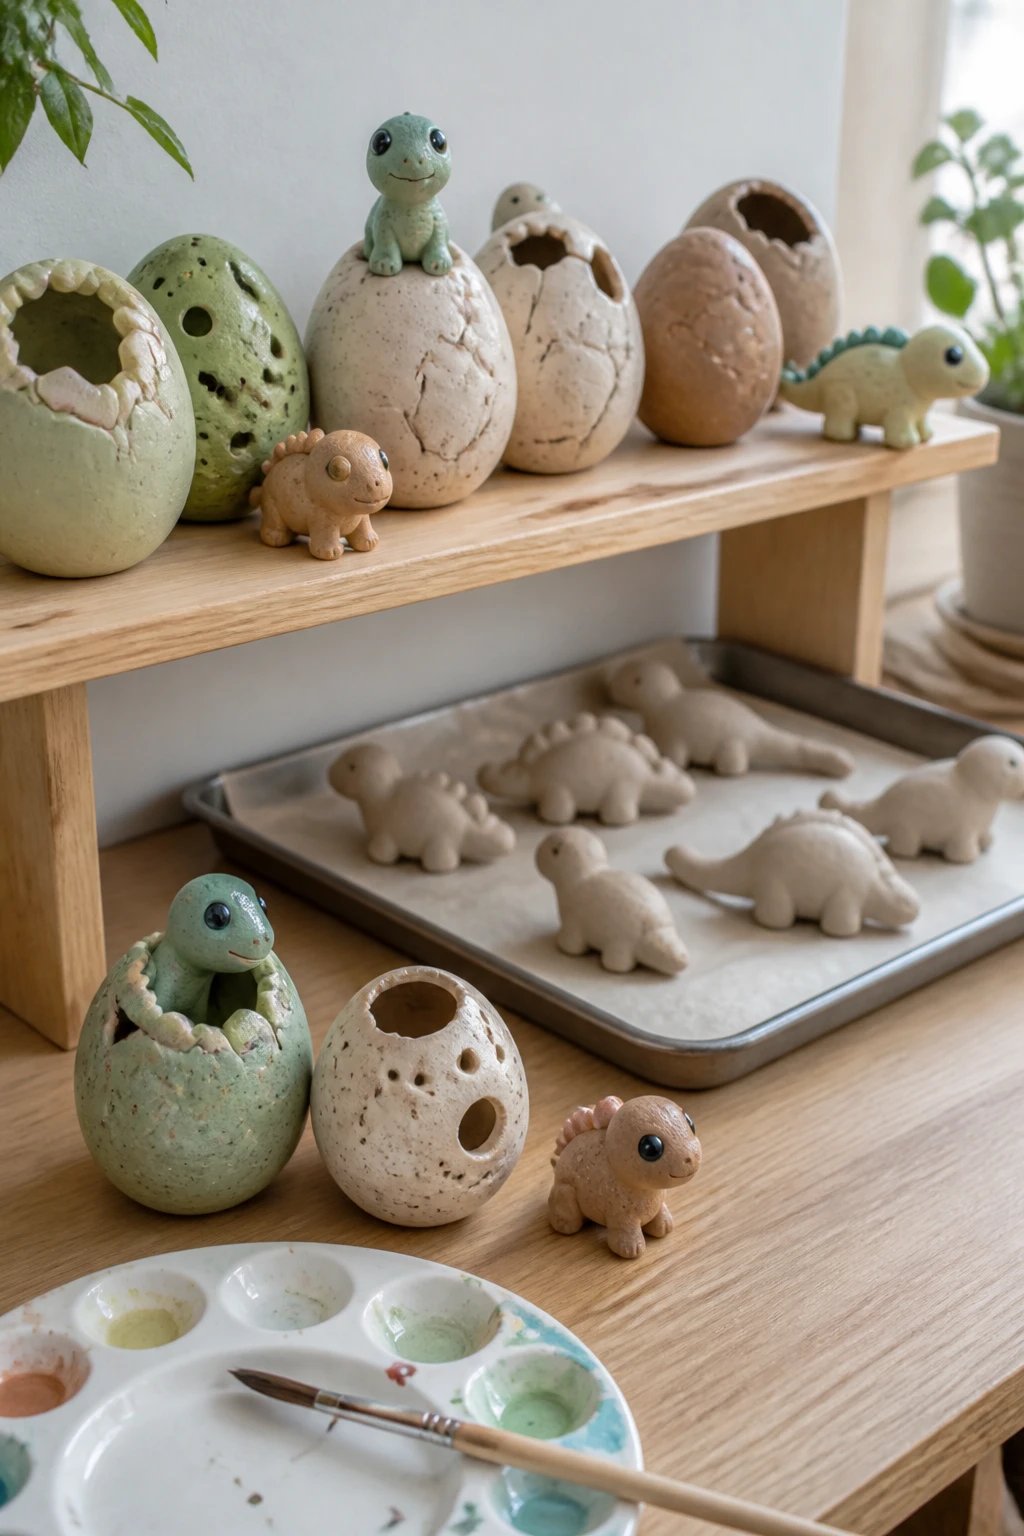
Dinosaurs bring a roaring energy to any craft session. Create eggs and small dinos that can perch on shelves or desks.
Why it works: the world of dinos sparks imagination and science vibes all at once.
Materials: pastel greens, browns, and cream; small eyes; a baking tray with parchment.
Tips
- Make a couple of different dino shapes for variety
- Use a tiny amount of glaze to keep colors bright
End with a mini dinosaur display that doubles as a learning prompt for a storytelling game.
17. Pom-Pom Piggy Banks Pass
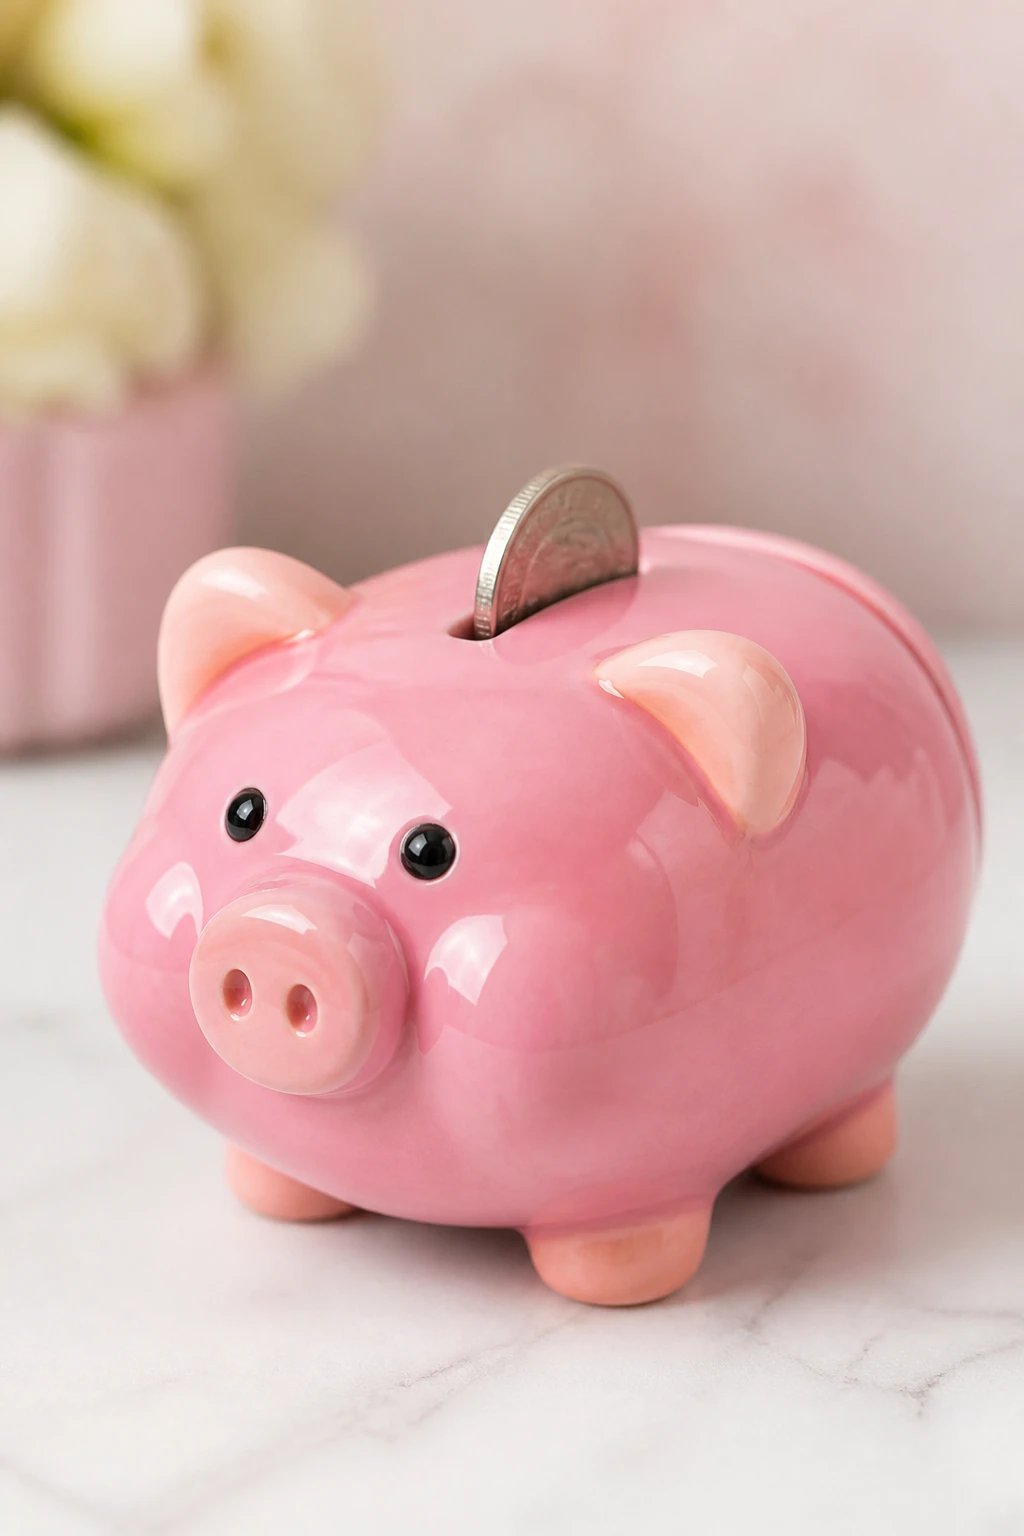
Okay this one is adorable and unexpectedly practical. Create little piggy banks out of polymer clay with a coin slot and a friendly snout.
Why it shines: kids love saving money, and this project makes it feel like a game more than a chore.
Materials: pink tones, a coin slot blade, a small spritz of glaze for shine.
Notes
- Ensure a snug lid to keep coins secure
- Use a contrasting color for the snout and ears for charm
Place on a shelf and watch kids proudly deposit their first coins.
18. Puzzle Piece Friends
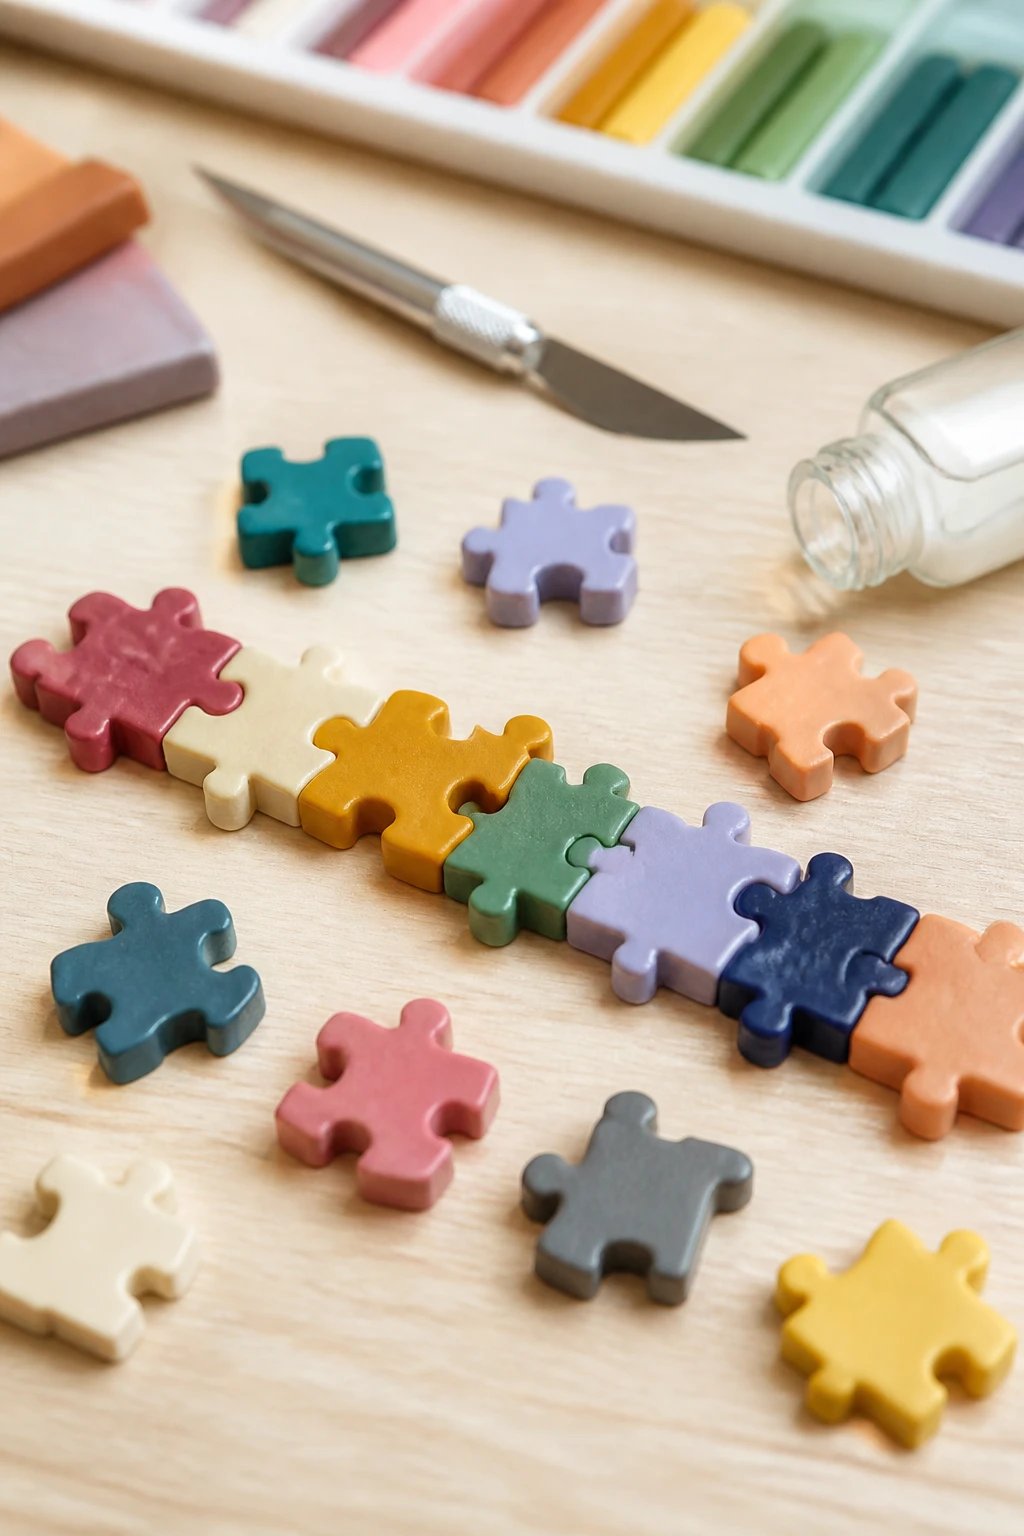
Make a matching set of tiny puzzle pieces that connect when lined up. It’s a clever brain-teaser and a cute collection.
Why it’s clever: kids practice spatial awareness while crafting a tangible puzzle.
Materials: assorted colored clays, a small blade to cut tidy edges, a gloss glaze for finish.
Tips
- Number or color-code pieces for easy matching
- Bake in pairs to ensure fit as you go
Use as a learning aid or a playful display that doubles as a conversation starter.
19. Glow-in-the-Doodoo Nightlights
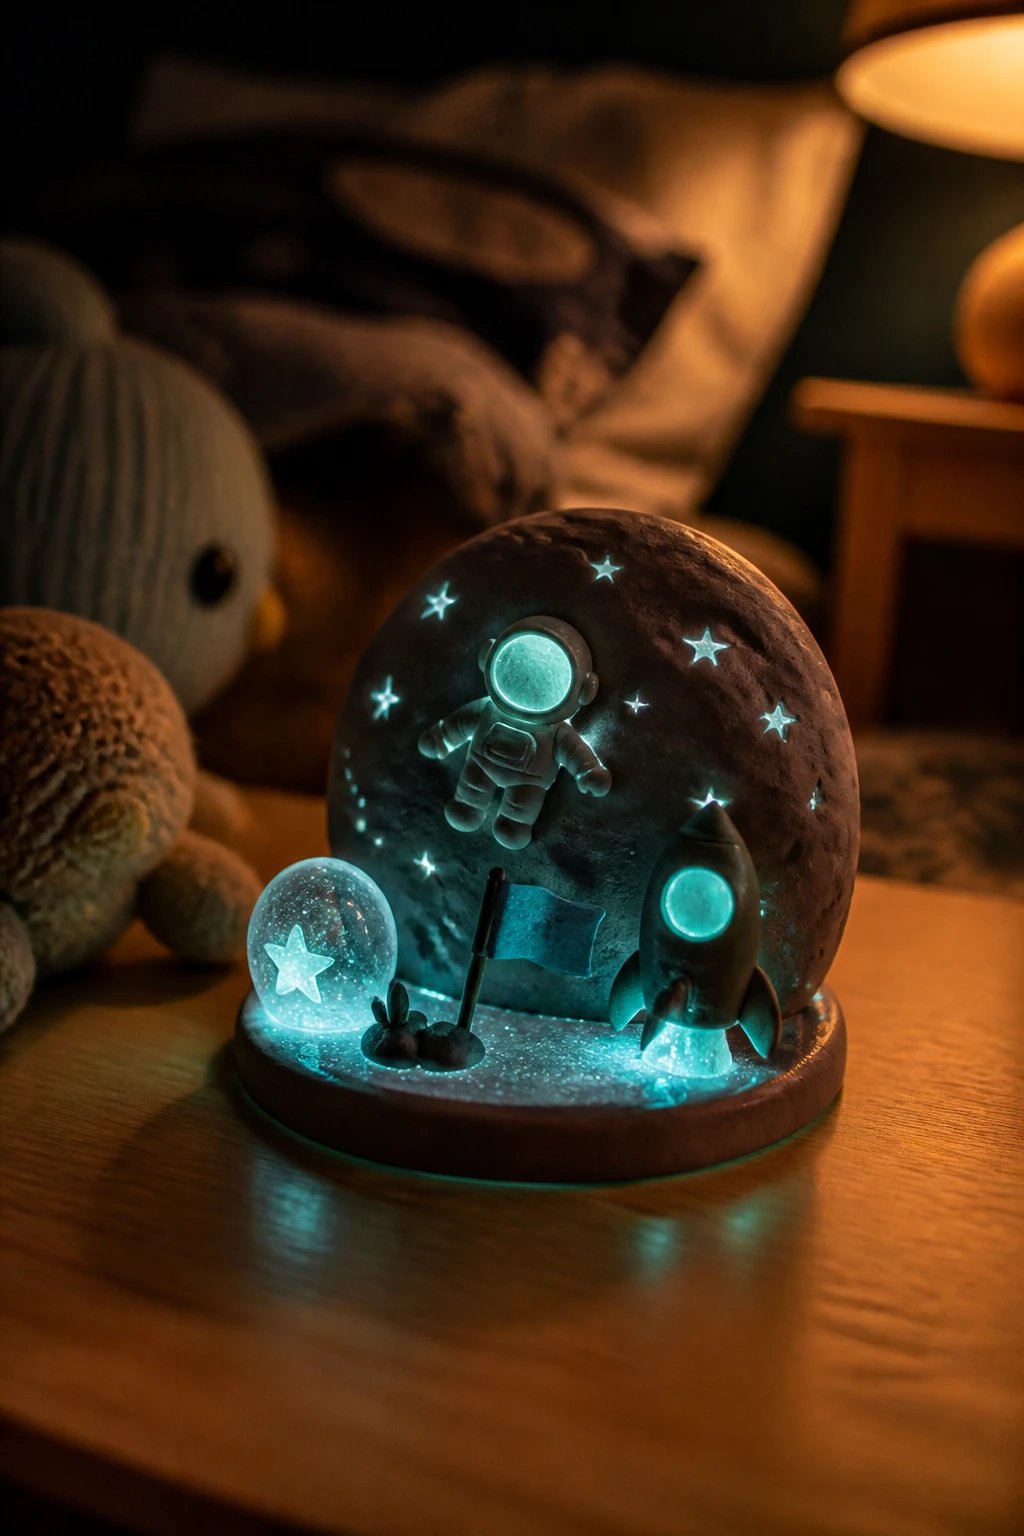
Yes, you can make glow-in-the-dark accents. Combine clay with glow powder to craft tiny nightlights or glow accents for room decor.
Why it feels futuristic: kids see their art literally lighting up the room, and that’s magical.
Materials: glow powder mixed into clear glaze, dark color clay for base shapes, a small LED base if you want real light.
Tips
- Test glow intensity by charging under a lamp before bed
- Use a protective sealant to preserve glow color
Best used as a nightstand quick-fix that doubles as a conversation starter about science and art.
Now that you’ve seen all 19 ideas, you’re geared up to grab clay, set a timer, and let the creativity roll. You’ll wow your kid with how fast these ideas come together and how proud they’ll feel showing off their finished pieces. Trust me, this is one of those crafts that leaves everyone smiling long after the oven cools.
Ready to dive in? Gather your supplies, pick a project or two, and start a mini crafting marathon with snacks and a playlist. You’ve got this — and your kiddo is going to love every minute of it.
