
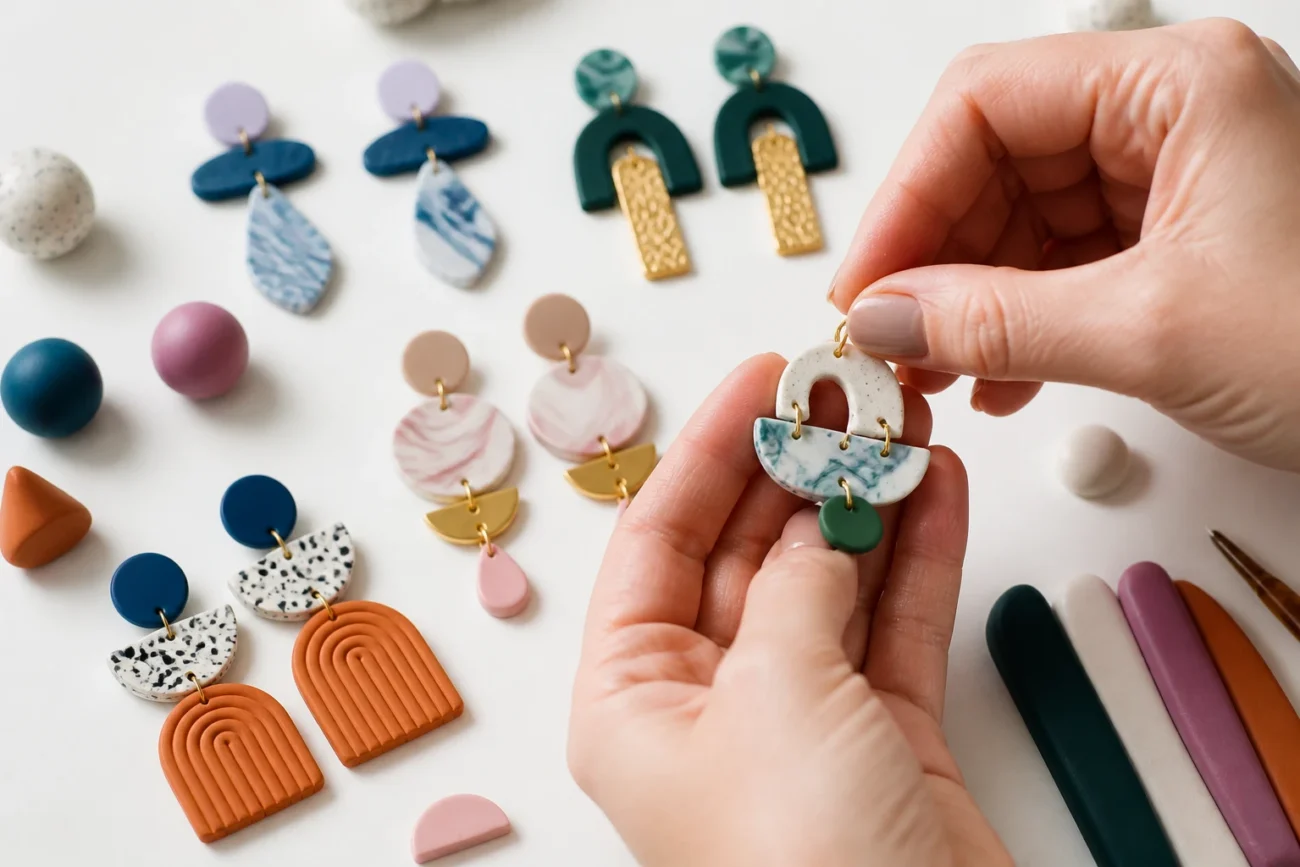
Ready to dive into polymer clay and pop on cute earrings that actually feel doable?
These ideas are perfect for beginners who want quick wins and big smiles. You’ll have wearable gallery-worthy pieces in no time.
Stick with me and you’ll unlock patterns, colors, and techniques that turn simple clay into stylish earrings – trust me you won’t regret it.
1. Layer Textures Like a Pro
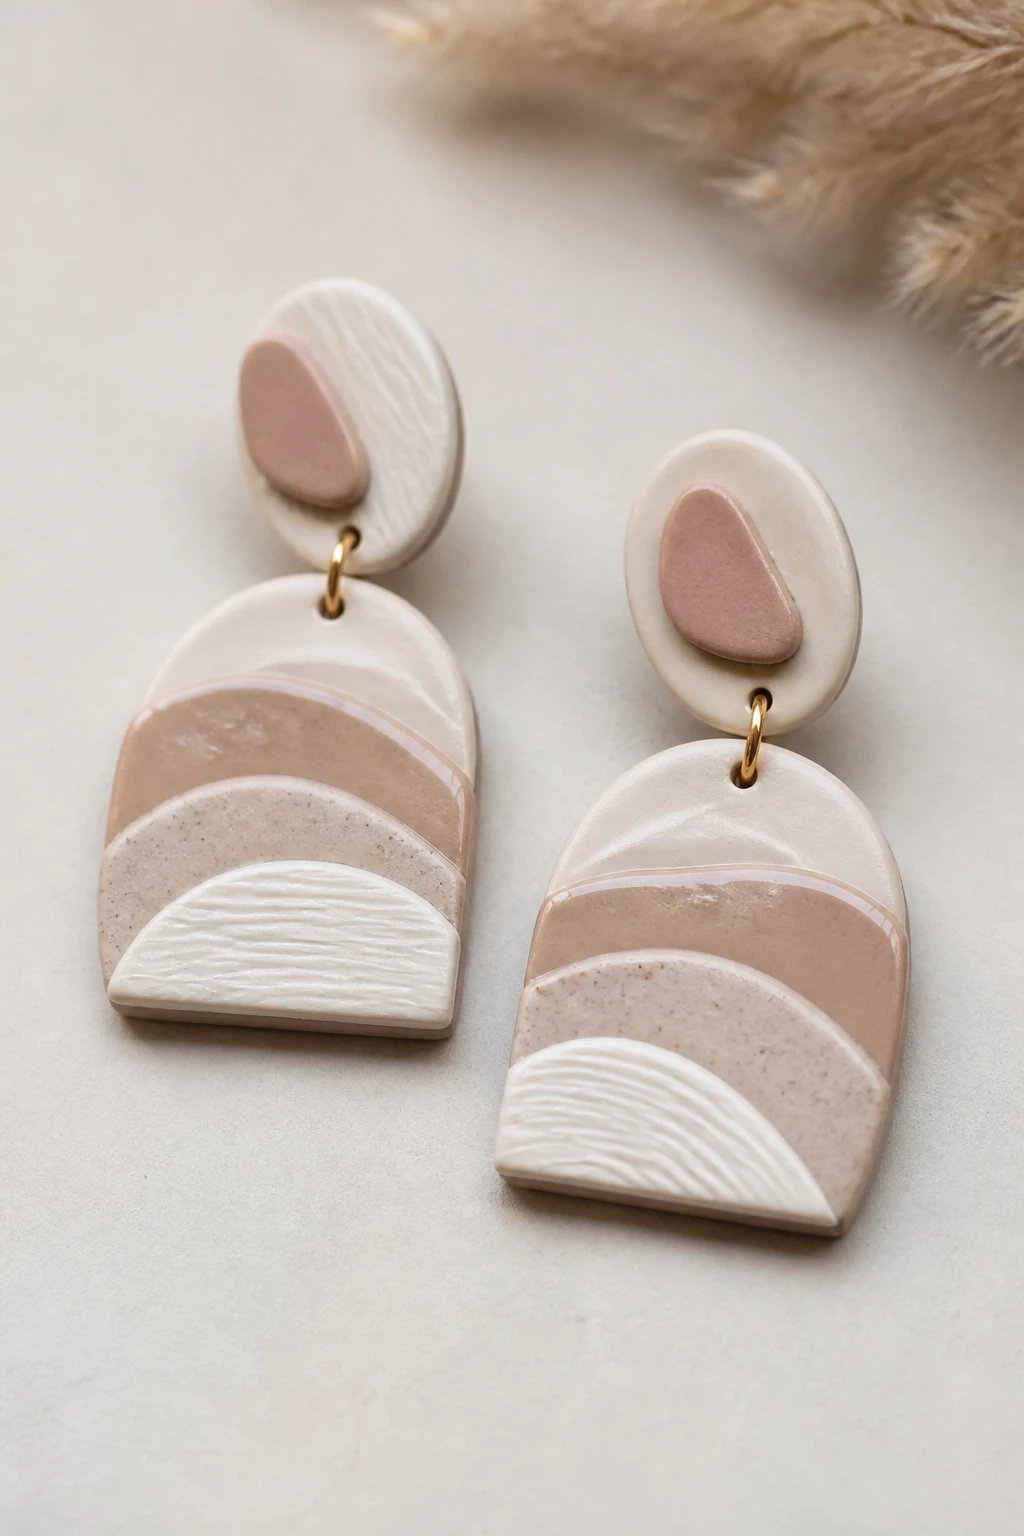
Texture is everything when you start with plain clay. You can fake depth without fancy tools.
Why this works: layering adds interest and makes even simple shapes pop.
Key Points
- Mix matte and glossy finishes for contrast
- Use different rolling thickness for a tactile look
- Finish with a light sanding for a refined feel
End result: earrings that look crafted and intentional, even if you spent a lazy afternoon making them.
2. Go Geometric with Bold Angles
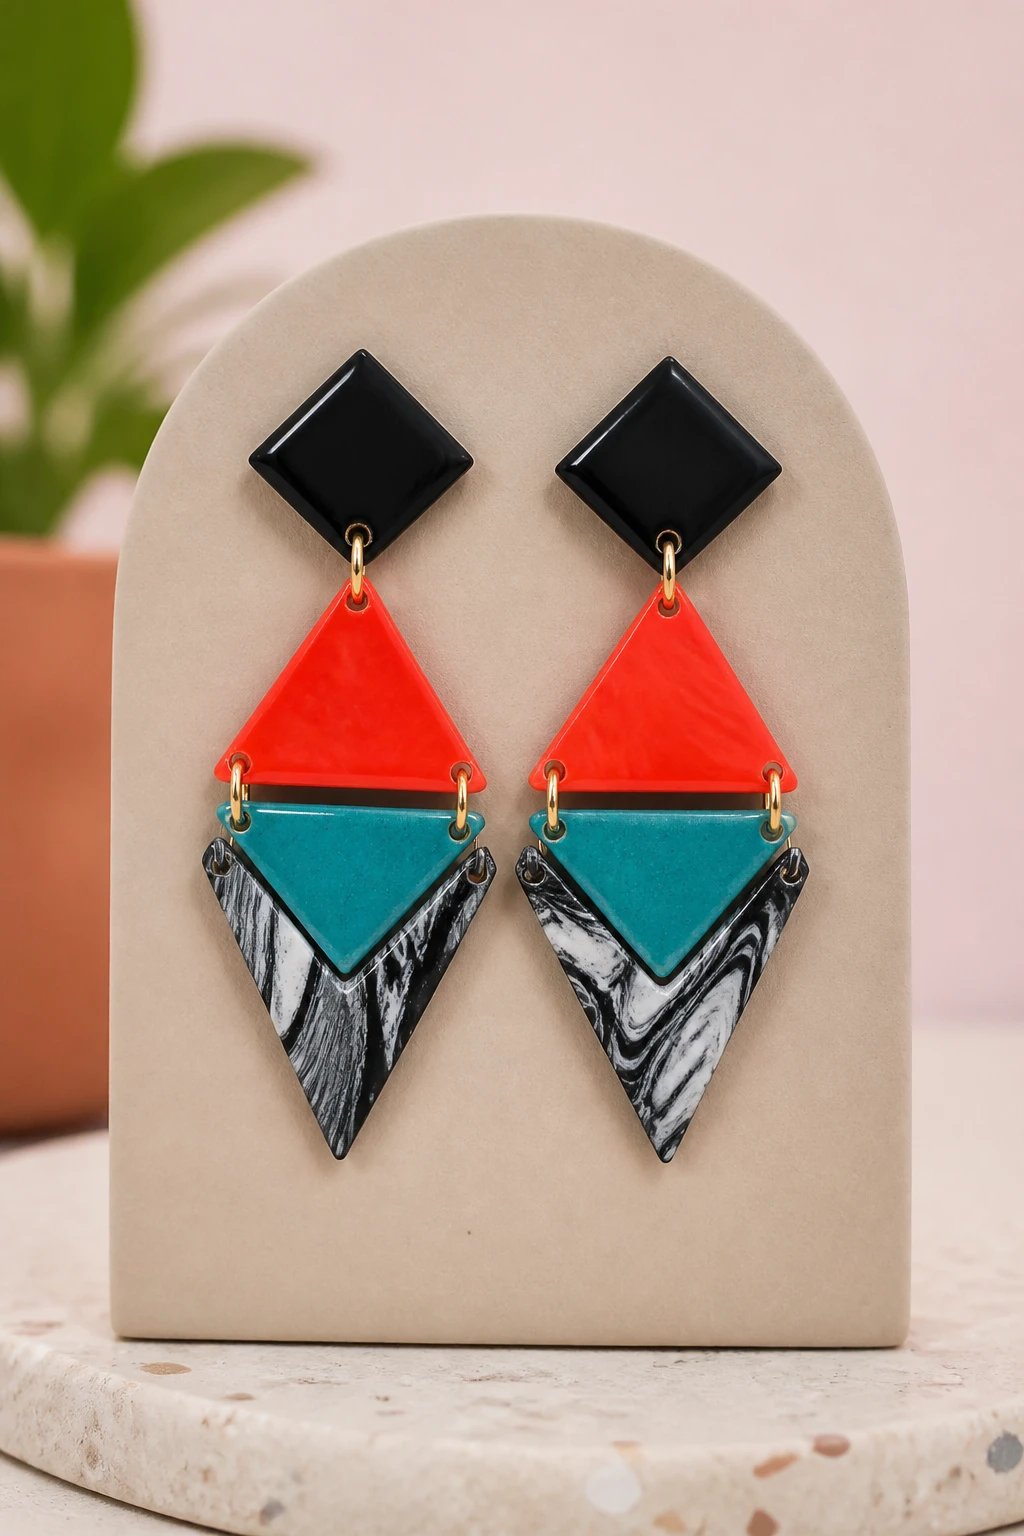
Geometric shapes scream modern chic and are surprisingly forgiving for beginners.
These shapes make a statement without requiring perfect symmetry.
Tips
- Start with triangles, then add rectangles or diamonds
- Bold color blocks pop against simple outfits
- Keep holes aligned for easy assembly
When to wear: daily outfits or funky date night looks.
3. Marble Magic in Minutes
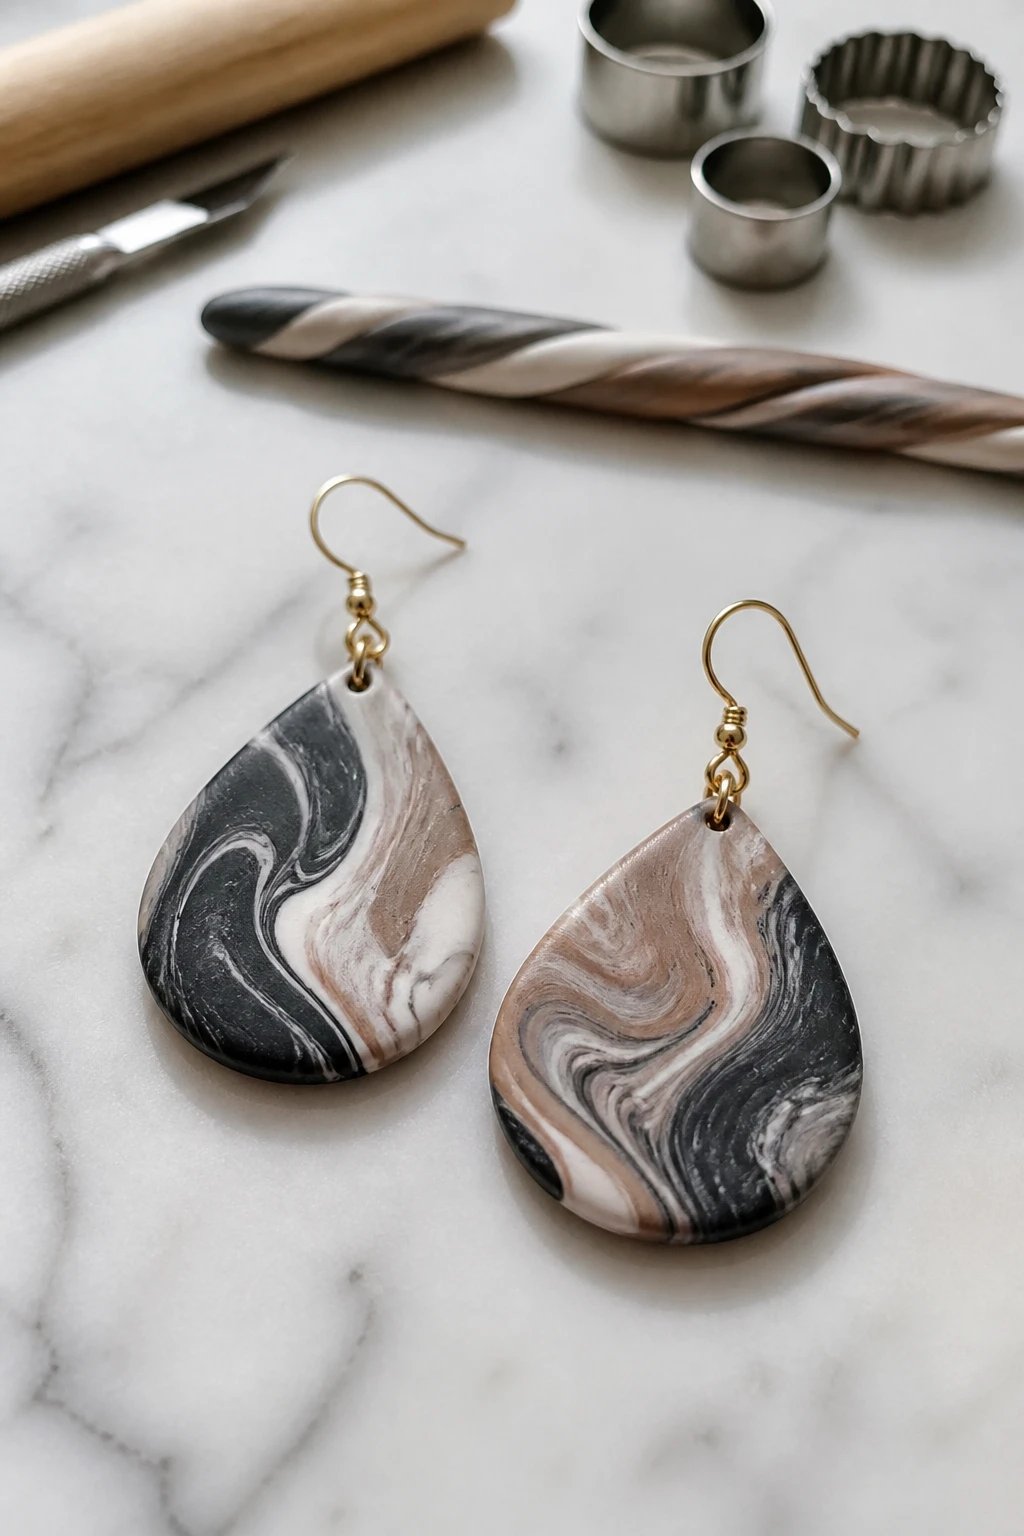
Marble looks are timeless and surprisingly simple to achieve with swirled colors.
Your museum-worthy pair is just a twist away.
Materials
- Two or three polymer clay colors
- Blade or knife for fine swirls
- Cutters in small circle or teardrop shapes
How to do it: roll color snakes, twist gently, then flatten and shape. No perfection required, just organic swirls that feel luxe.
4. Minimalist Studs for Quick Wins
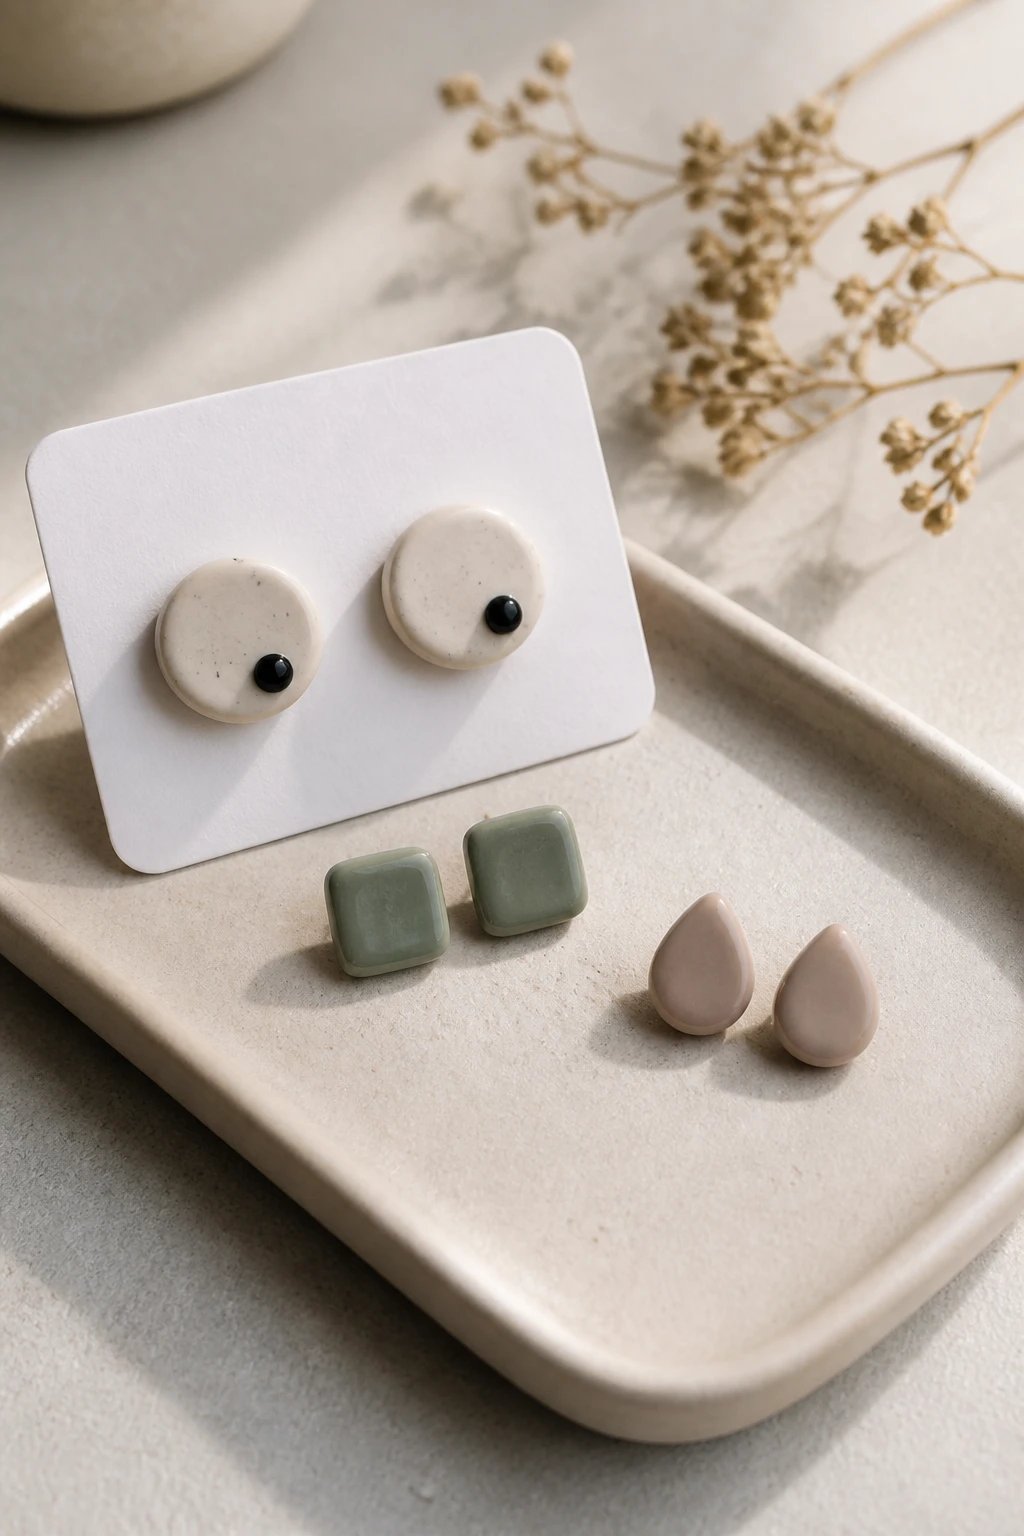
Sometimes less is more and studs are the perfect beginner win.
Small, clean shapes train your eye for symmetry and spacing.
Idea Sparks
- Flat round discs with tiny dot accents
- Mini squares with a glossy glaze
- Simple teardrop silhouettes
Benefit: effortless everyday earrings that you can pair with anything.
5. Confetti Color Poppers
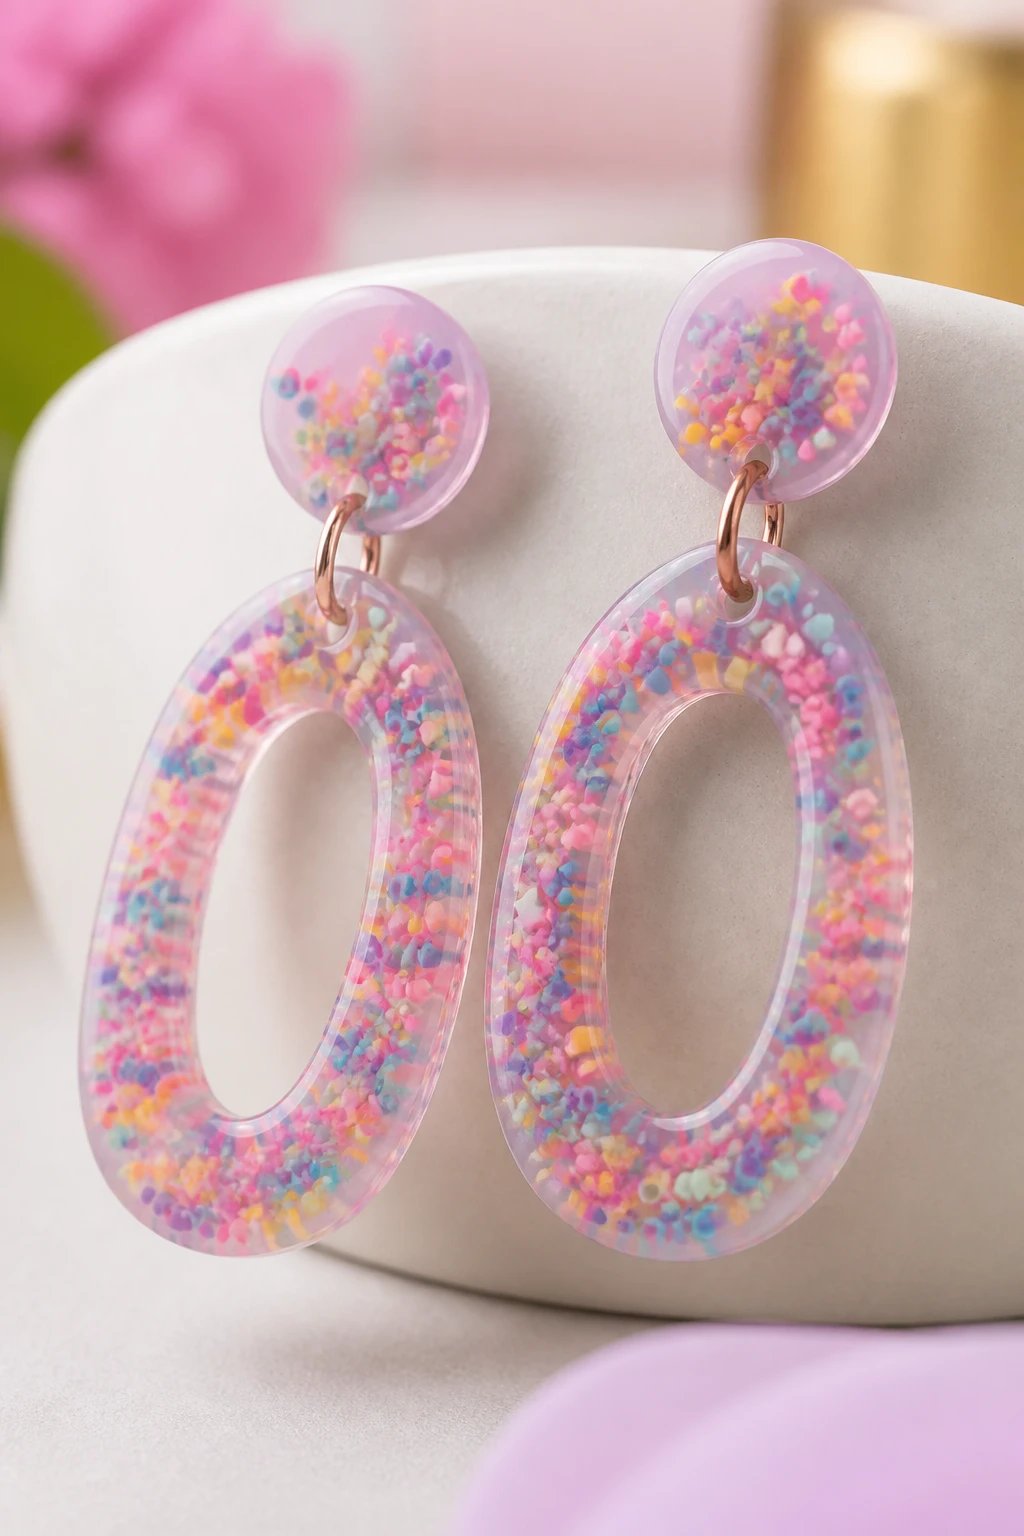
Think party vibes with tiny color bits embedded in clear resin lookalikes made from clay.
Bright, cheerful, and perfect for gifting or selling online.
How to Build
- Base color that matches your accent pieces
- Small rolled bits of contrasting colors
- A translucent resin glaze finish if you want extra shine
Tip: keep bits small to avoid bulky weight on the earlobe.
6. Leafy Botanicals for Fresh Flair
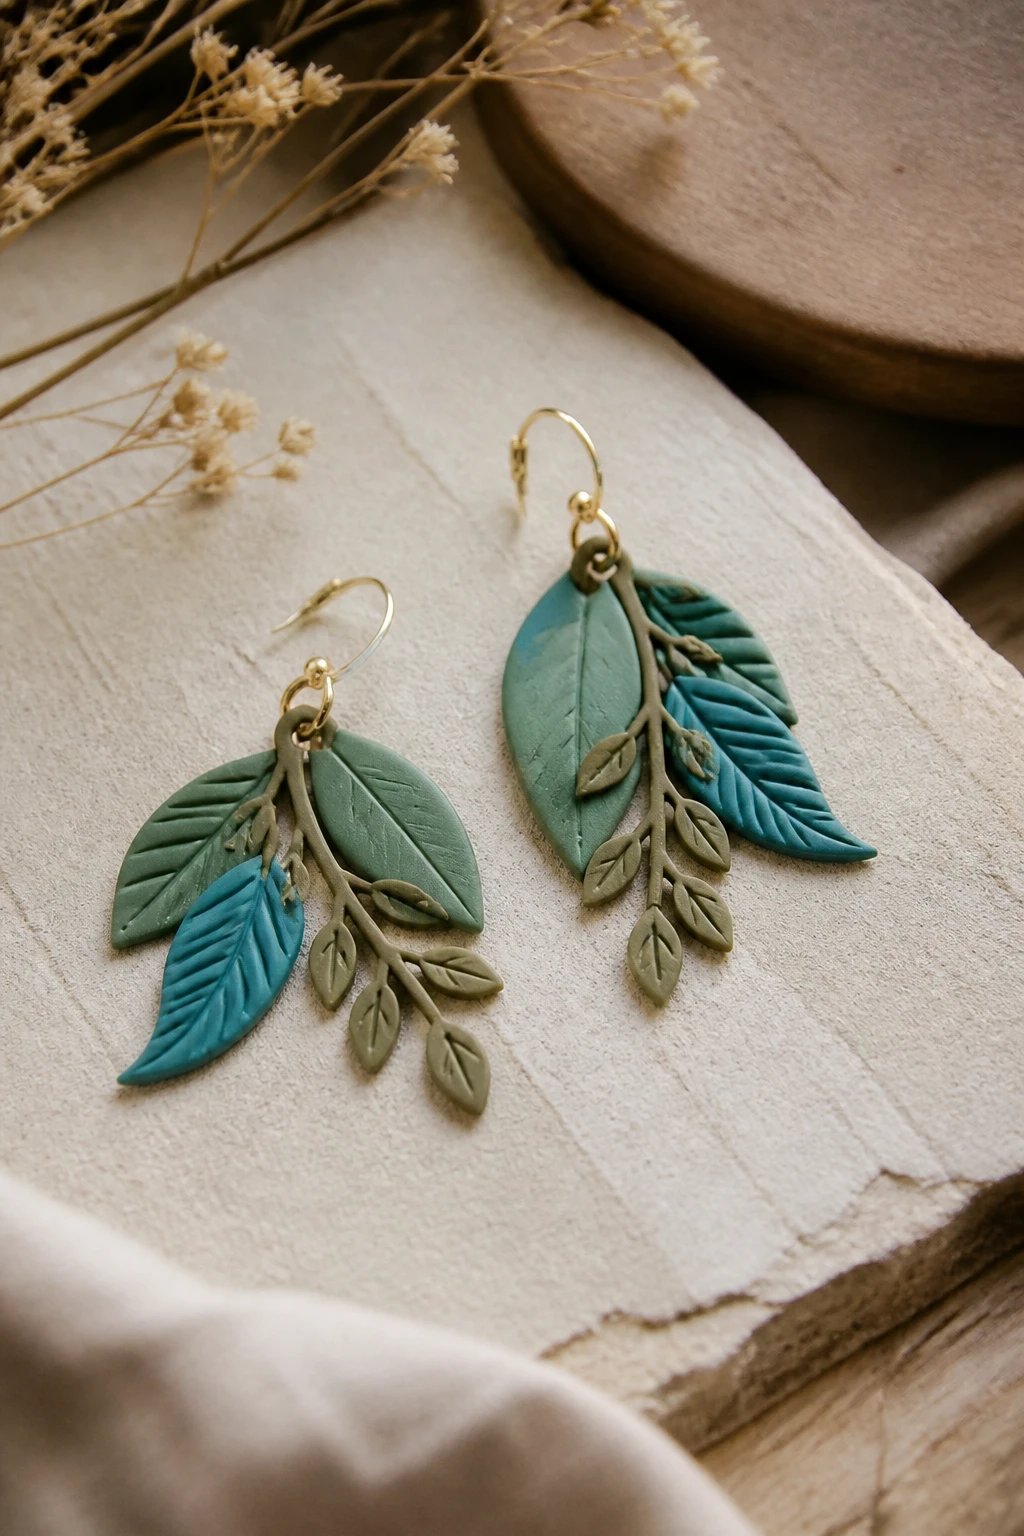
Leaf prints feel earthy and summery without needing real plants in your studio.
Nature-inspired shapes look fantastic with greens, teals, and earthy tones.
Notes
- Texture stamp leaves for quick details
- Thin stems give an elegant silhouette
- Pair with matte greens for depth
When to use: spring ensembles or boho outfits all year round.
7. Cloudy Circles for Soft Minimalism
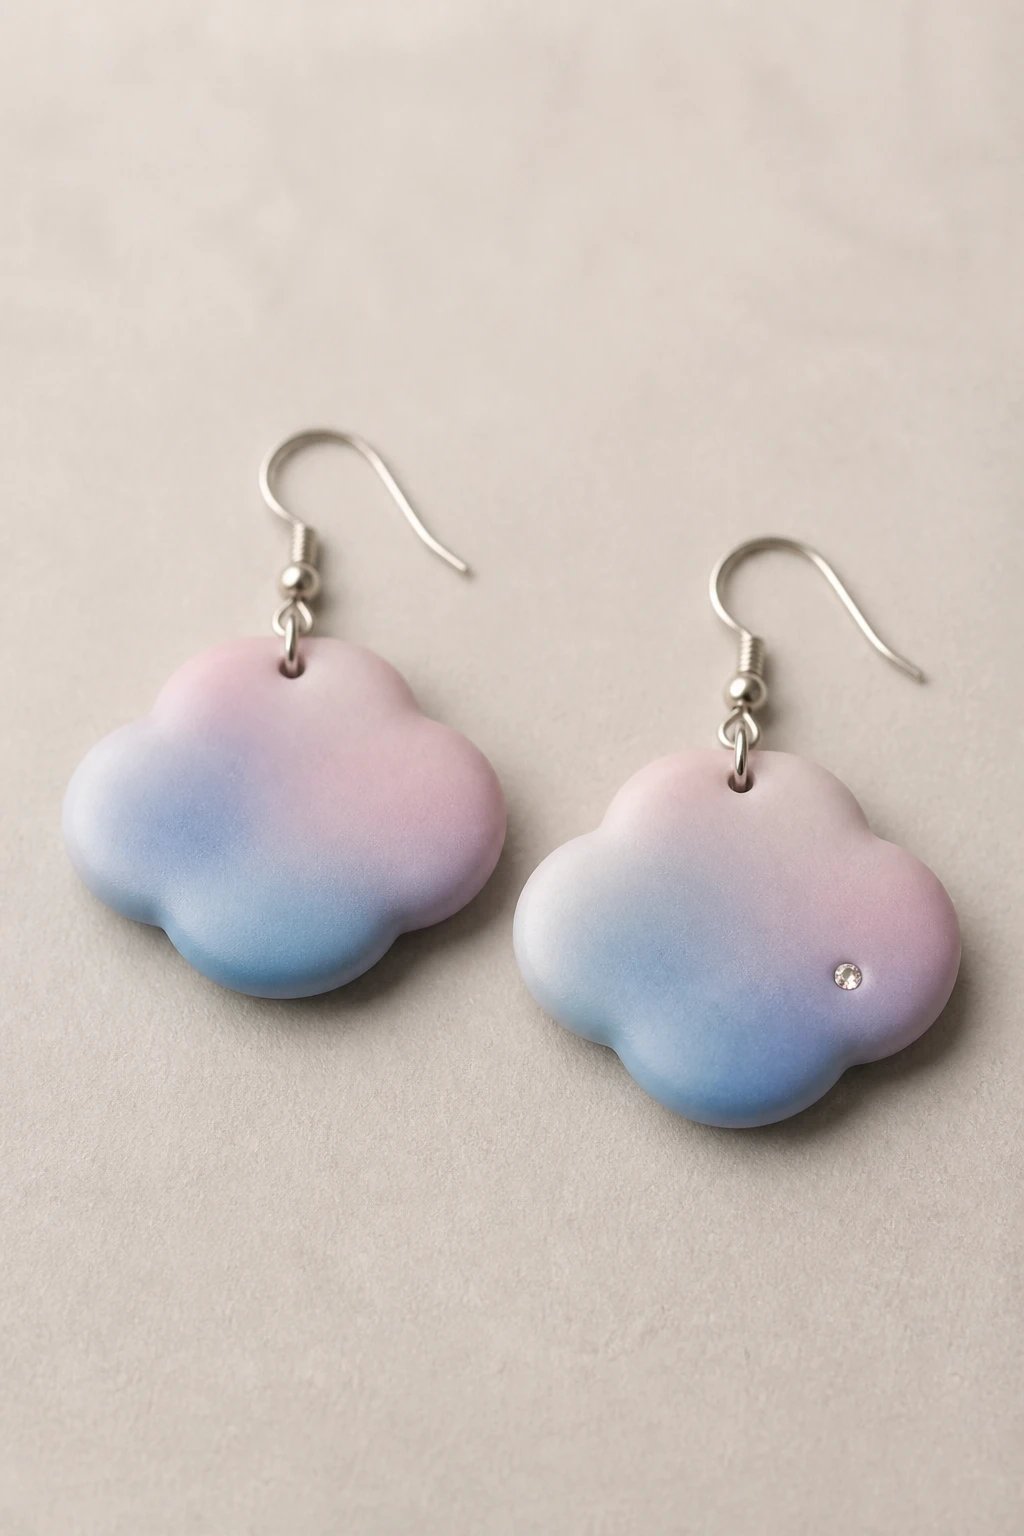
Soft and dreamy, clouds are gentle on the eyes and great for gradient color work.
No sharp edges needed to feel polished.
Techniques
- Blur color boundaries with a soft finger or silicone tool
- Create subtle ombre by blending on the clay surface
- Add a tiny sparkle dot for a playful twist
Great for: casual Fridays and cozy weekends.
8. Dainty Hoop Enhancements
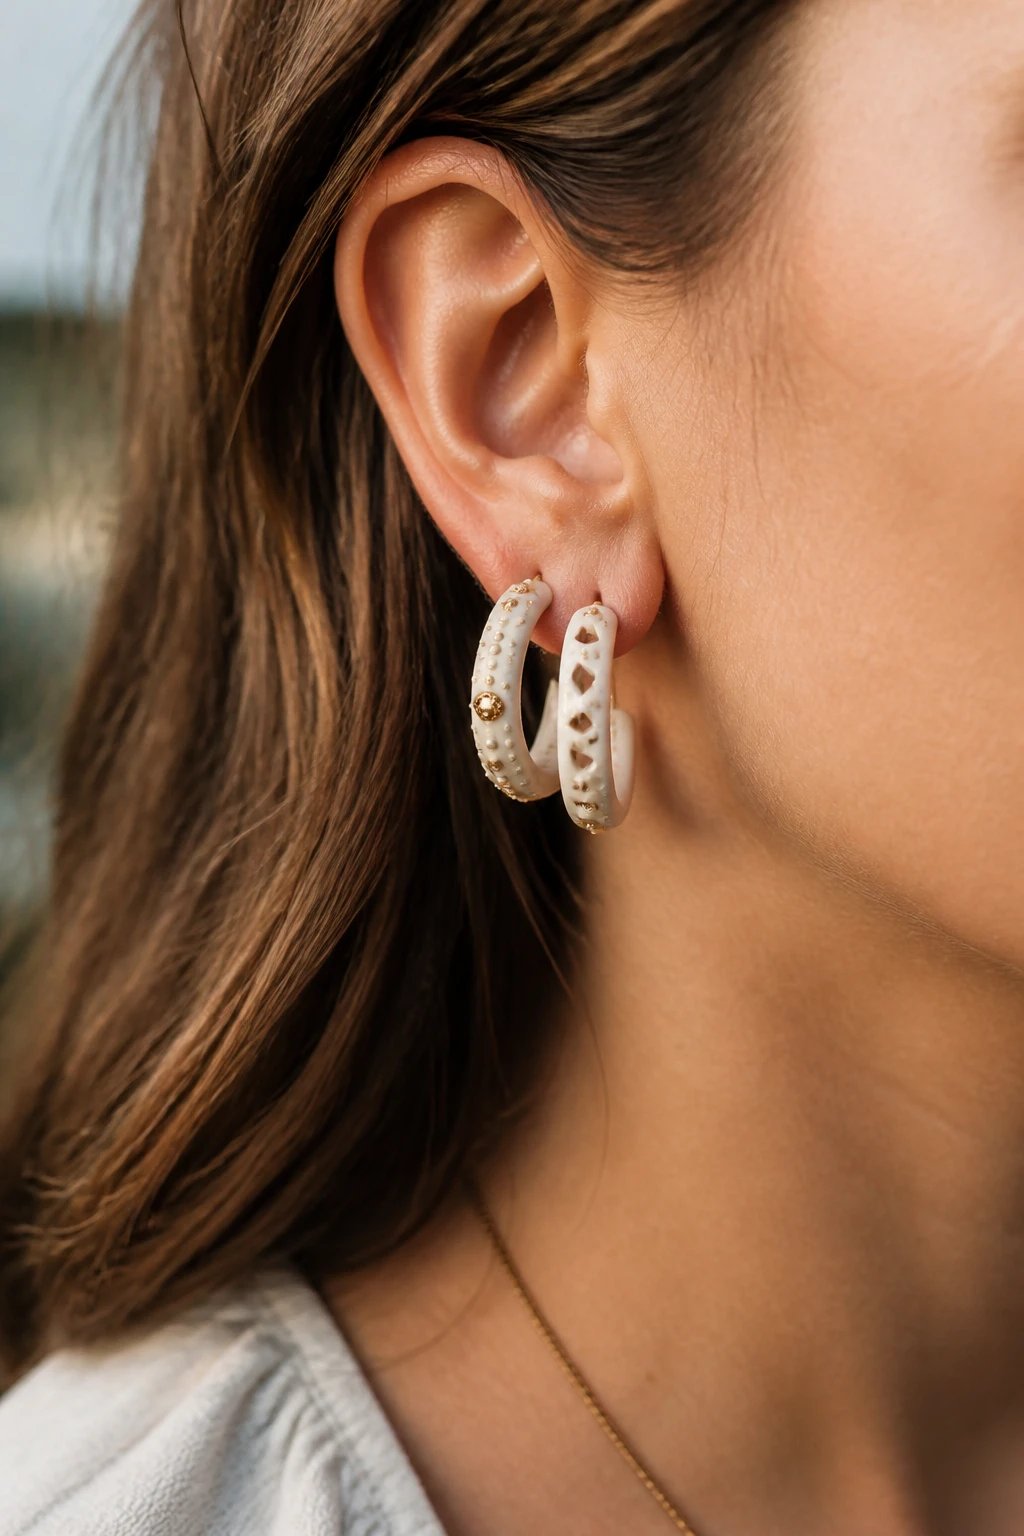
Hoops are timeless but you can upgrade them with tiny charms or patterns.
This is a perfect way to practice hand-painting and tiny sculpting.
What to add
- Mini stud accents on the outer rim
- Textured rings with geometric cutouts
- Tiny beads pressed into the clay before baking
Result: lightweight hoops that still feel bold and stylish.
9. Slice-and-Stack Triangles
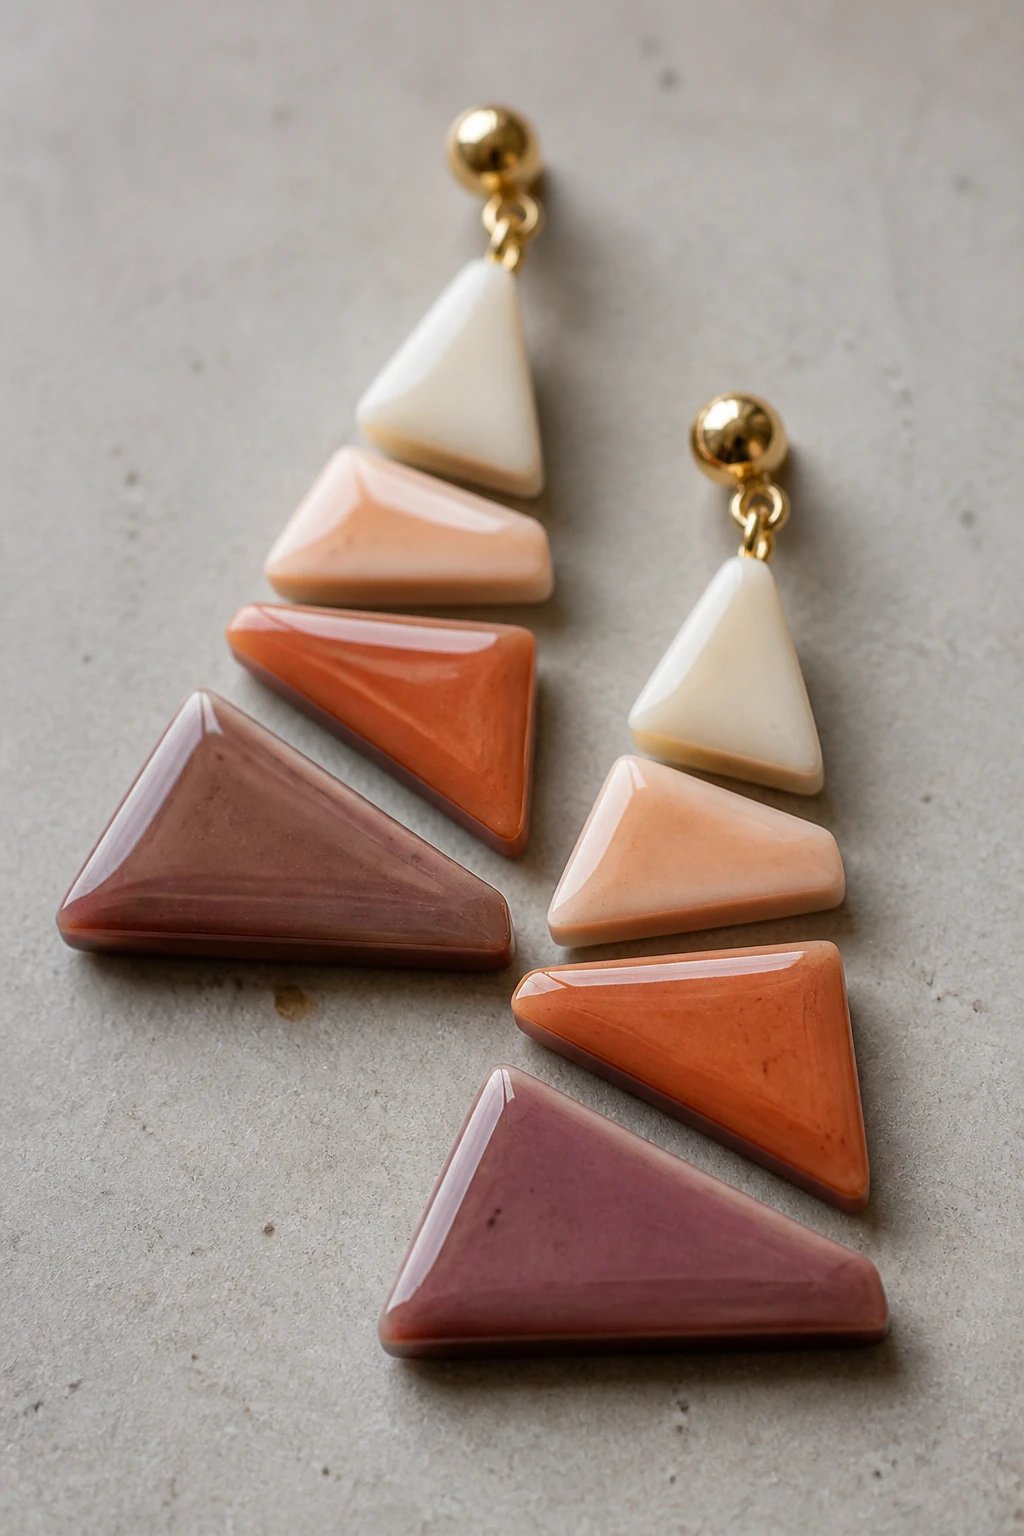
Triangles stacked in a playful way create movement without overdoing color.
It’s a great way to practice symmetry and layering.
Gameplay
- Cut several triangles in different sizes
- Stack with small gaps for airy vibes
- Seal with a glossy top coat to intensify color
Use: workday earrings that spark conversation.
10. Gemstone Facets with a Twist
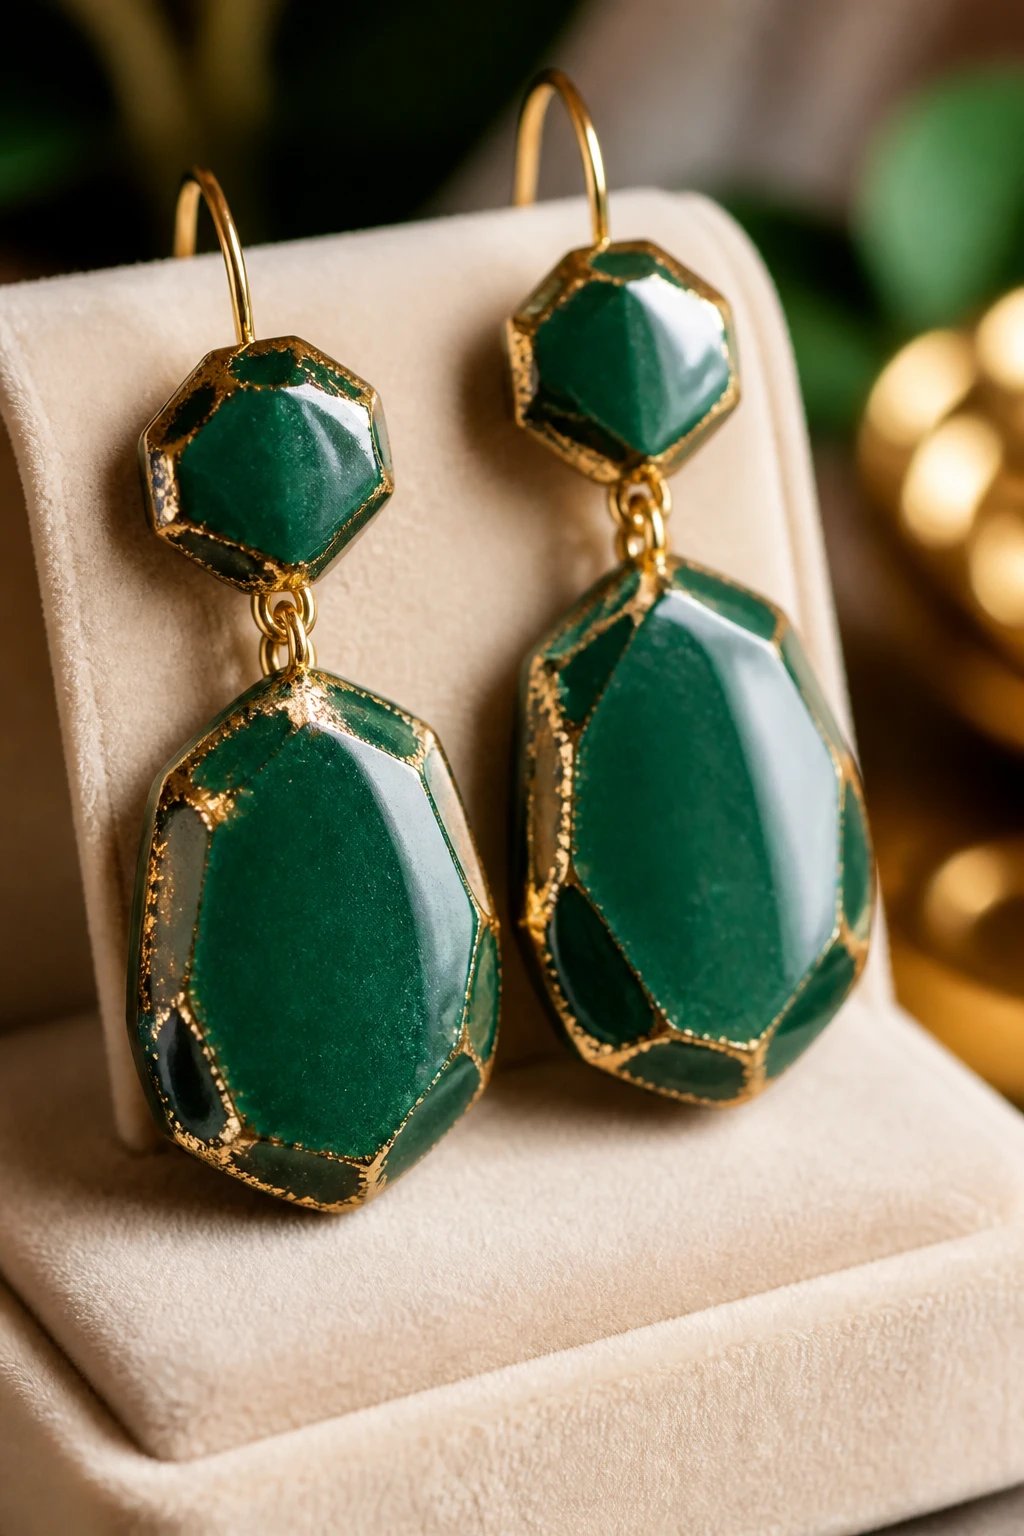
Facet-inspired surfaces make clay look jewel-like.
You don’t need real gemstones to capture that sparkle.
How to Edge It
- Score tiny facets with a blade or needle tool
- Use metallic acrylic paints to highlight edges
- Gloss glaze brings the facets to life
When to wear: date night or a fancy gallery visit – you’ll look pricey.
11. Opal Hues in Soft Pastels
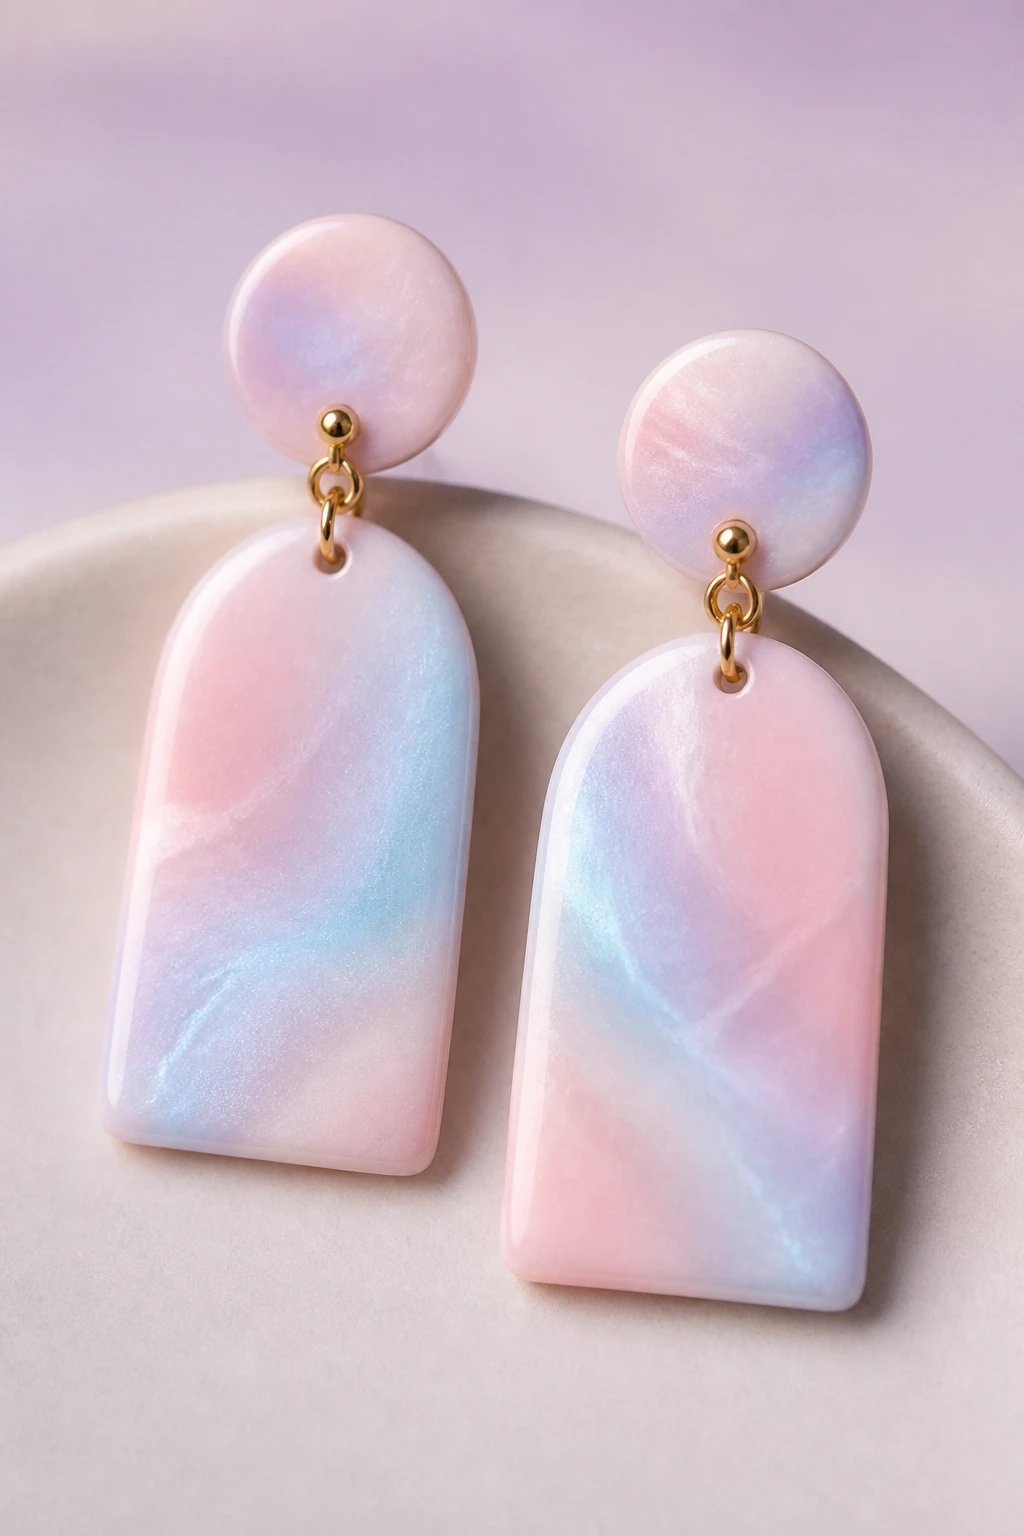
Pastel opal-like colors feel ethereal and dreamy on the ears.
This is your chance to experiment with color theory in a low-stakes way.
Color Block Tips
- Use a main pastel base with a contrasting glow color
- Blend edges softly for that opal glow
- Finish with a satin or gloss top coat for depth
Tip: keep the palette cohesive for a refined look.
12. Textured Squares with a Punch
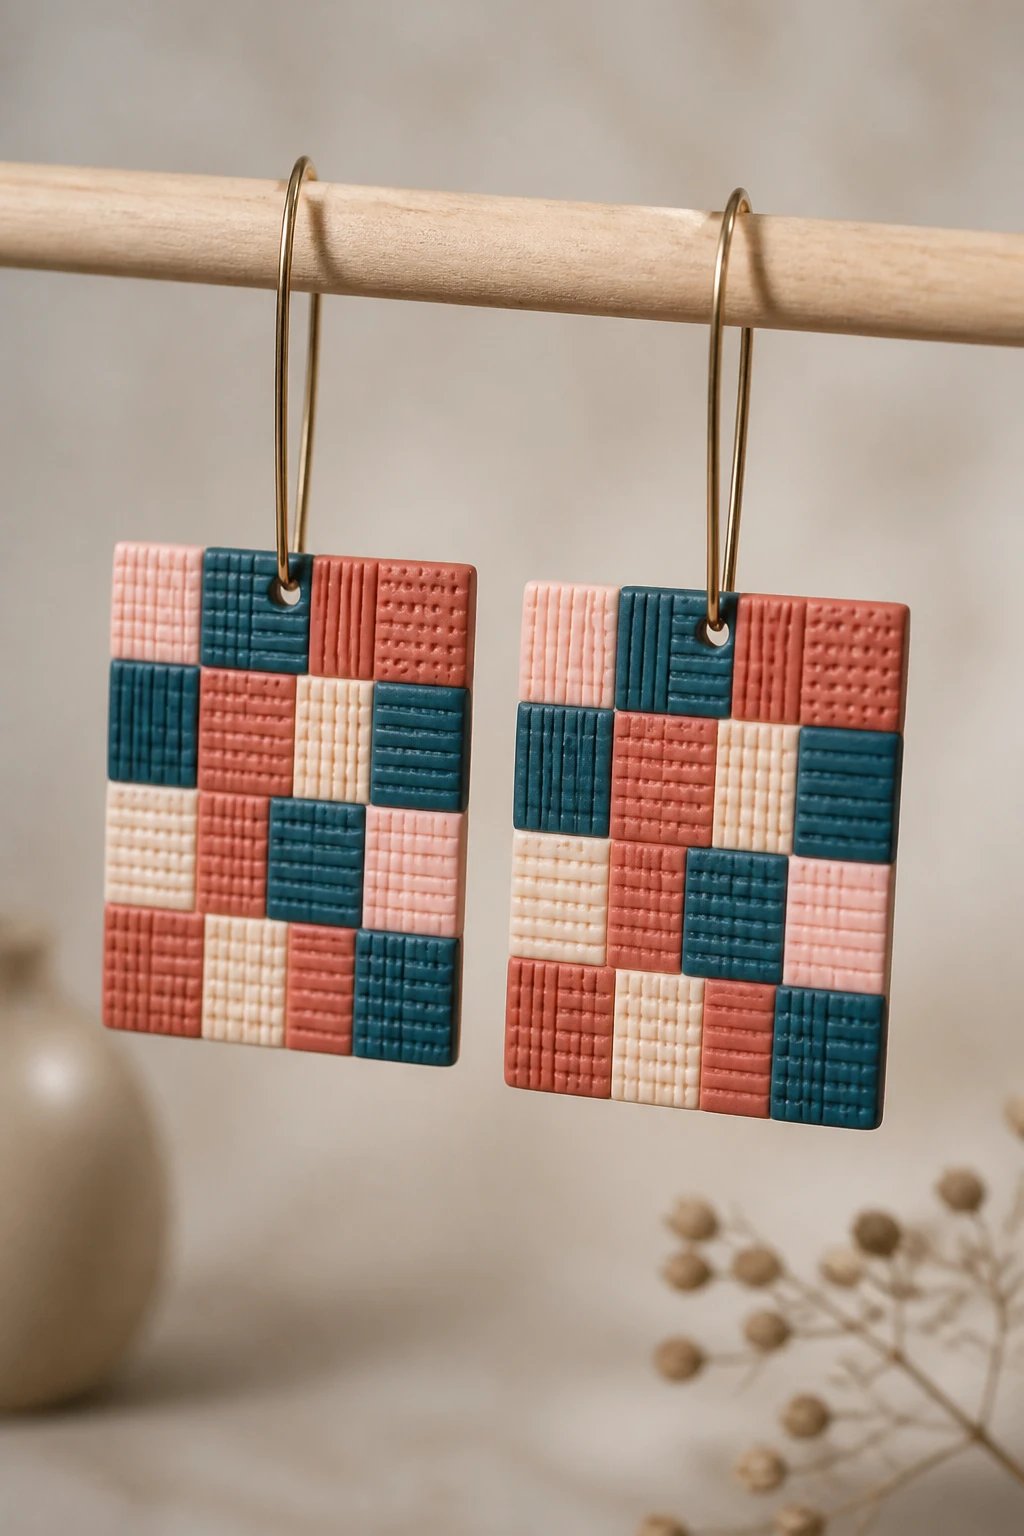
Squares are classic and easy to customize with textures and color patches.
Playful enough for beginners but stylish enough for grown-ups.
How to Make It
- Use a textured stamp or comb to create lines
- Alternate colors in each square for a checker effect
- Suspend on a simple ear wire for a modern finish
End note: great for market stalls or your personal jewelry drawer.
13. Glassy Drops with a Spark
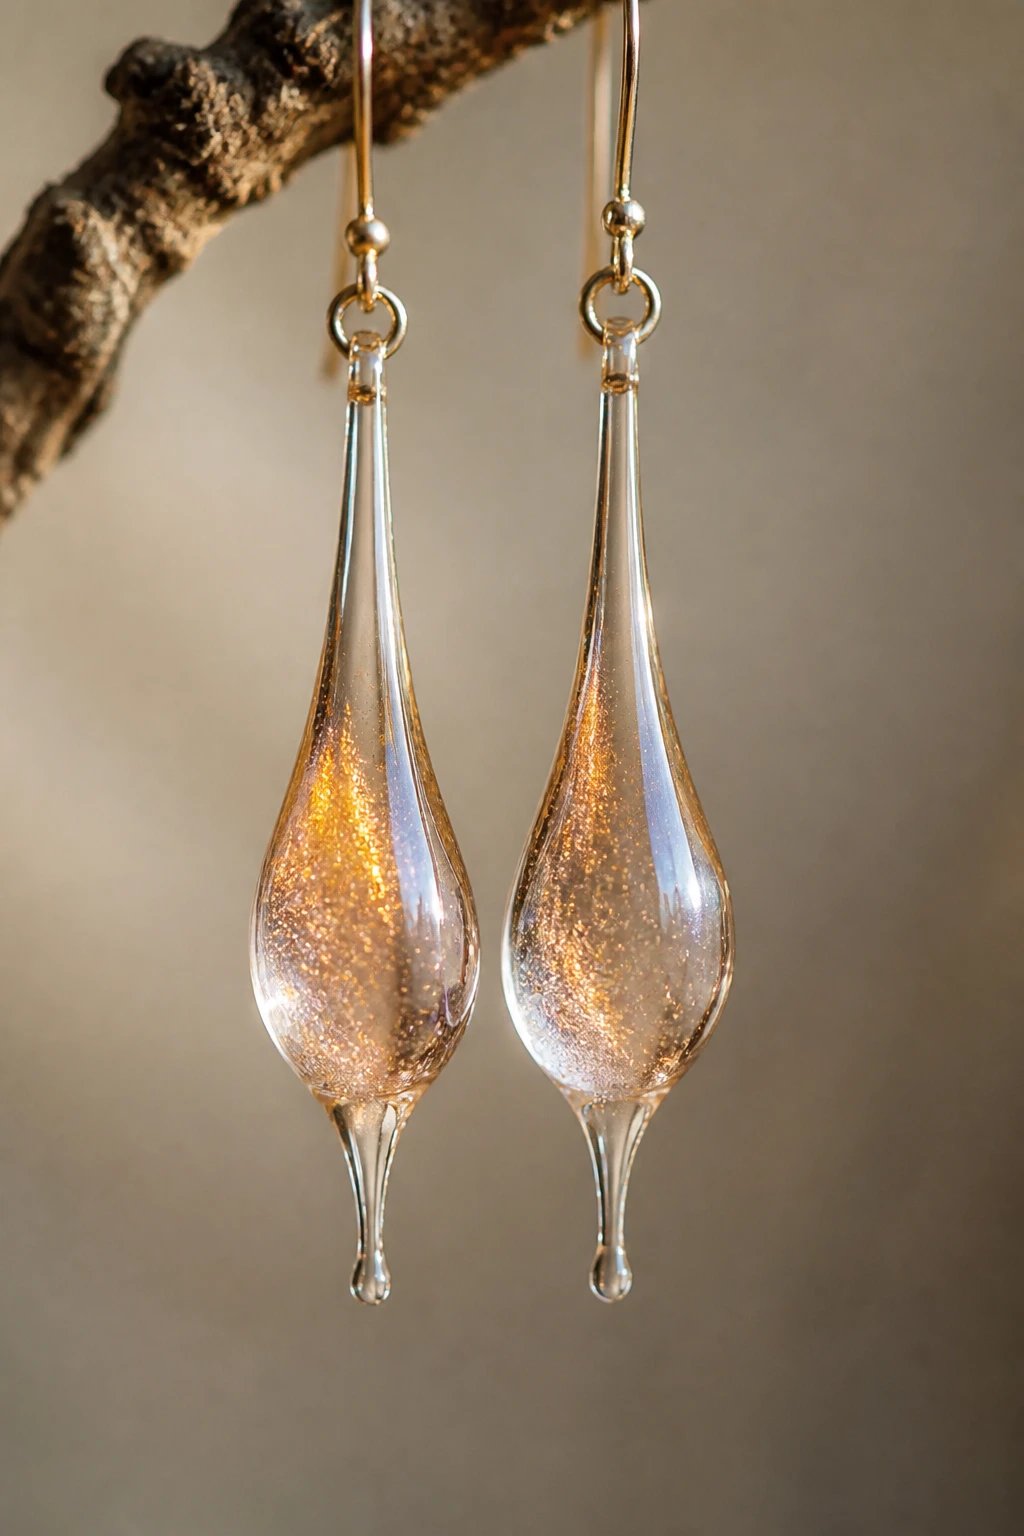
Drop shapes always look flattering and longer drops elongate the face nicely.
Glassy finishes make them look high end without the budget.
Finish Checklist
- Gloss glaze for a high-shine coat
- Thin tails at the bottom for elegant movement
- Optional glitter in the glaze for a subtle sparkle
Wear them when you want a polished everyday look.
14. Playful Polka Dots
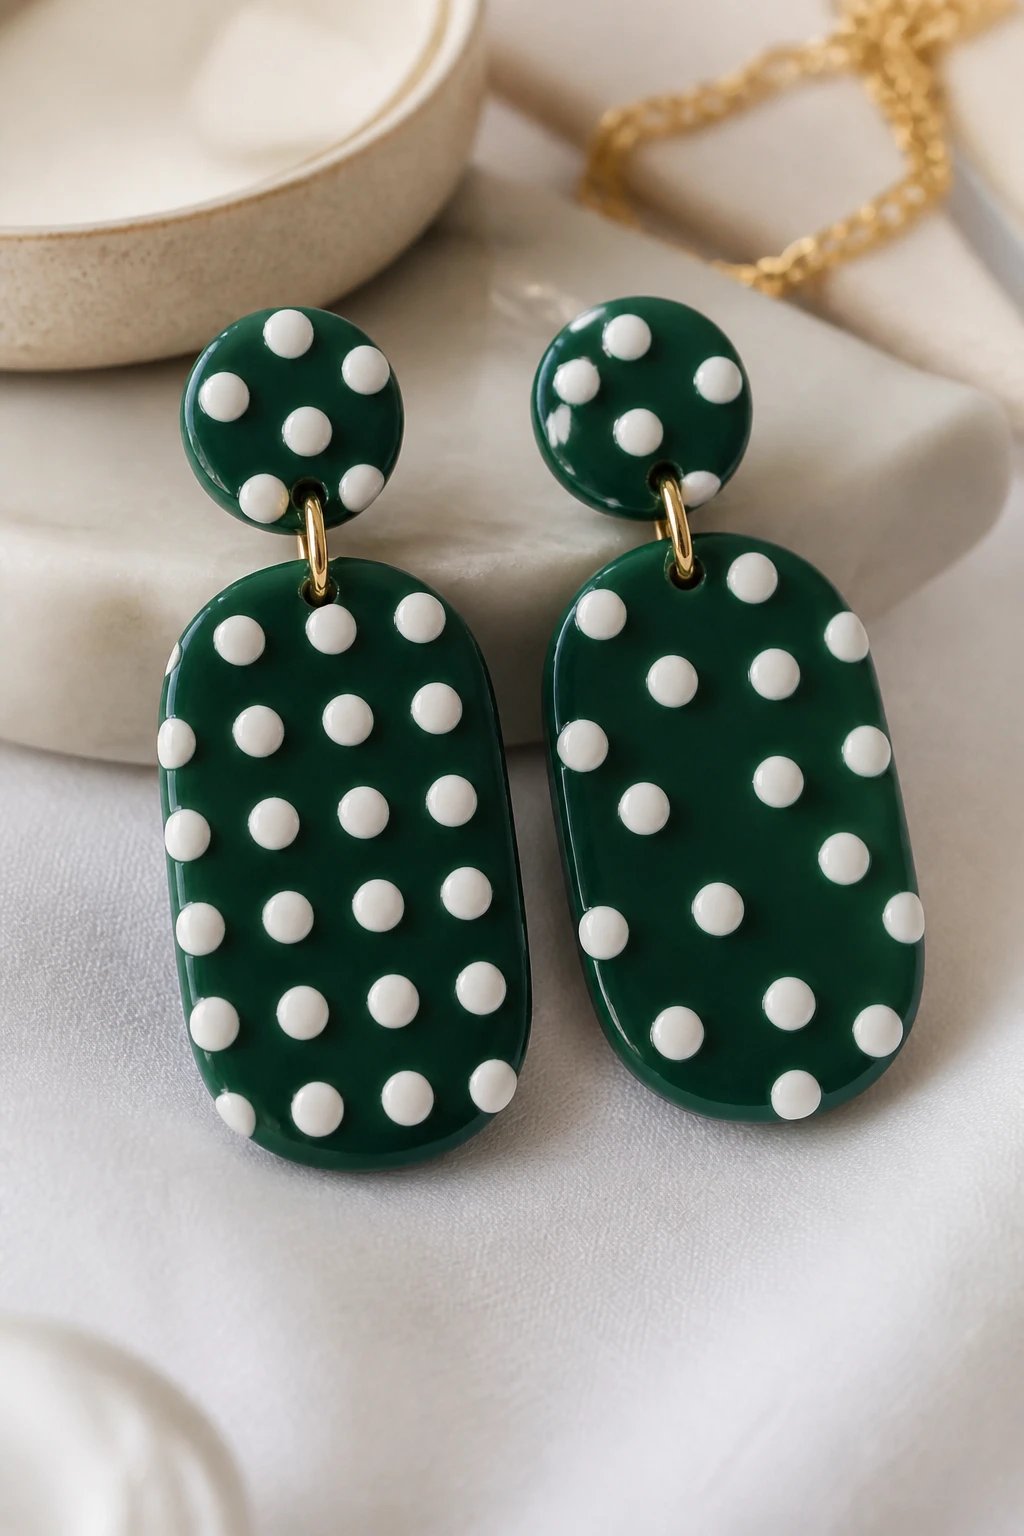
Polka dots are cheerful and surprisingly chic when done right.
Keep the base color simple so the dots pop.
Quick Build
- Roll tiny balls for dots
- Place them in a grid or freeform pattern
- Seal with a clear top coat to prevent color bleeding
Best for: weekend outfits and gifting to friends who love whimsy.
15. Rainbow Stackables

Colorful stacked beads part of the clay can create a joyful rainbow effect.
Layer by layer you practice consistency and color balance.
Build It
- Slice thin slabs in rainbow order
- Stack and fuse into a single shape, then cut into earrings
- Polish edges but keep some rough charm
Application: festival looks or sunny day outfits.
16. Nautical Nods with Stripes
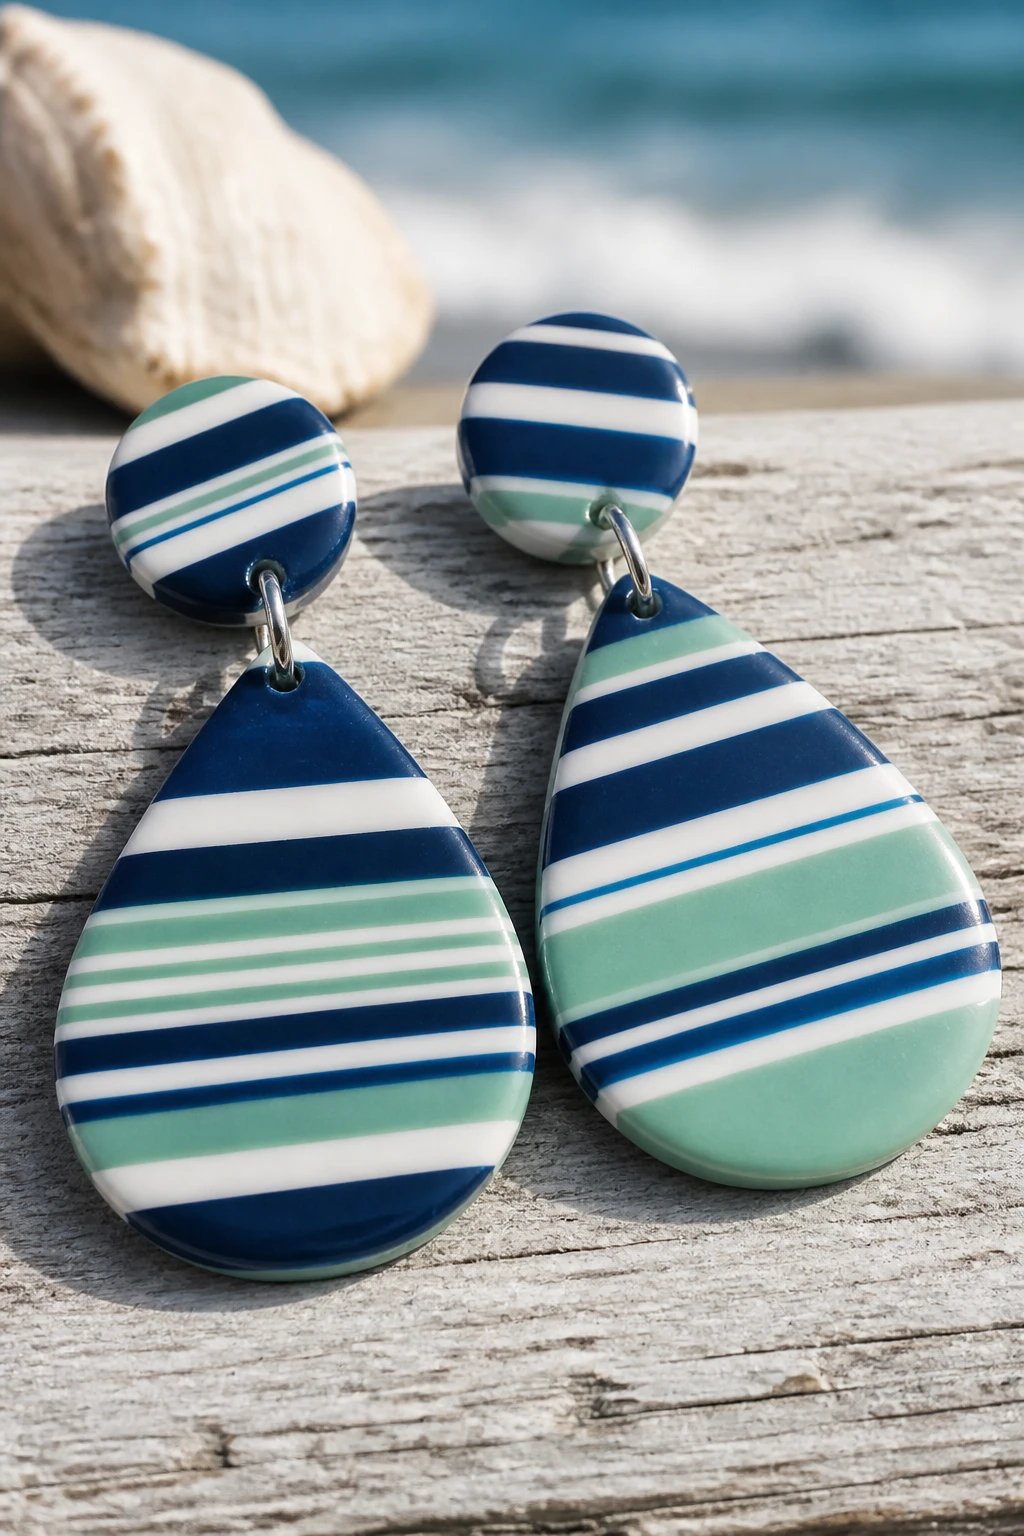
Striped earrings vibe with crisp lines feel crisp and fresh.
Experiment with widths and color combos for a custom sea-inspired pair.
Simple Stripes
- Create thin color ribbons and layer
- Cut into teardrops or circles after partial bake
- Add a sealant to prevent color bleed
Look out for: breezy summer wardrobes and coastal trips.
17. Twinkling Tiny Beads Embedded
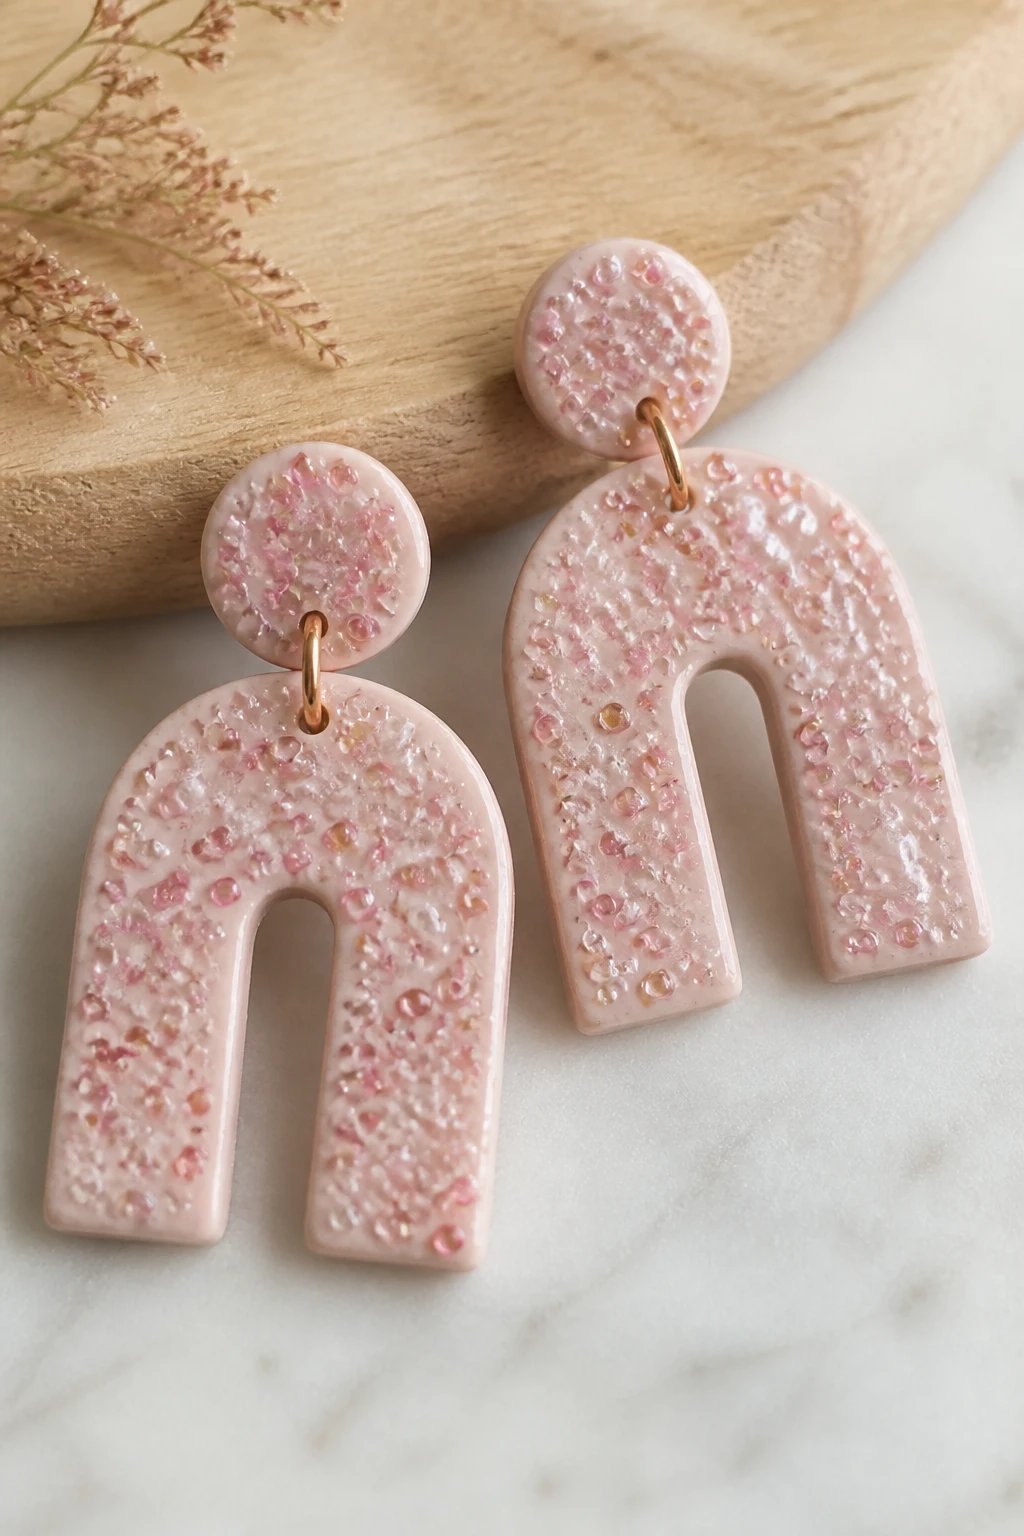
Embedding tiny beads into clay adds texture and a hint of sparkle without much effort.
It’s a playful way to personalize each piece.
How to Do It
- Choose tiny seed beads in a color family that matches your base
- Press beads into soft clay before baking
- Seal with a glaze to secure everything in place
When to use: gifts, party favors, or your own daily jewelry box.
Ready to pick a favorite and start creating? FYI these ideas build confidence fast and let you experiment without fear of perfection.
Now you have 17 creative paths to polymer clay earrings that suit any mood or occasion. Grab your clay, bake, and wear your art proudly.
Happy crafting and may your earring game stay bold and playful. Seriously, you’ve got this.
