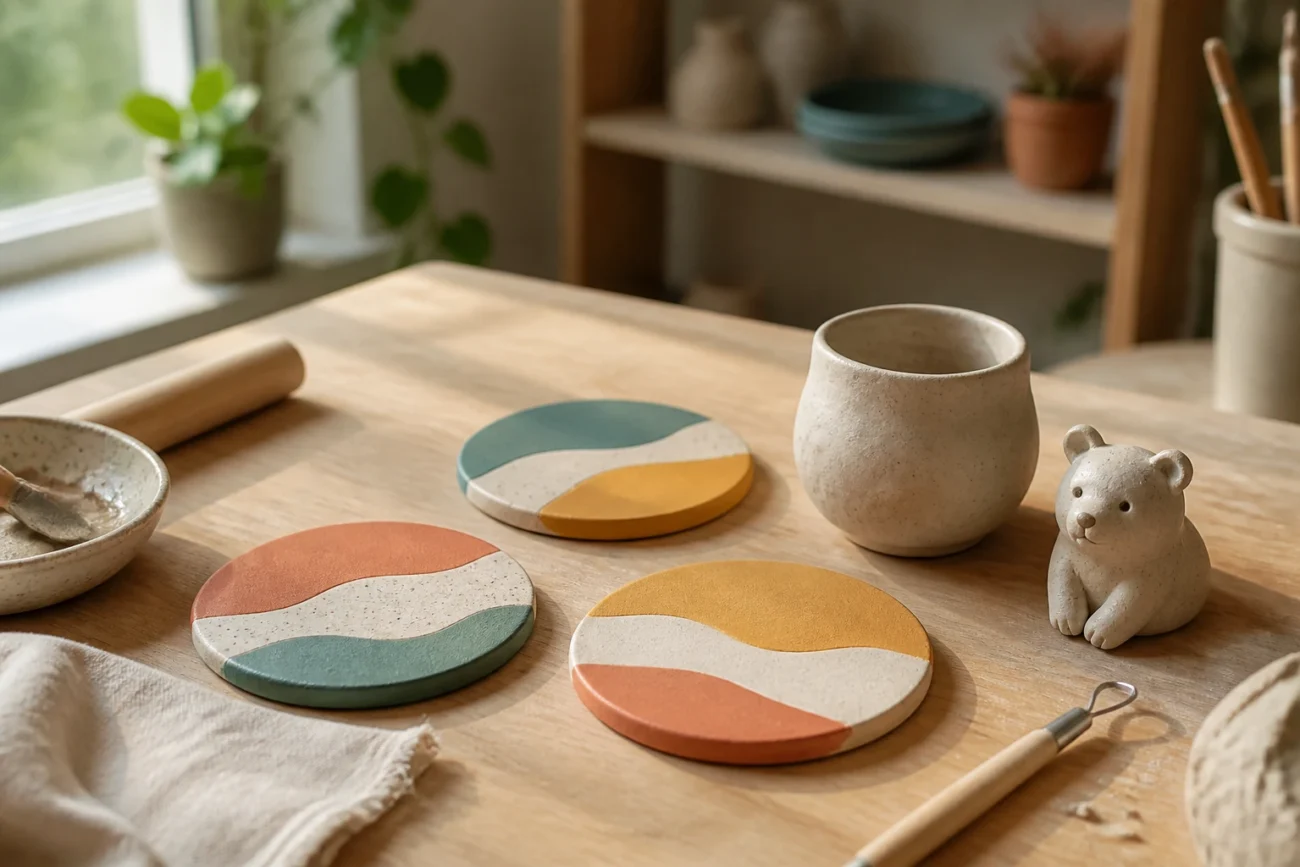
Ready to dive into the wonderful world of clay without any drama or stress?
These ideas are perfect for beginners who want quick wins, not weeks of sculpting chaos. FYI, you’ll gain confidence with every cheerful pinch and roll.
Keep scrolling to uncover playful projects, pro tips, and little nudges to keep you motivated and smiling.
1. Layered Colorful Coasters
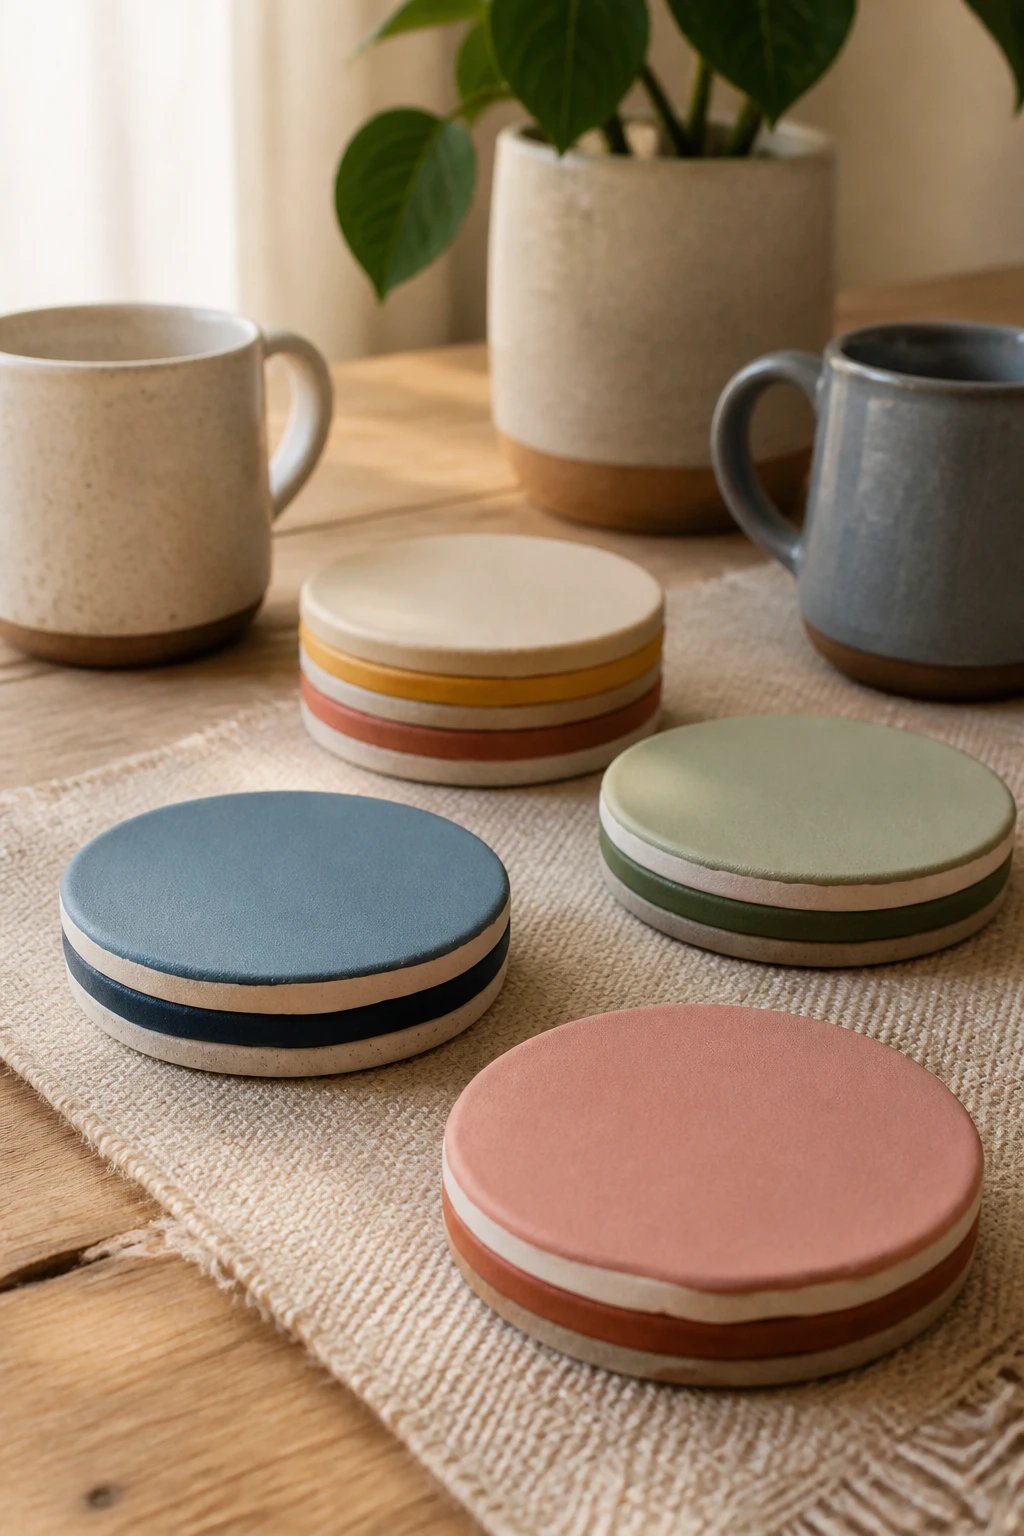
Start simple with everyday heroes you can actually use. Layered coasters teach color, texture, and balance in one easy session.
Why this rocks: you’ll practice basic shaping, then edge into color blocking without crying over spilled glaze.
Key Points
- Base: neutral clay for stability
- Colors: 2 to 3 contrasting shades
- Finish: sealant to protect against moisture
End result: sturdy, cheerful coasters that impress guests and protect your furniture.
2. Tiny Animals With Big Personalities
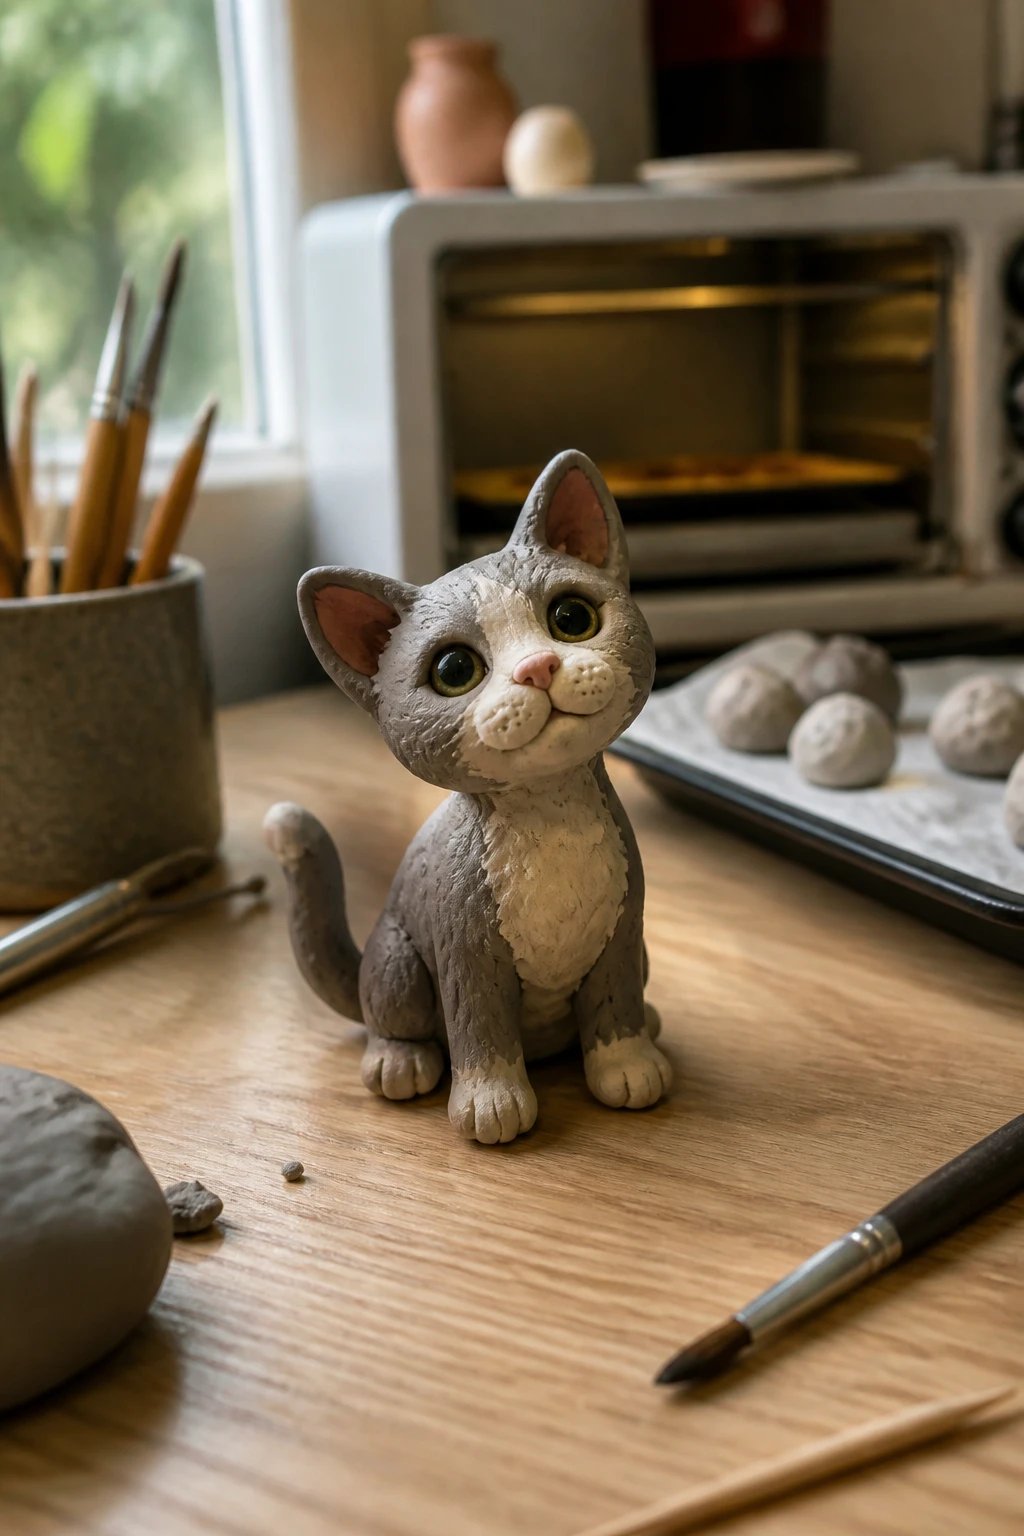
Who can resist a cute clay critter? Start with a cat, dog, or tiny mouse that fits in your palm.
This project builds proportion sense and gives you a reward you can actually hug (in a non-germy way).
Tips
- Use pipe cleaners as armatures for legs
- Add textures with a toothpick or bristle brush
- Bake in small increments to avoid cracking
Bonus: these mini beasts make adorable desk buddies or gift toppers.
3. Minimalist Pinched Cups
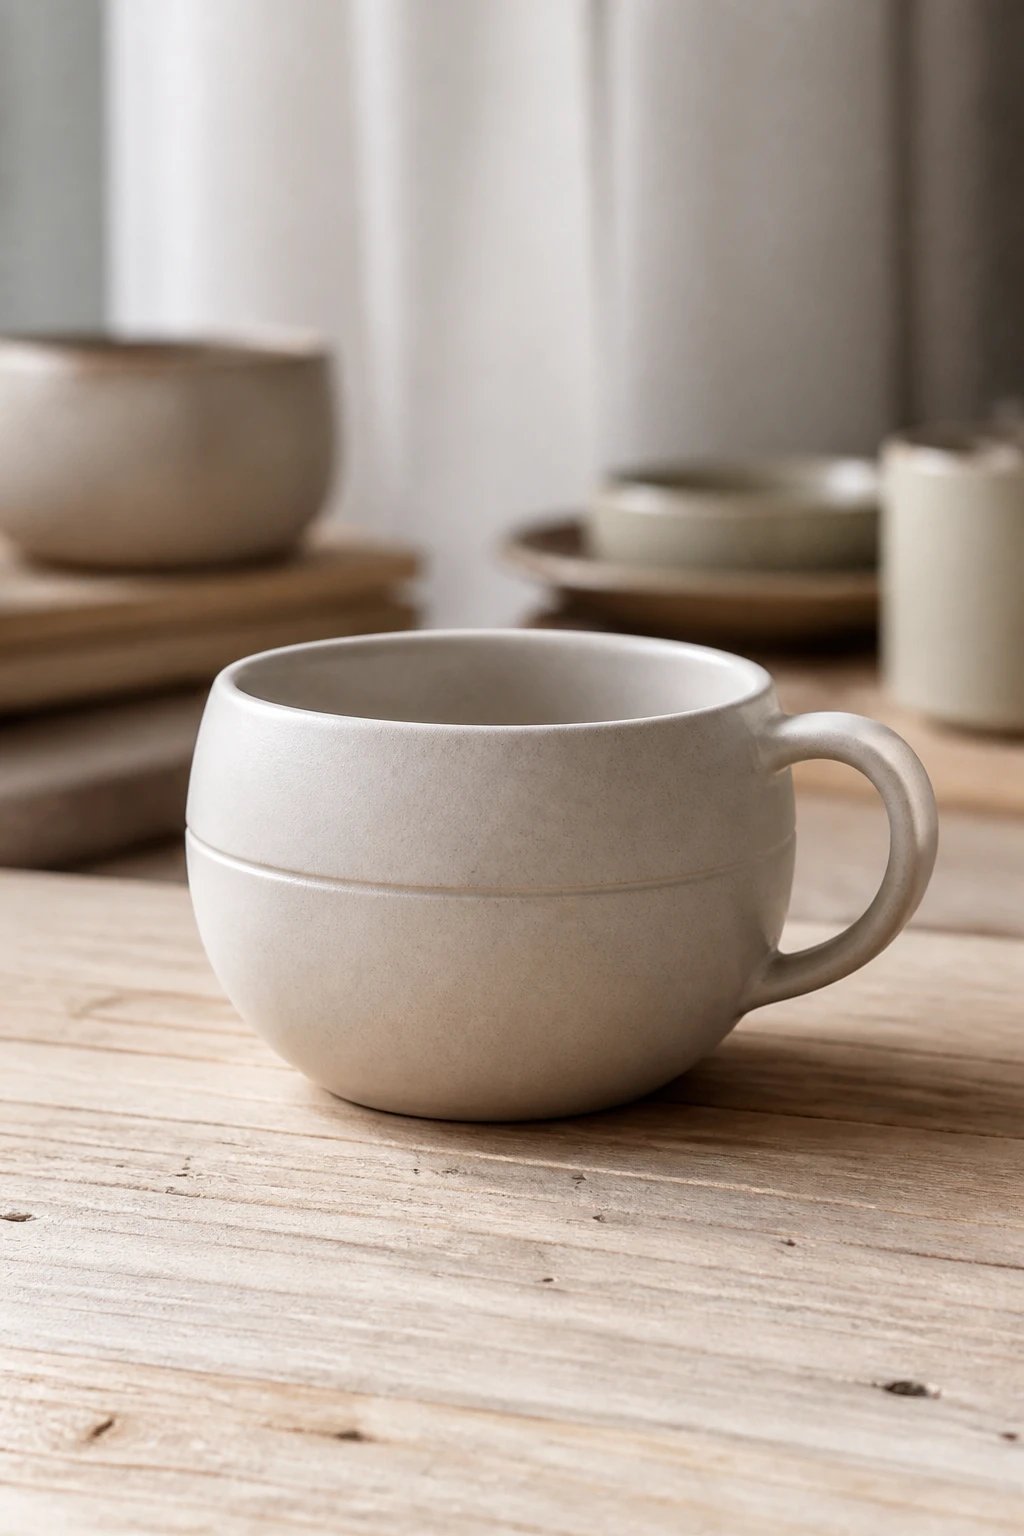
Pinch pots are the beginner’s bread and butter. Turn them into chic cups with simple shapes and a matte glaze.
Why you’ll love it: the technique translates to bowls, planters, or lids later on.
What To Do
- Start with a smooth sphere then pinch the rim outward
- Keep walls even for stable handles
- Decorate with a single carved line
Use these as tea cups or tiny succulent holders once fired.
4. Fun Faceted Spheres
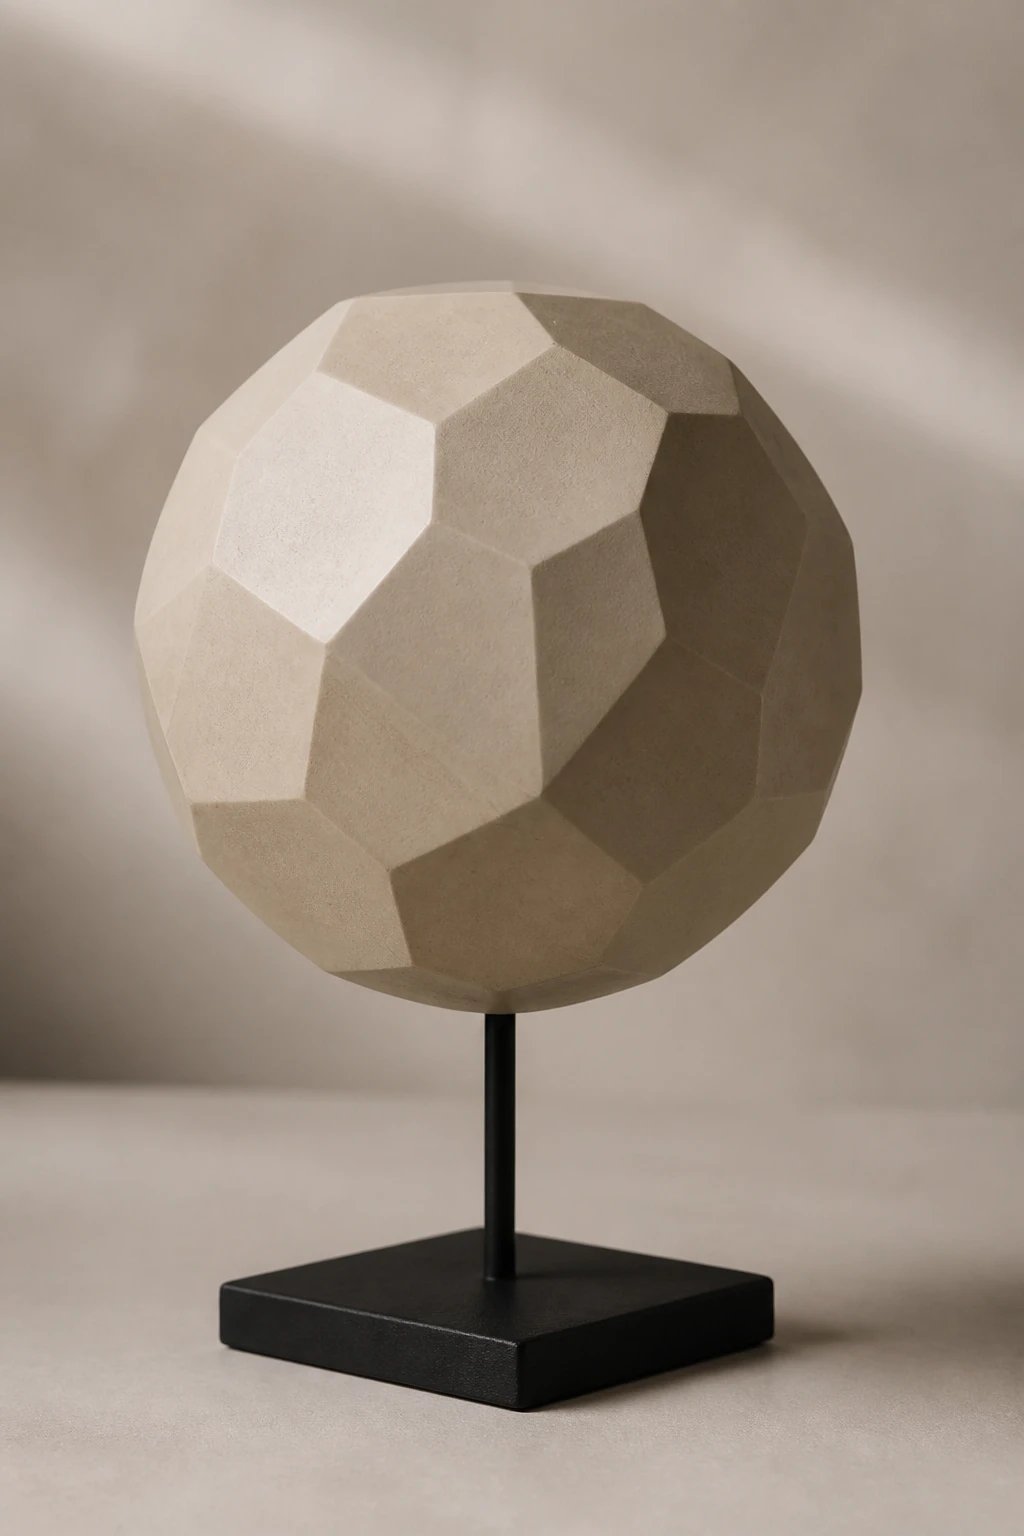
Geometric vibes are thriving and this project nails the trend without complicated tools.
It teaches you even wall thickness and how facets catch light beautifully.
How To
- Roll a smooth ball then flatten into a sphere
- Carve shallow facets with a sharp blade
- Smooth edges with a soft finger dab
Display on a stand or use as a quirky paperweight.
5. Miniature Plant Orbs
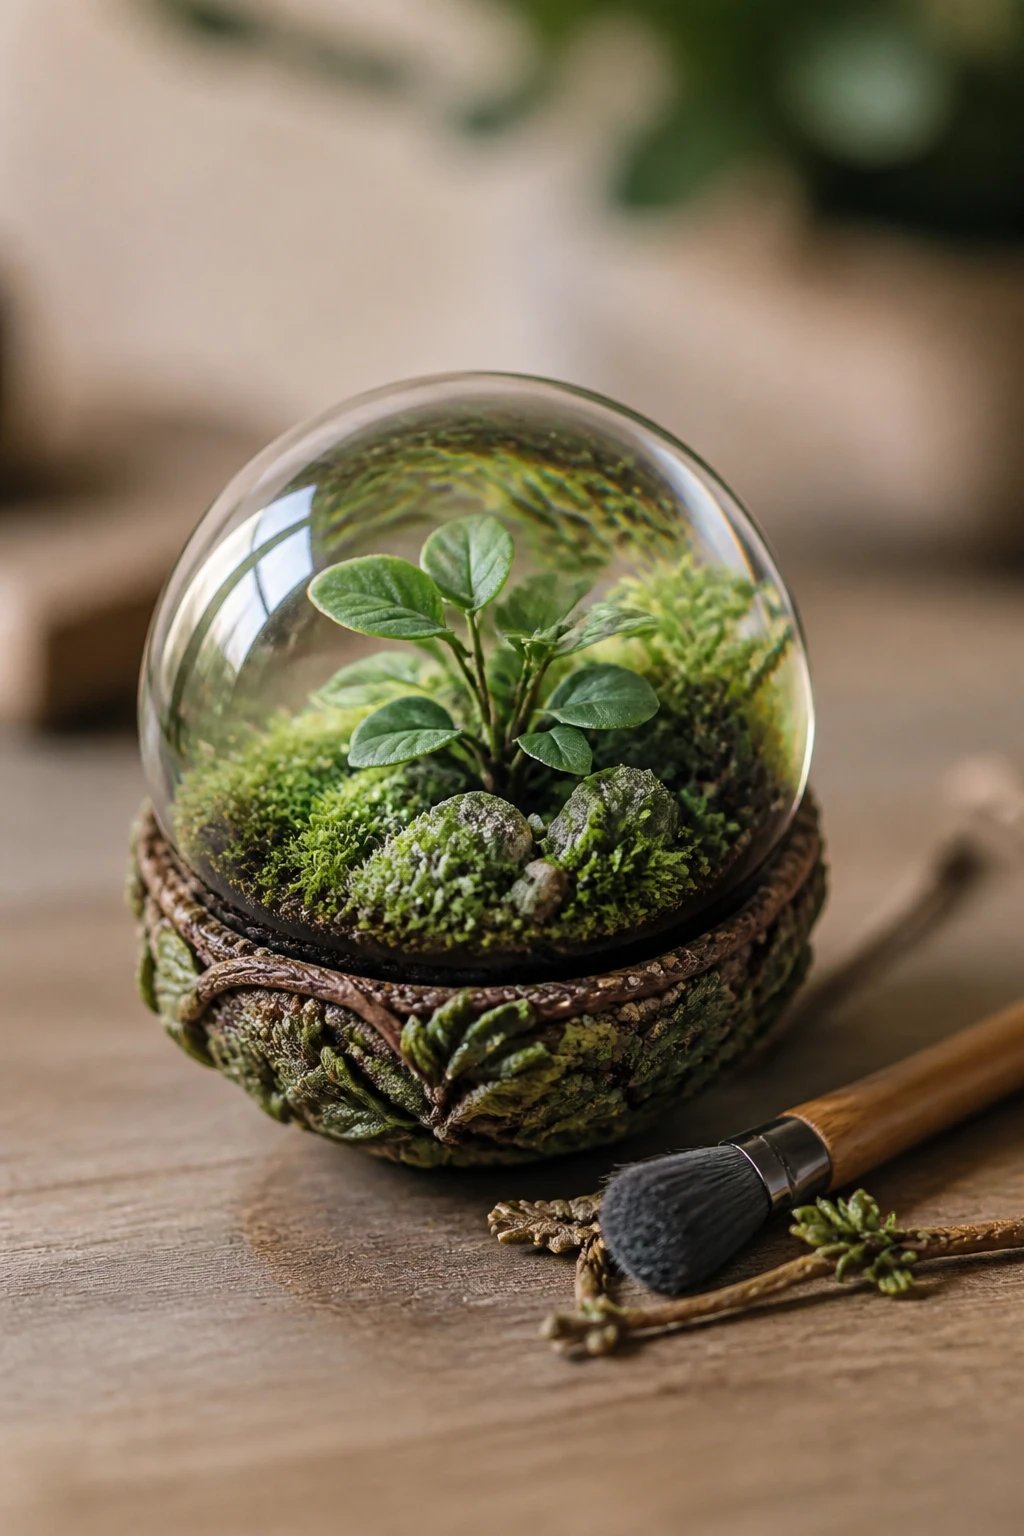
Combine nature and clay by creating tiny terrarium orbs that can cradle a faux plant or a small moss patch.
This project fuses texture and color while keeping things adorable and low maintenance.
Materials
- Clear glaze or resin to seal a tiny moss scene
- Green clay and brown accents
- Soft brushes for texture
Ideal as desk decor or a gift for plant lovers who cannot keep real plants alive.
6. Whimsical Button Buddies
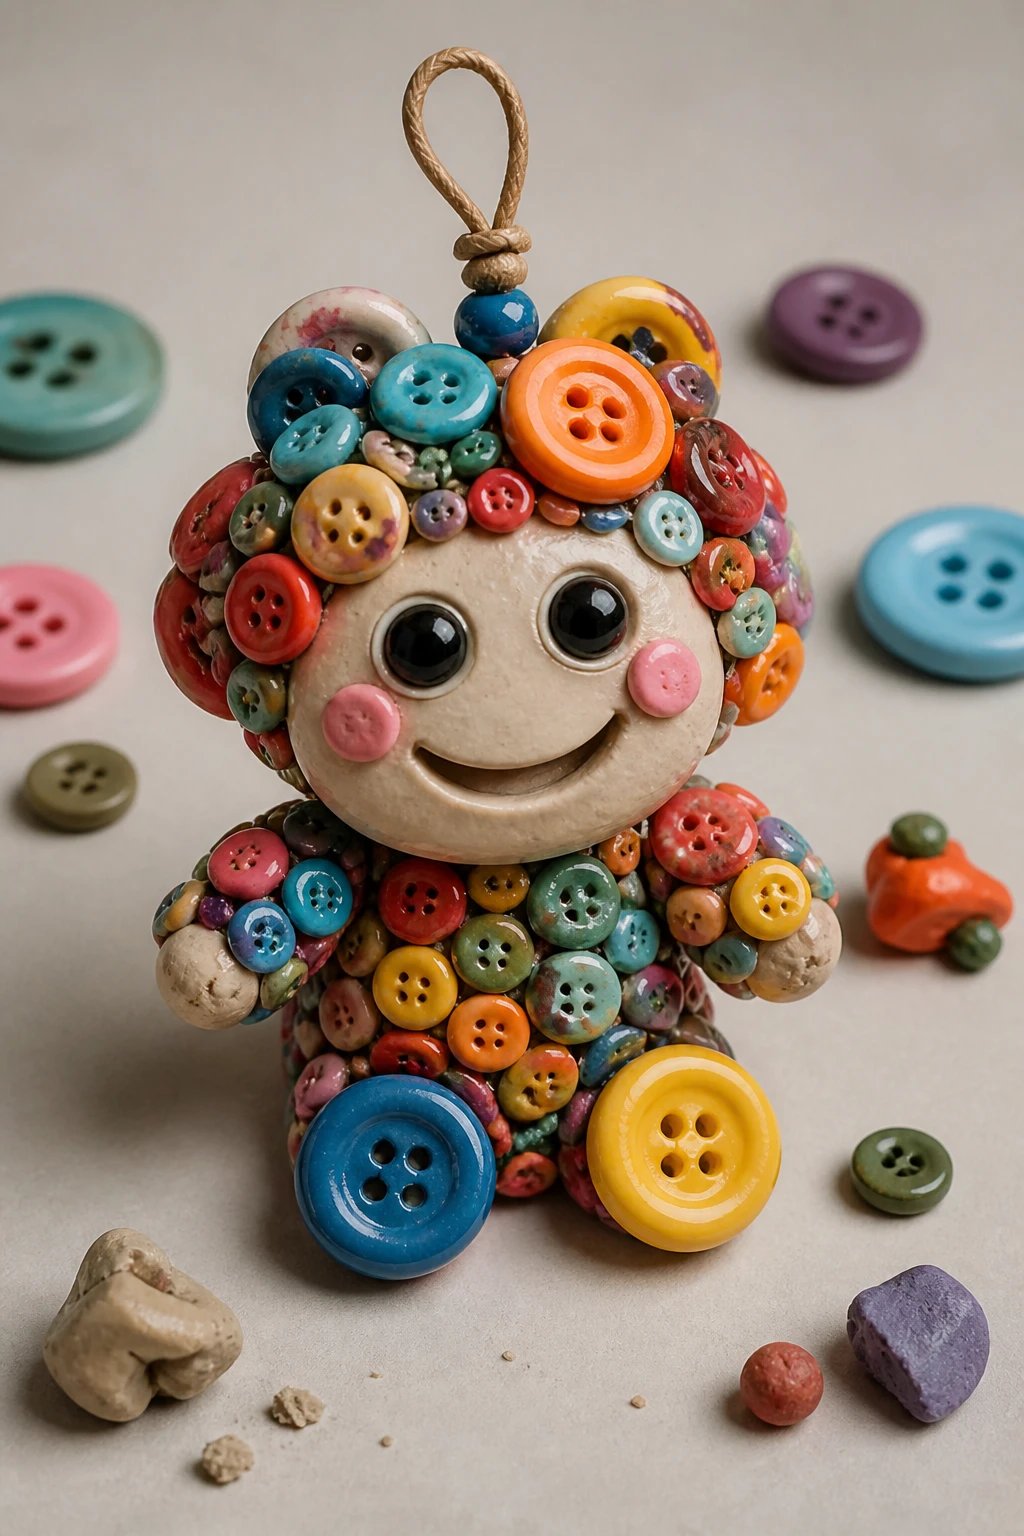
Gather random buttons and a few clay scraps to craft cheerful little figures with big smiles.
Why this is magical: it uses leftovers and stretches your creativity with faces and personalities.
Fun Add-Ons
- Glaze with bright enamel paints
- Attach a loop for a hanging ornament
- Use as bag charms or magnets
End result: charming companions that brighten any space or accessory board.
7. Textured Tiles You Can Display
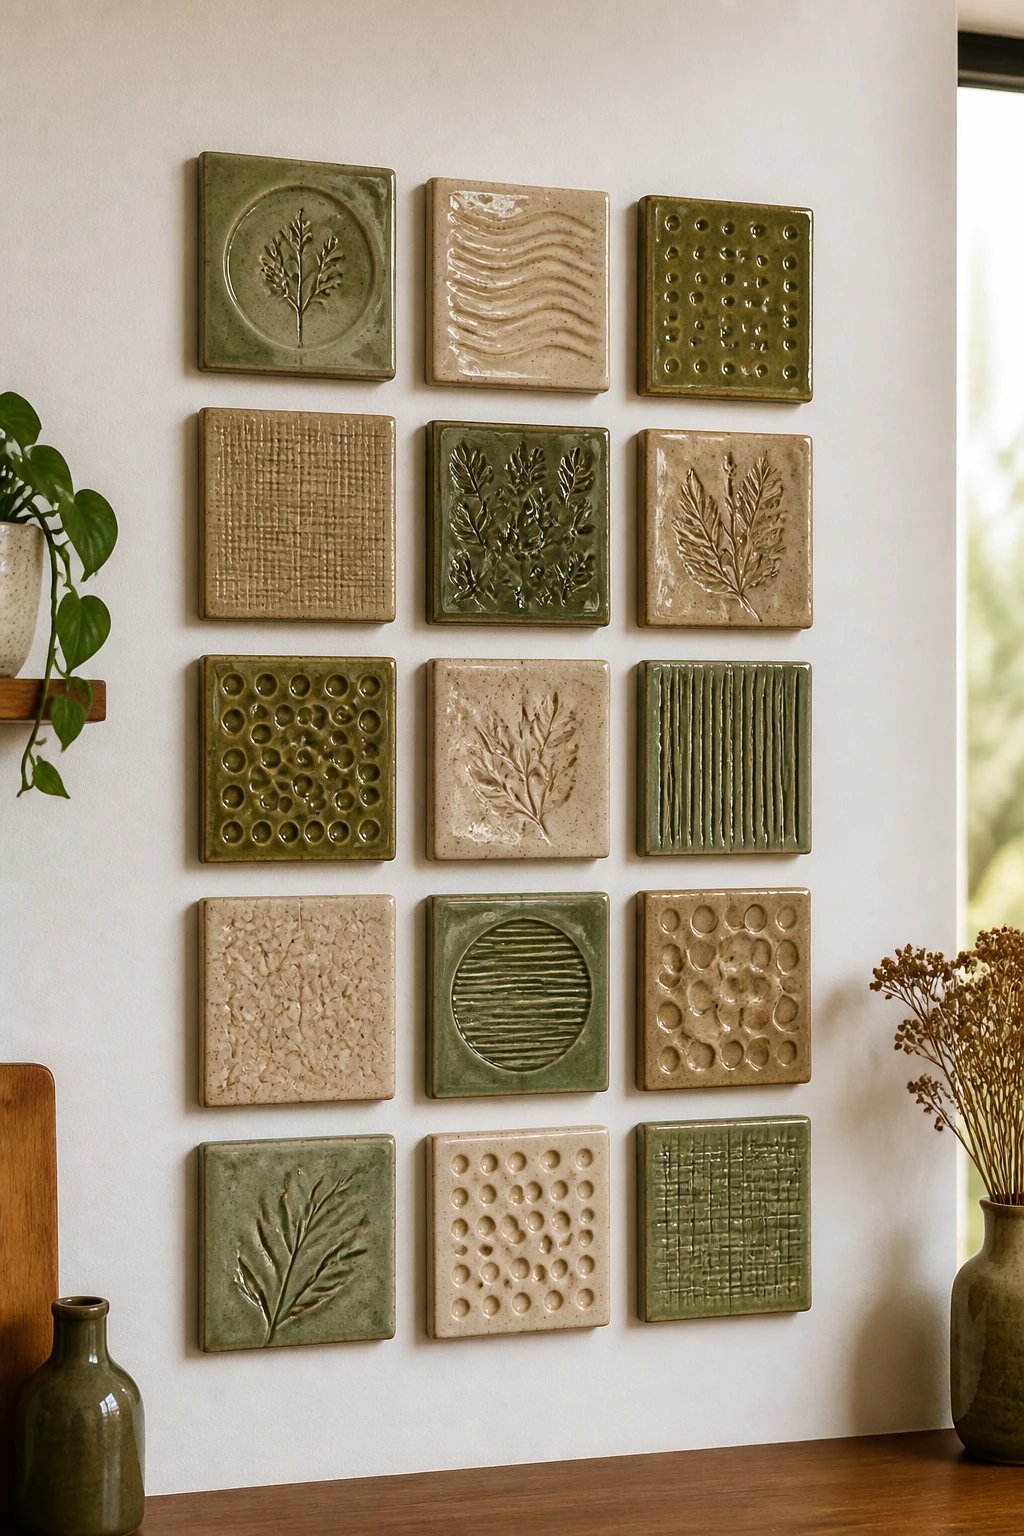
Turn ordinary clay into gallery-worthy tiles by layering textures and subtle patterns.
These teach rhythm, balance, and how to play with negative space.
Key Steps
- Roll out evenly to about 1/4 inch
- Press pattern tools or found objects for texture
- Cap with a clear glaze for protection
Use as wall art, coasters, or a mini back-splash for a creative kitchen display.
8. Cute Spoons With Character
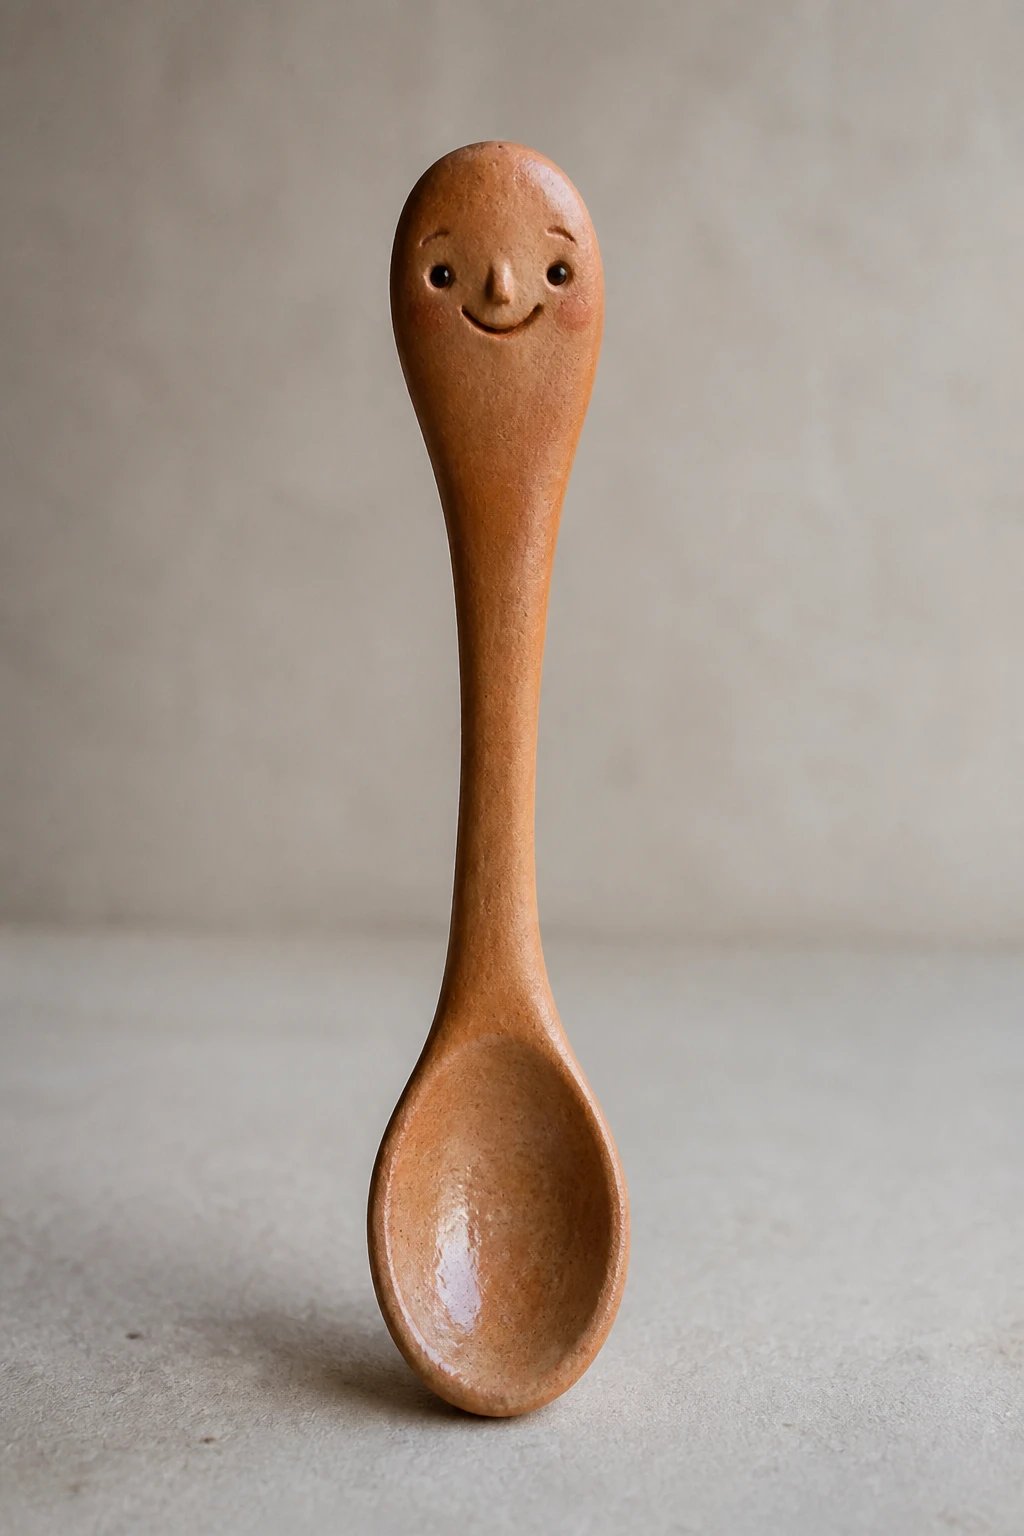
Shape a spoon handle or a full spoon sculpture with a tiny face. It’s quirky, functional, and a delight to sculpt.
It helps you practice slender limbs and curved bowls with confidence.
Quick Guide
- Shape bowl first, then form the handle
- Use a toothpick to carve eyes or lines
- Let dry before painting or glazing
Great as kitchen decor or a playful set for dolls and figurines.
9. Simple Animal Totem Sticks
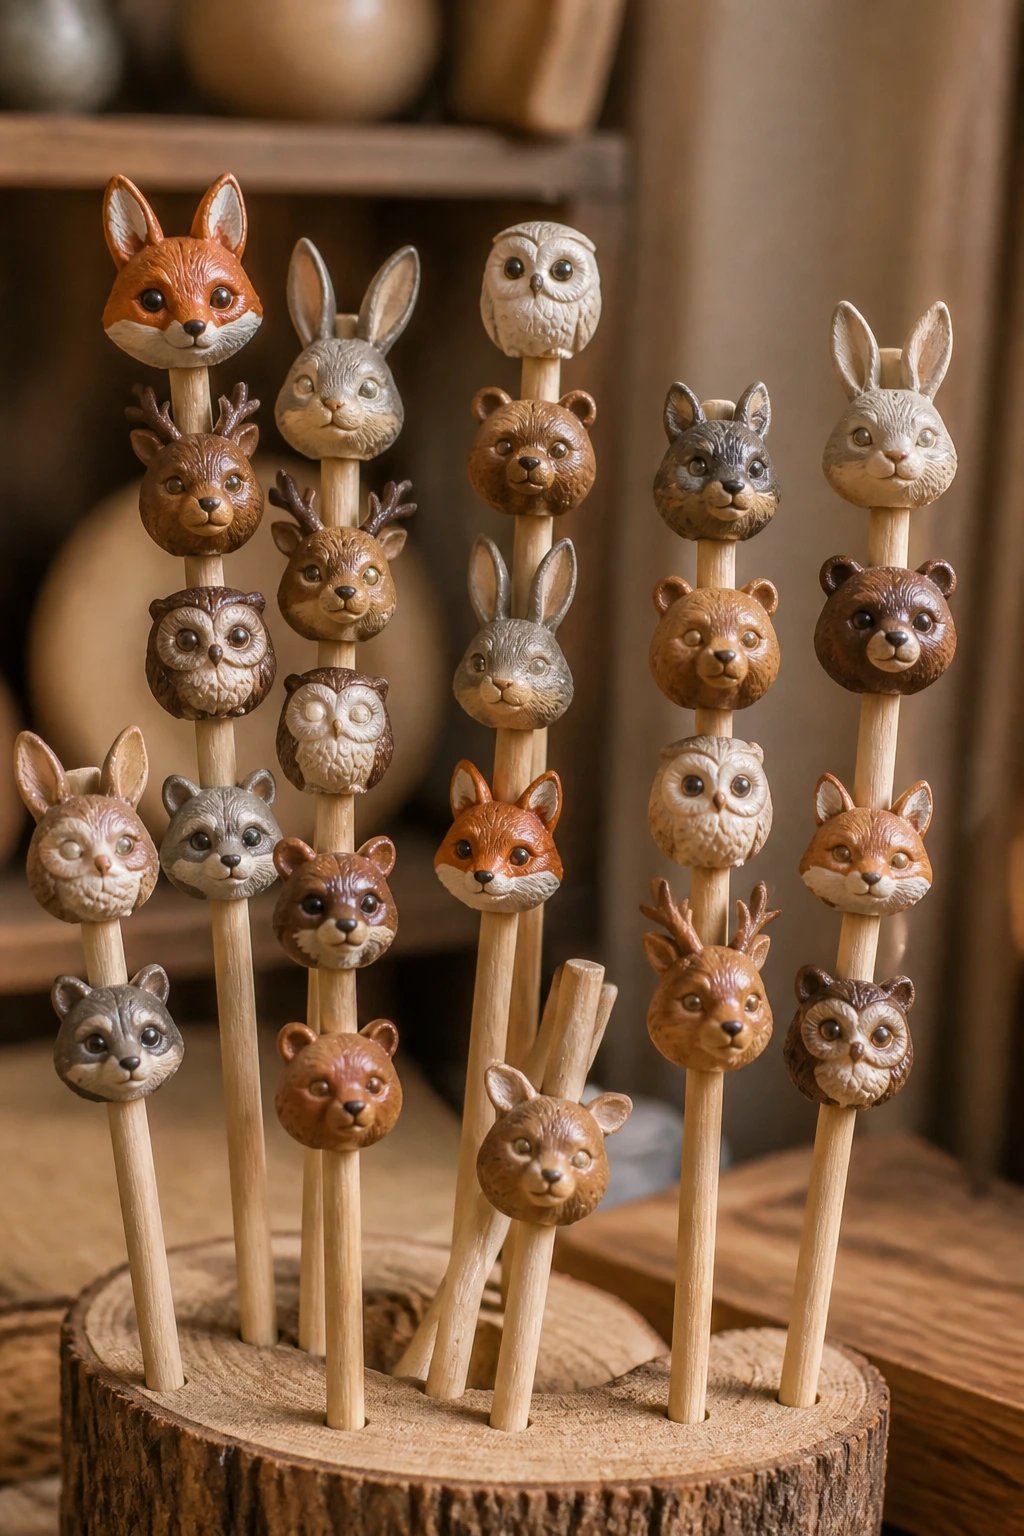
Stack tiny animal heads on a stick to create a playful totem art piece for shelves or desks.
It’s a satisfying mix of assembly and sculpting small heads with personality.
What You Need
- Flat wooden dowels or skewers
- Small animal head shapes
- Varnish for the final seal
Display whole bunches for a whimsical forest vibe.
10. Moon and Stars Night Light Holders
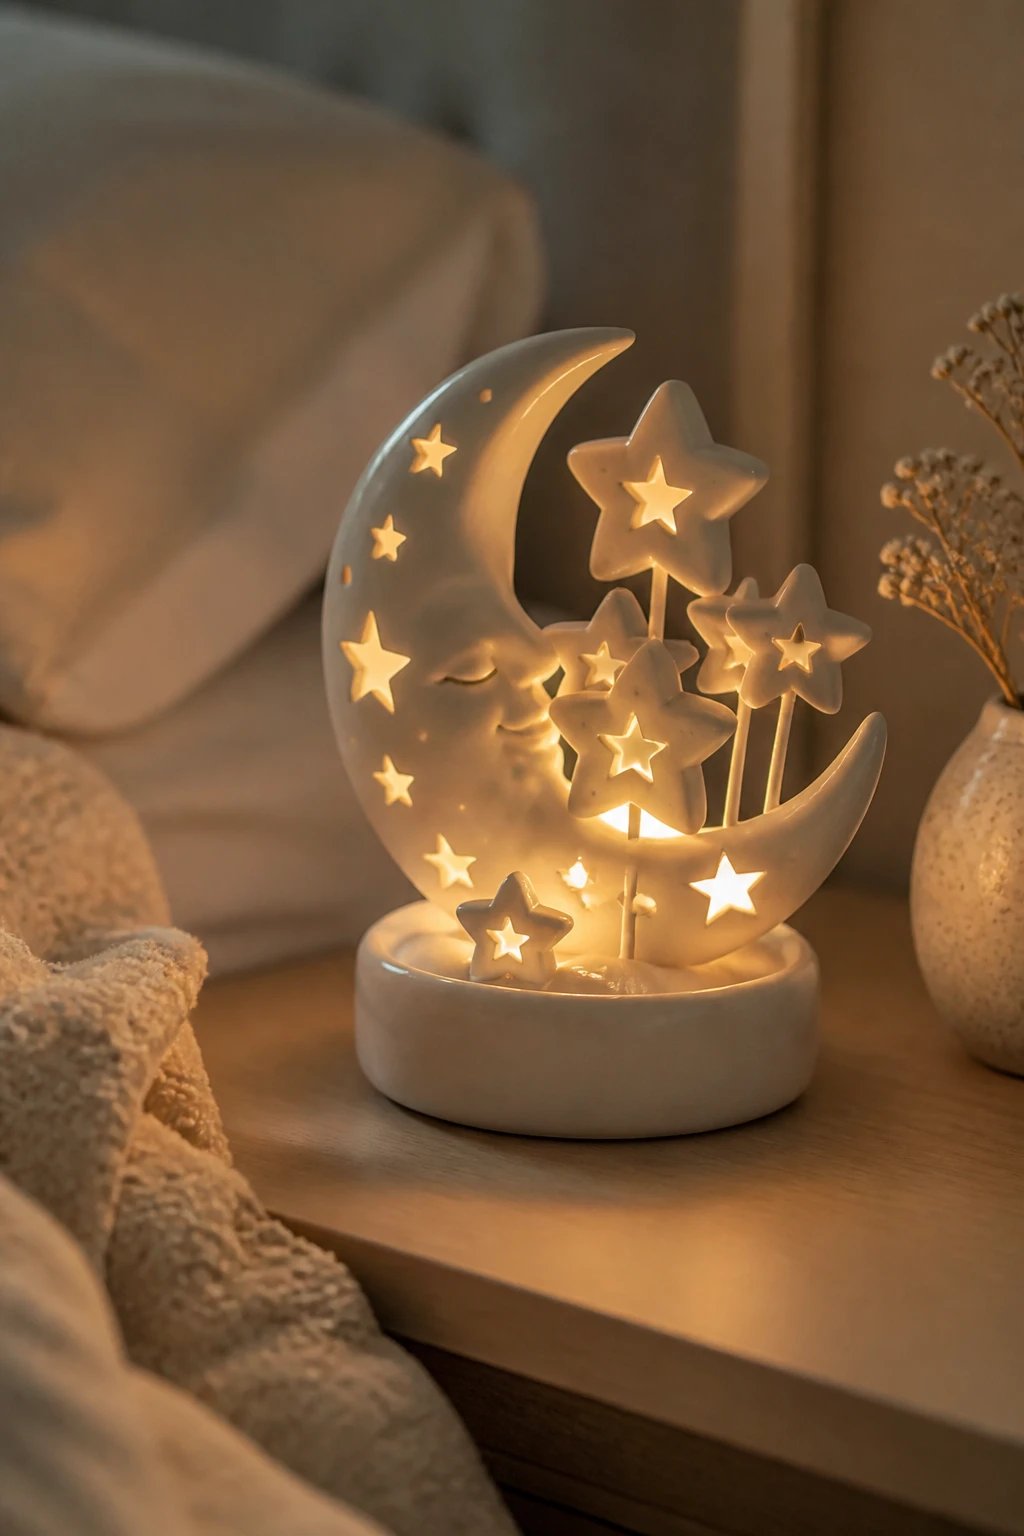
Craft a gentle night light holder with moons and stars perched on a mini base.
Relaxing to sculpt and perfect for a cozy bedside glow.
Materials
- Soft white or pastel clay
- Openings for light diffusion
- Heat safe, non toxic glaze
Use with a safe LED tea light or a small battery light for ambiance.
11. Tiny Food Props for Play or Photo Gifts

Think sliceable foods, tiny donuts, or mini burgers. These are not edible but incredibly cute.
Practice proportion and color layering while keeping things light and humorous.
Hints
- Use vibrant glazes for flashy looks
- Layer color blocks for depth
- Seal for longevity if handled a lot
Perfect as a gift set or a quirky shelf display.
12. Pocket-Sized People in Action
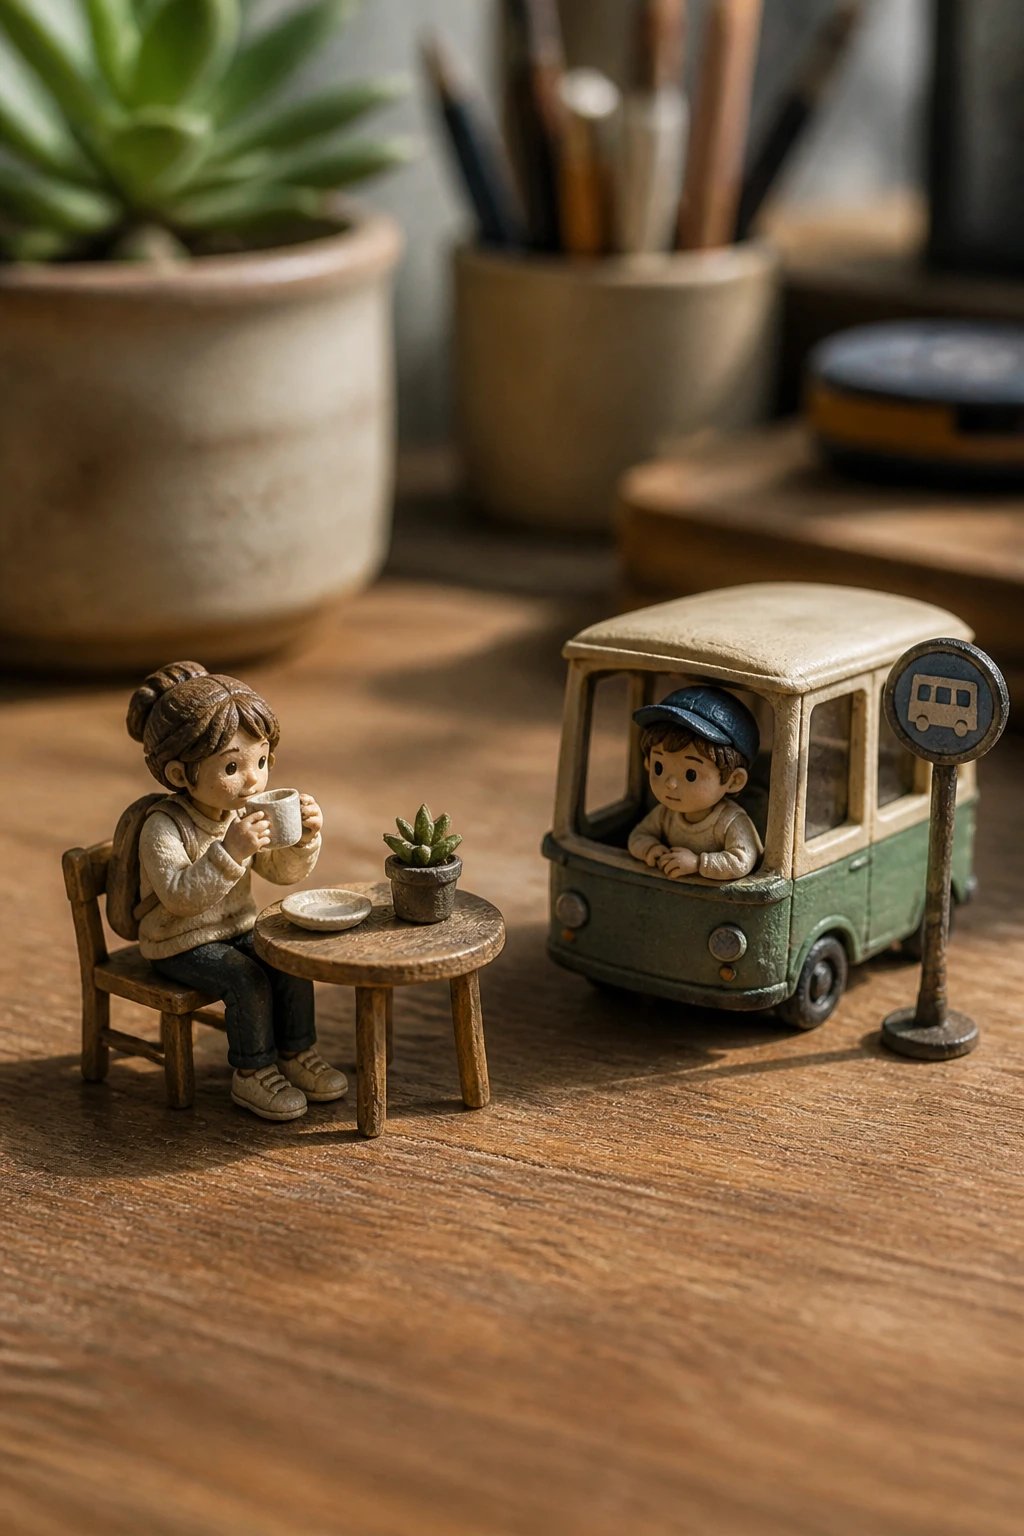
Scale down human figures to pocket size and stage tiny scenes like a person sipping coffee or riding a bus.
It’s less intimidating than full figures but teaches anatomy basics and pose shapes.
Tips
- Start with a simple torso and limbs
- Pose with flexibility at joints
- Keep expressions minimal for charm
Collectors love these as desk companions or holiday ornaments.
13. Abstract Ripple Bowls
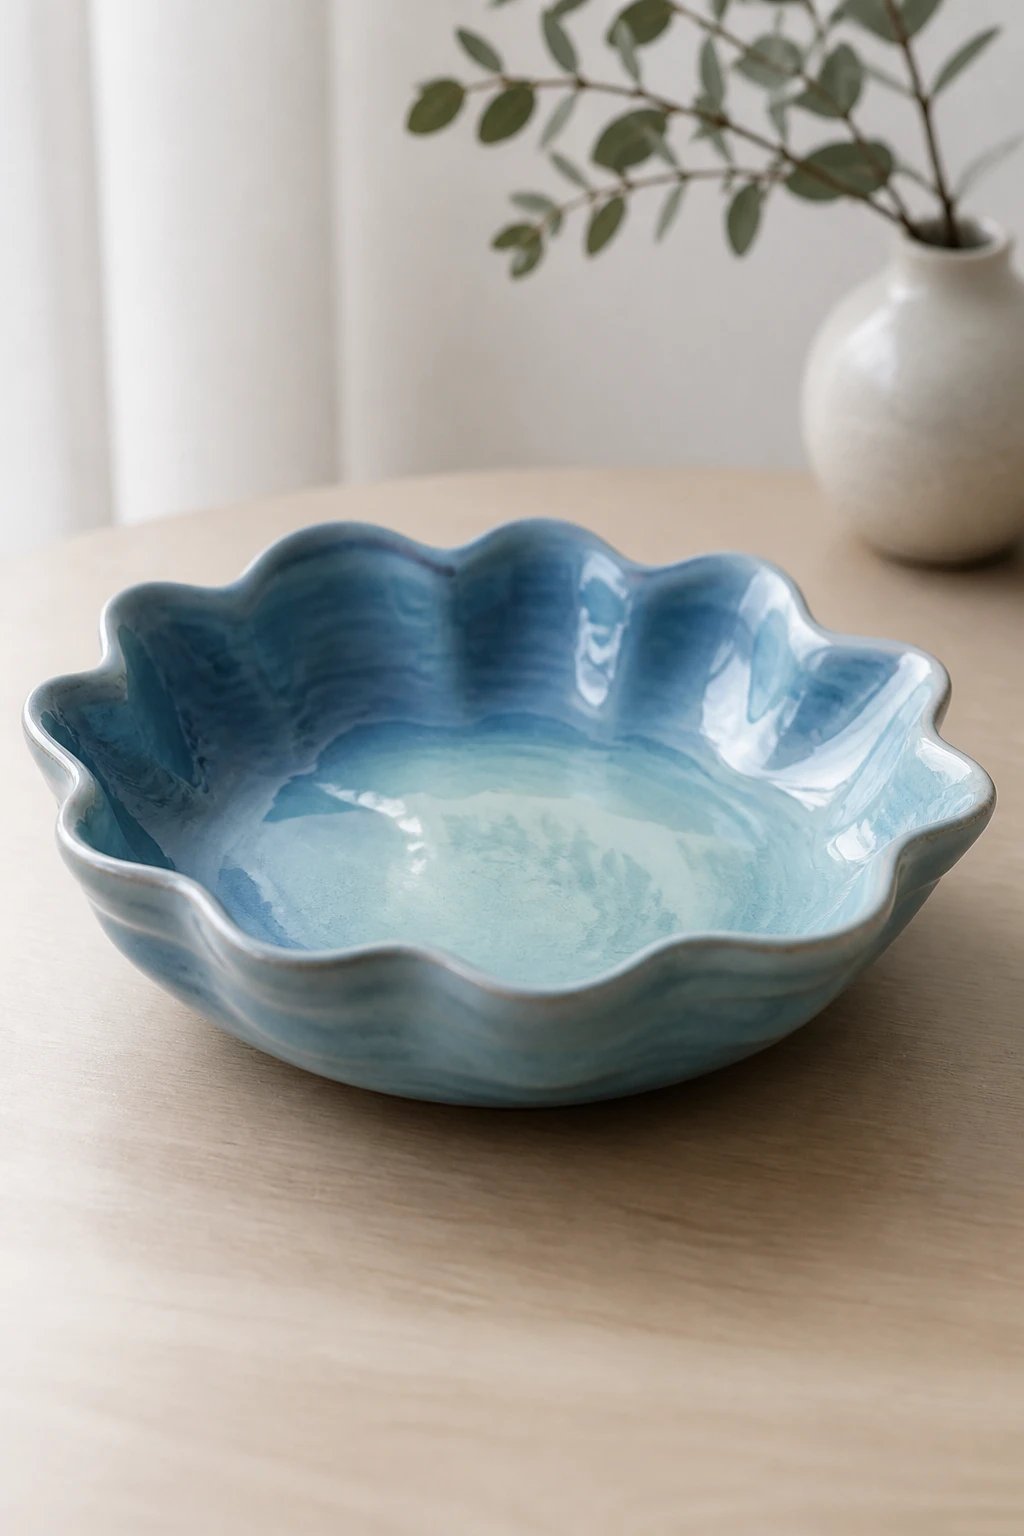
Shape a shallow bowl with wavy edges that echo water ripples. Relaxing to create and surprisingly stylish.
It’s all about flow, rhythm, and the joy of imperfect lines.
What to Focus On
- Even wall thickness
- Soft, continuous curves
- Gloss glaze to mimic water sheen
Nice as fruit bowls or decorative catch-alls on a dresser.
14. Characterful Pencil Holders
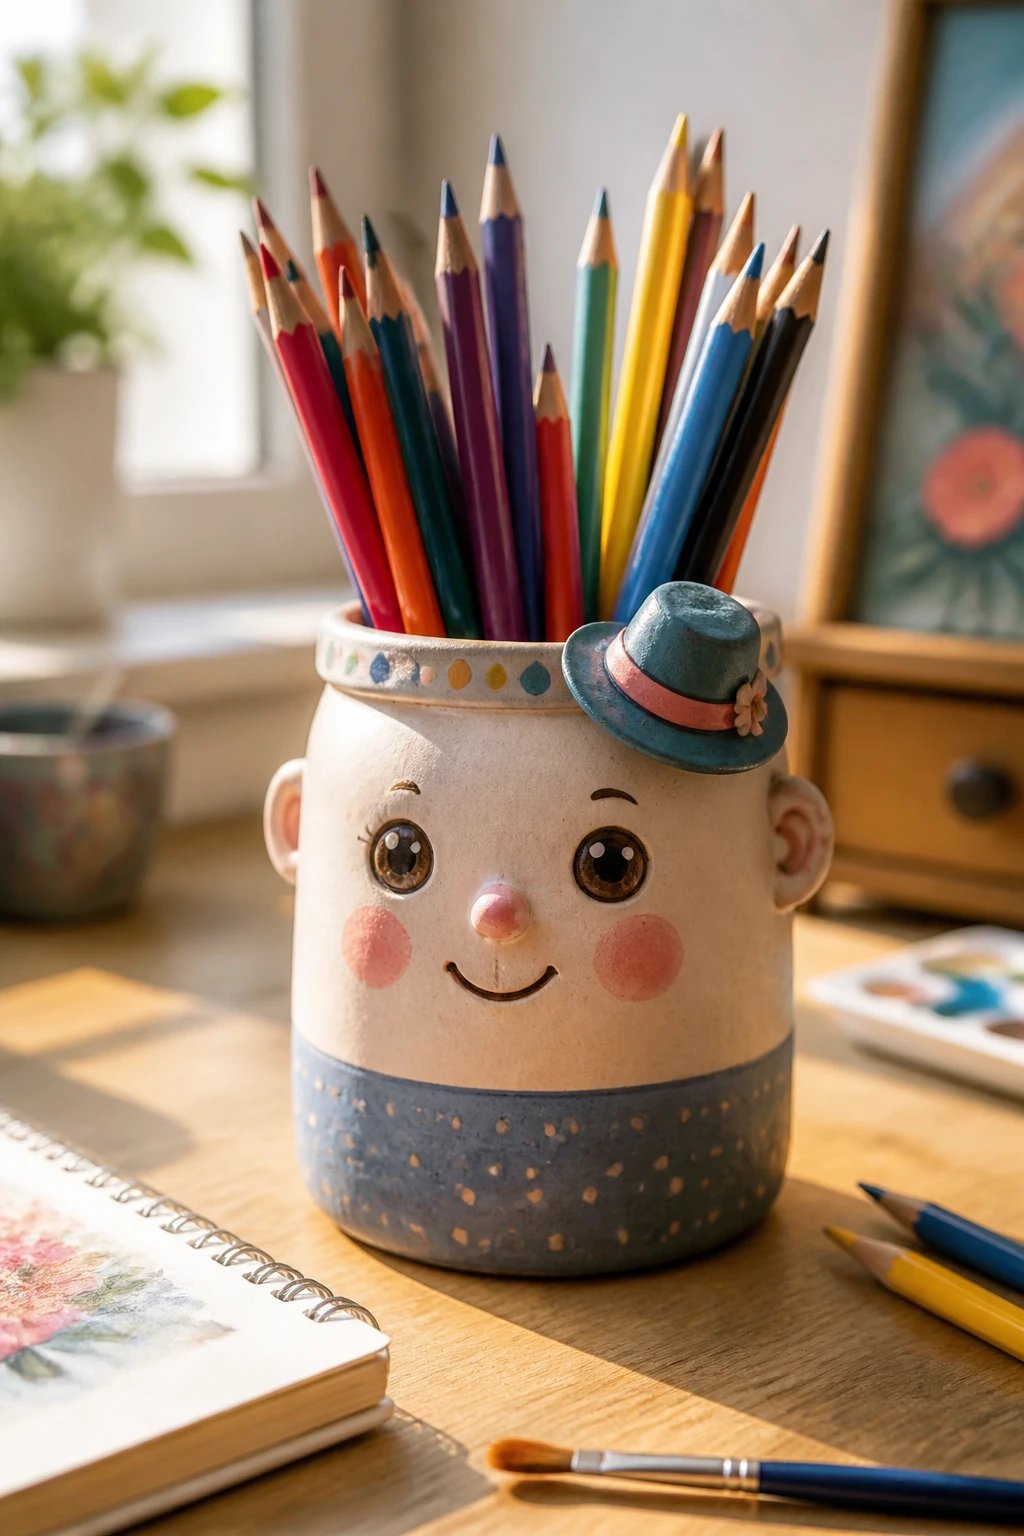
Turn a simple jar form into a characterful pencil holder with little faces and hats.
This project shows beginners that everyday objects can become fun personalities.
Steps
- Shape jar and add a lid or rim
- Sculpt features and embellishments
- Paint with acrylics after firing
Great for desks, art studios, or as a gift for students and teachers.
15. Cozy Beanie and Scarf Figures
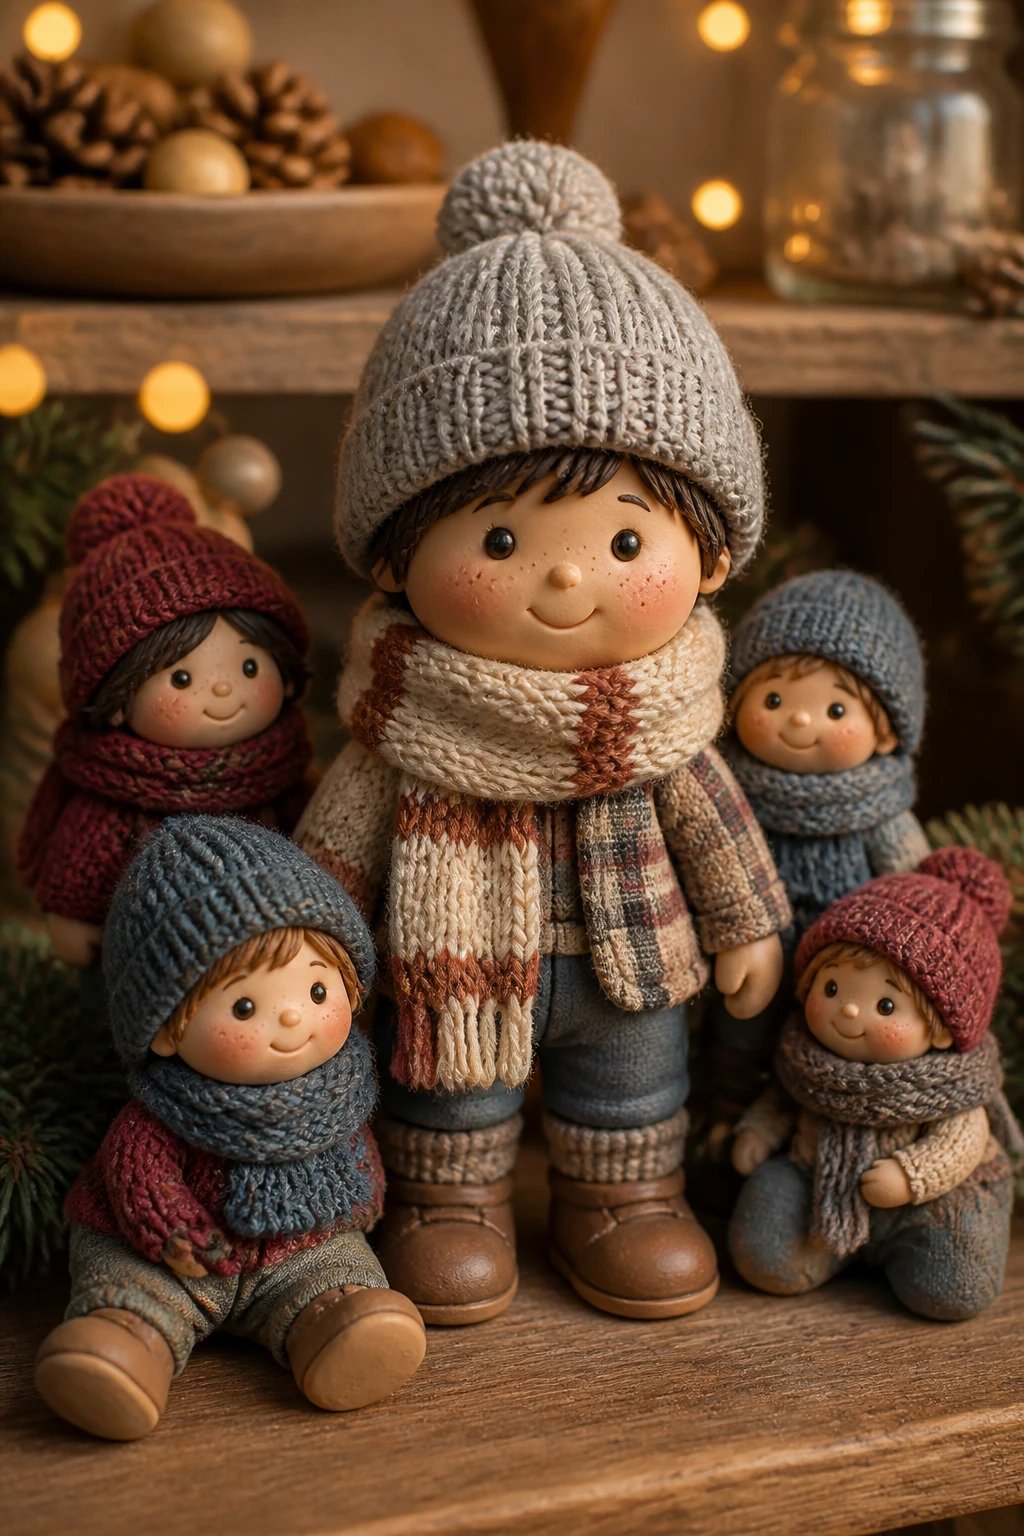
Create small people wearing beanies and scarves for a holiday vignette or winter scene.
Warm colors and soft textures give a hug worthy finish.
What Works
- Layer clothing pieces
- Use texture tools to mimic knits
- Keep joints pliable for pose options
Display on a shelf or as a seasonal centerpiece.
16. Floating Orbs With Tiny Ribbons
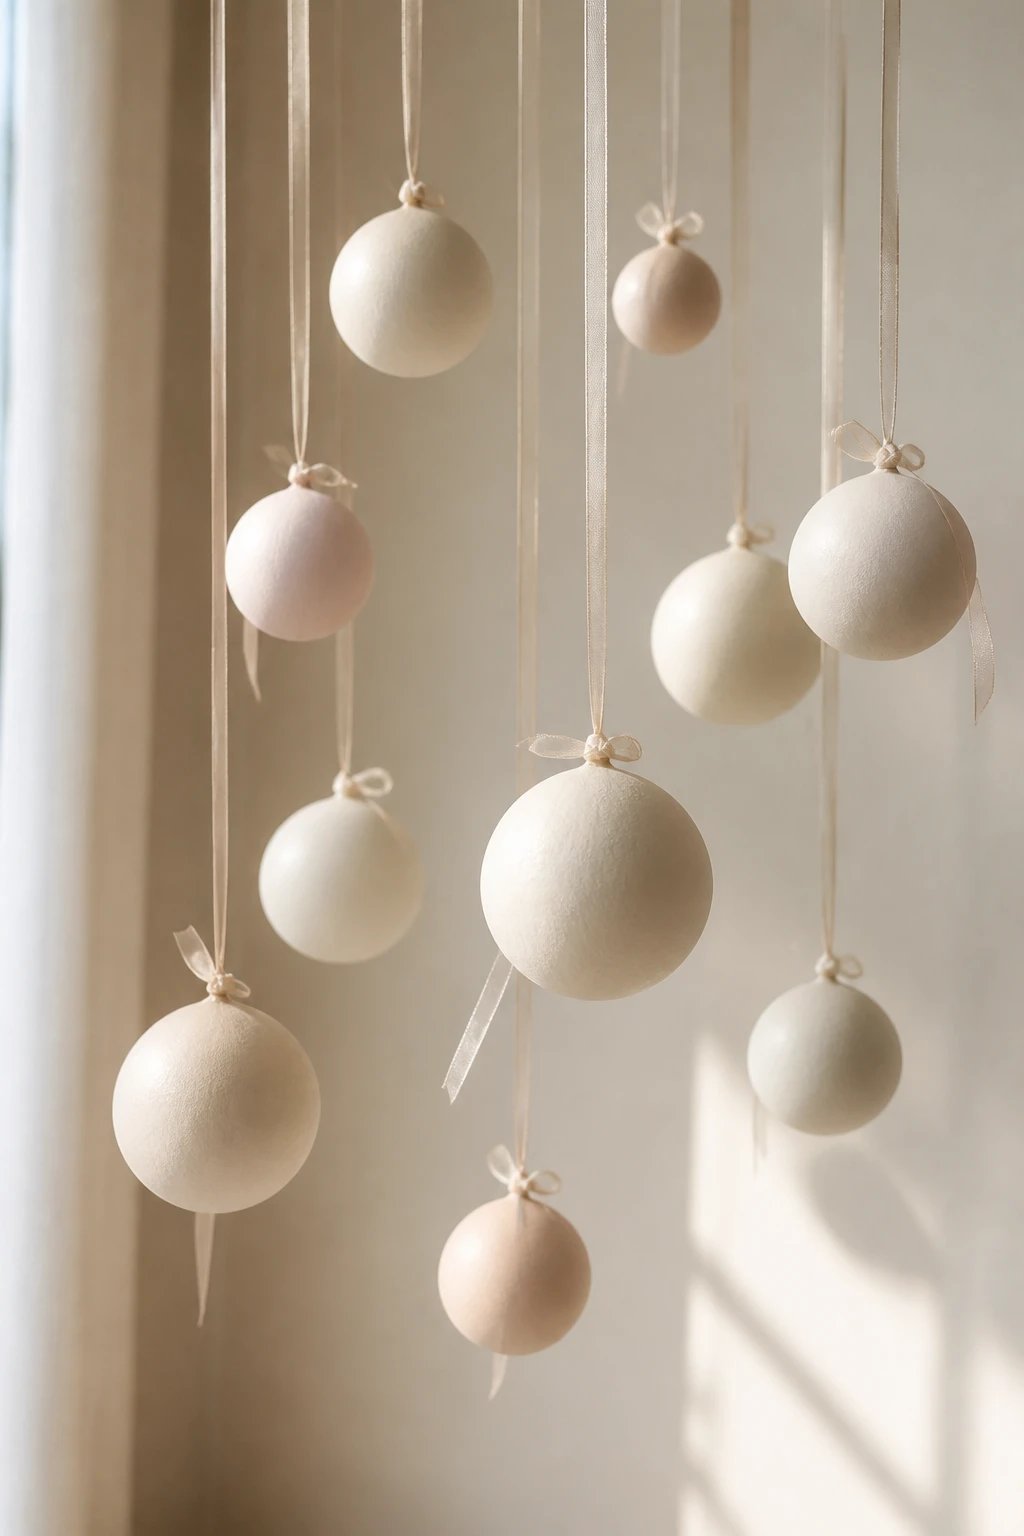
Make a set of suspended orbs tied with tiny ribbons for a whimsical mobile or garland.
It teaches balance and the art of pairing materials for a delicate look.
Pro Tips
- Balance weight by adjusting clay thickness
- Use thin ribbons to keep things airy
- Hang at varying heights for visual interest
Perfect for a nursery corner or a playful party backdrop.
17. Pet Portrait Plaques
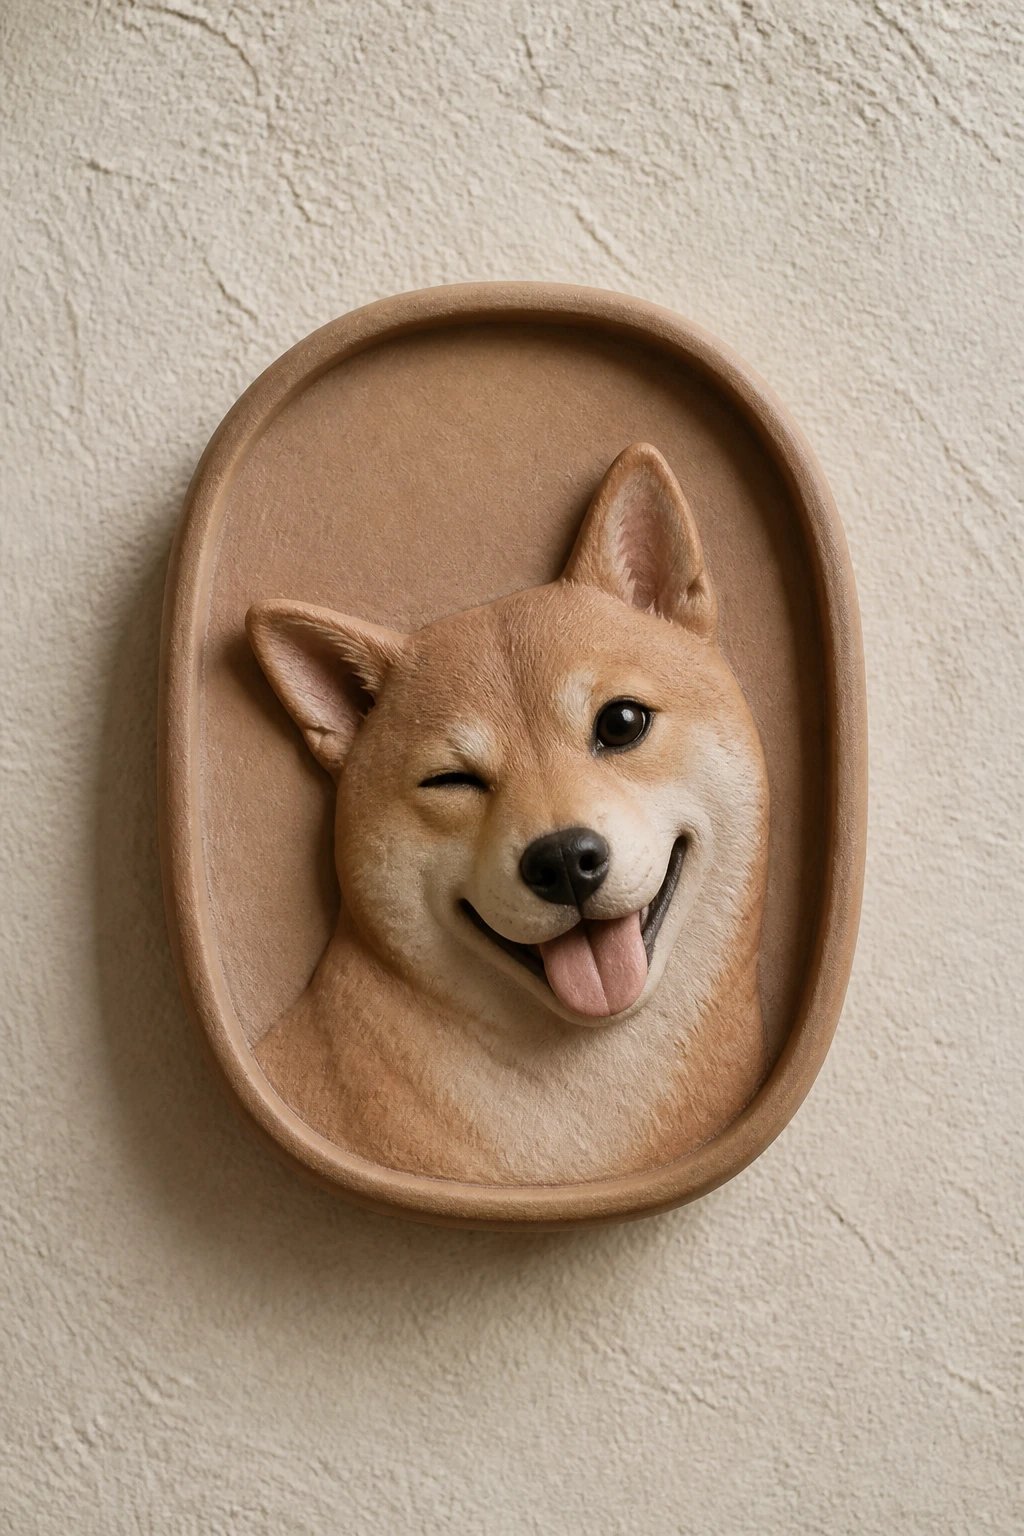
Capture a pet’s cheeky expression in a small plaque you can mount on the wall.
It’s a sentimental project that pushes you to simplify features while keeping the character intact.
How To
- Simplify shapes to capture essence
- Embellish with a name carved along the edge
- Seal to preserve colors from fading
Wonderful as a gift for animal lovers or a personal keepsake.
18. Dreamy Night Sky Orbs
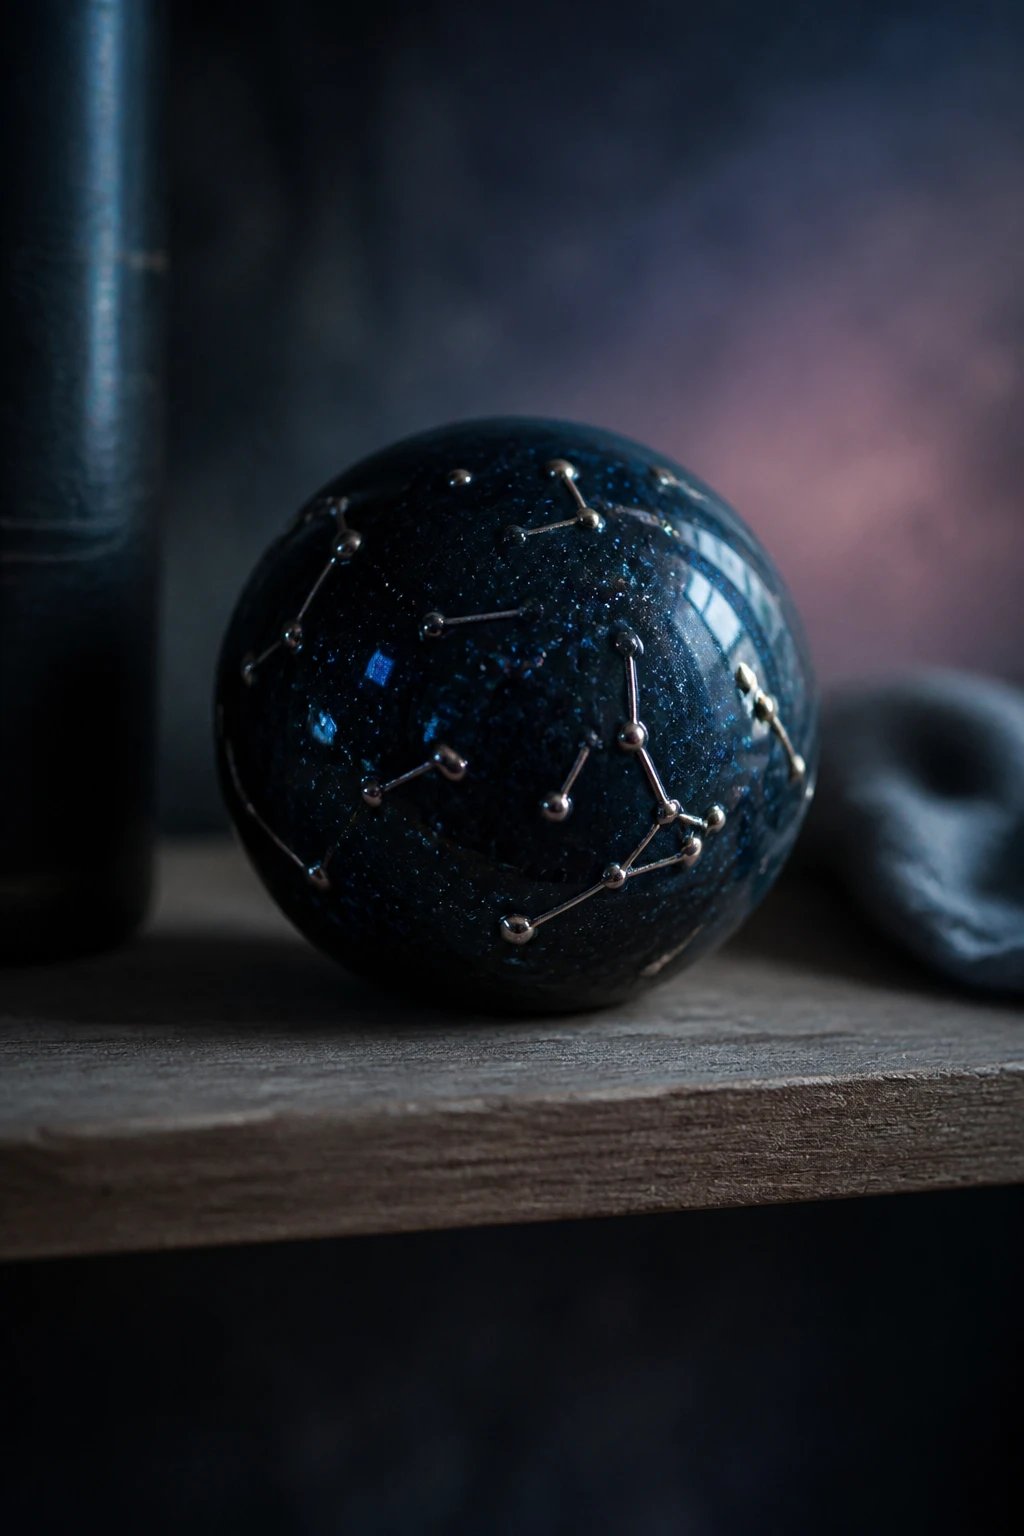
Paint little constellations on dark clay and seal a protective gloss to mimic a night sky in a globe.
It’s meditative and visually stunning, with a little science fiction vibe.
Materials
- Dark blue or black clay
- Bright glaze points for stars
- Clear gloss to brighten the scene
Display on a shelf or hang as a delicate ornament.
19. Simple Soap-Shaped Sculptures
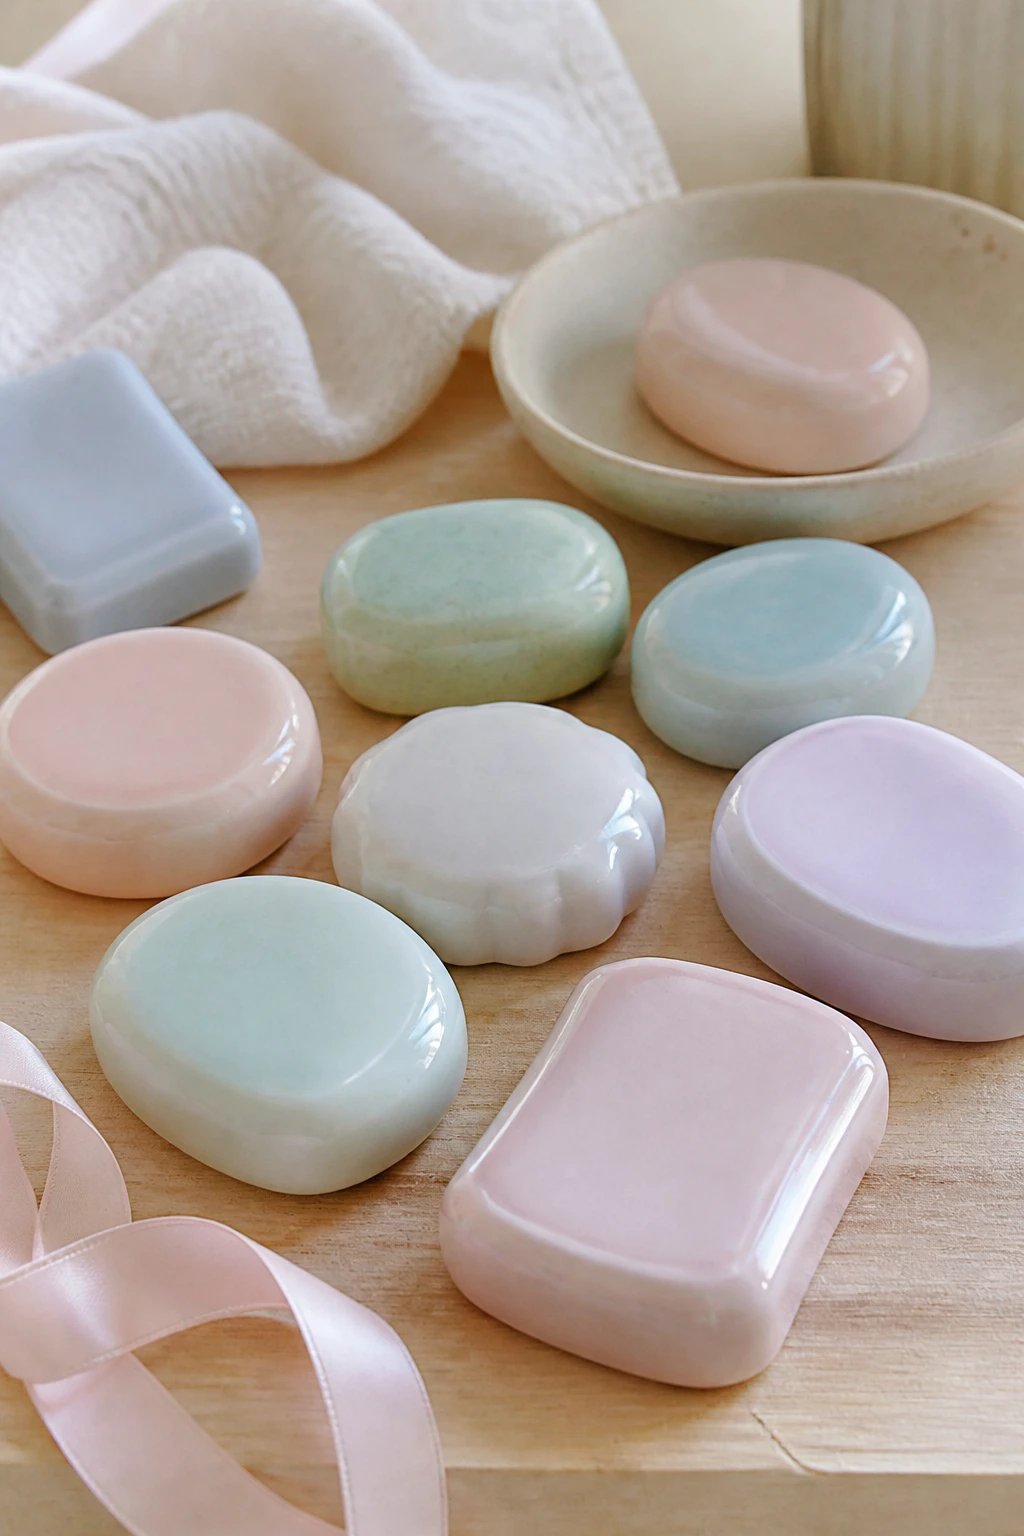
Last but not least, sculpt small, soap-like shapes that can be used as playful decor or gift accents.
Soap shapes help you practice smooth surfaces and rounded corners without much pressure.
What To Remember
- Keep edges gentle and rounded
- Use pastel glazes for a clean look
- Seal if you plan to display long term
These tiny soaps are conversation starters and adorable displays for bathrooms or desks.
Now that you’ve got a dozen ideas ready to roll, you still have a friendly roadmap for trying them one by one. FYI, you don’t need fancy tools to start—your hands, a rolling pin, a few texture tools, and some patience will carry you far. Seriously, the more you practice, the faster you’ll spot the little tweaks that make each piece feel uniquely yours.
Time to grab some clay, kick back, and pick your first project. trust me, you’ll be hooked before you finish your first set of coasters.
Ready to start? Grab a batch of clay, pick a project, and let your imagination lead the way. Have fun, and happy sculpting!
