
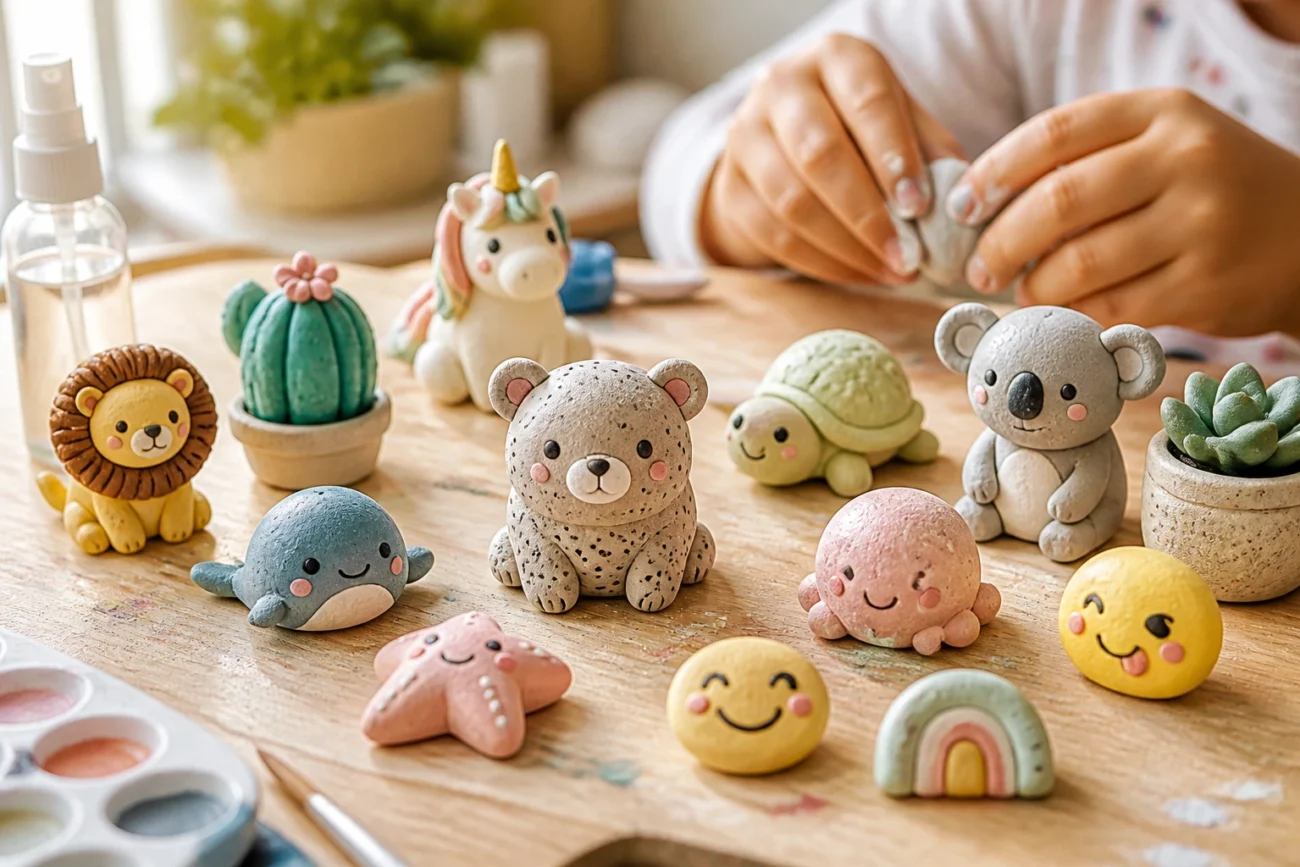
Stuck at home and craving something tiny and messy but adorable? You’re in luck — these air-dry clay ideas are beginner friendly and seriously satisfying.
Each idea is quick to set, easy to customize, and perfect for little hands to master with a little guidance from you.
Grab your colors and a surface you don’t mind getting funky, because we’re making artsy masterpieces in no time.
1. Layer Textures Like a Pro
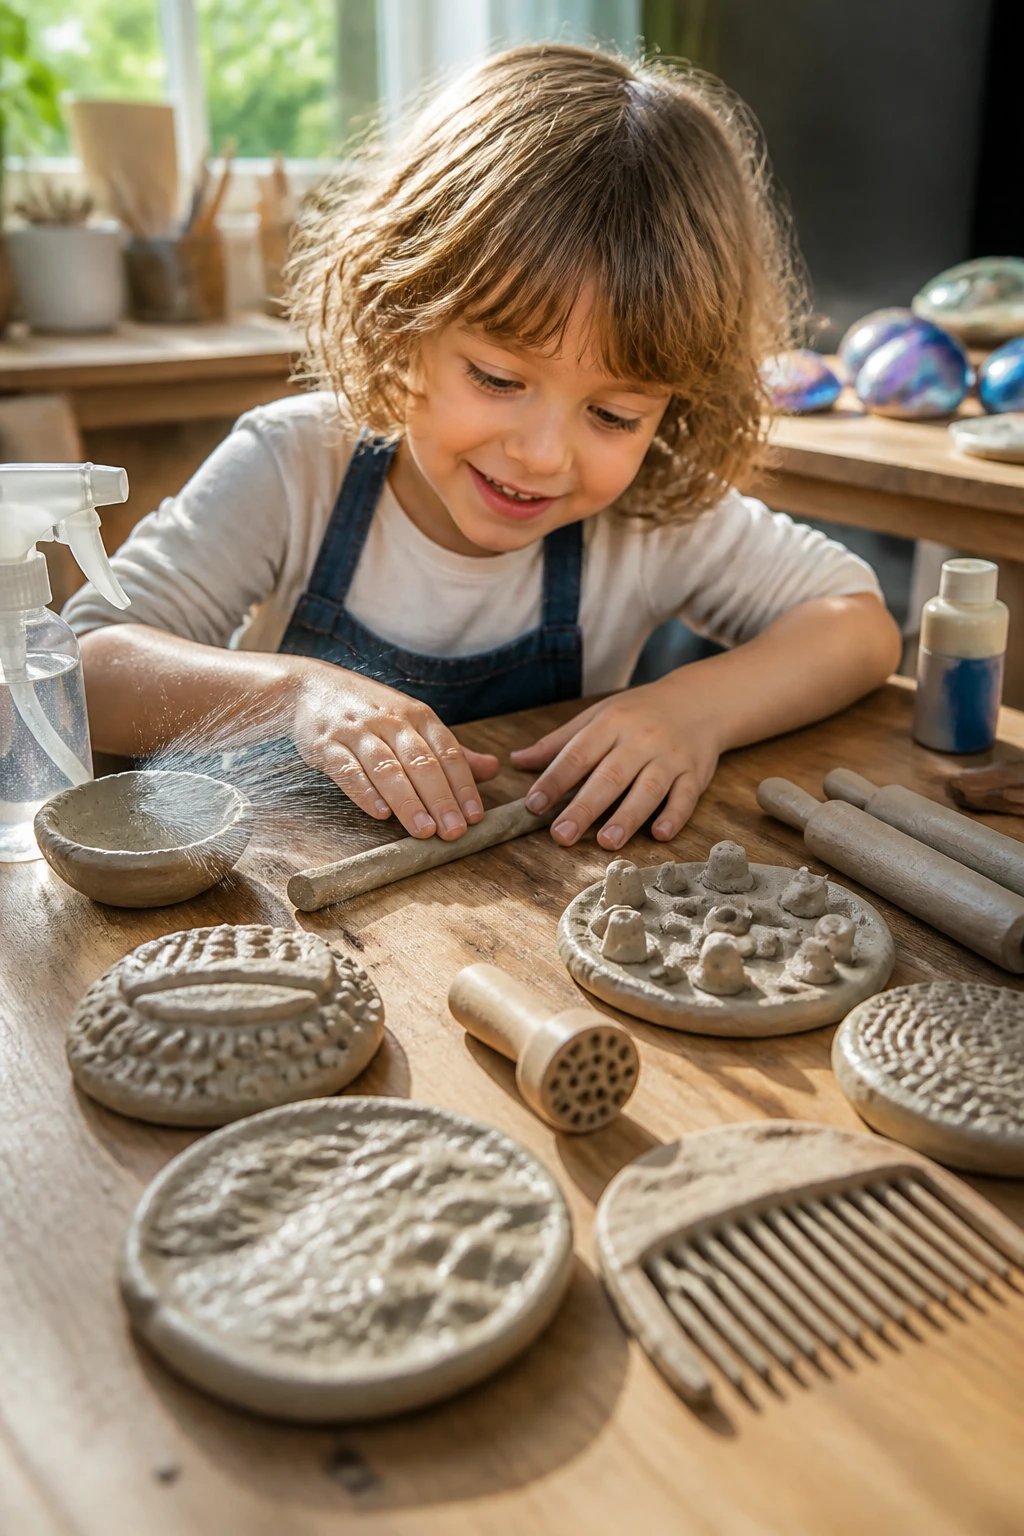
Texture wins without needing fancy tools. Build a little clay army of bumps, ridges and polka dots to give your projects depth.
Key Points
- Rolls, stamps, and simple combs create playful patterns
- Use a spritz bottle to keep clay damp while shaping
- Finish with a gentle glaze or paint to highlight textures
Texture adds personality and makes simple shapes look chic. Plus, it’s satisfying to touch and explore with tiny fingers.
2. Mini Colorful Animals That Fit in Your Palm

Animal figures are endlessly adorable and great for practicing hand control. Start with simple shapes and go tiny with features.
Tips
- Use a toothpick to draw eyes and a tiny nose
- Attach limbs with light moisture to fuse pieces
- Air-dry completely before painting for crisp details
Lessons learned: patience and playfulness go paw in paw, and you’ll end up with a tiny zoo collection you can boast about later.
3. Emoji Charms for Your Key Ring
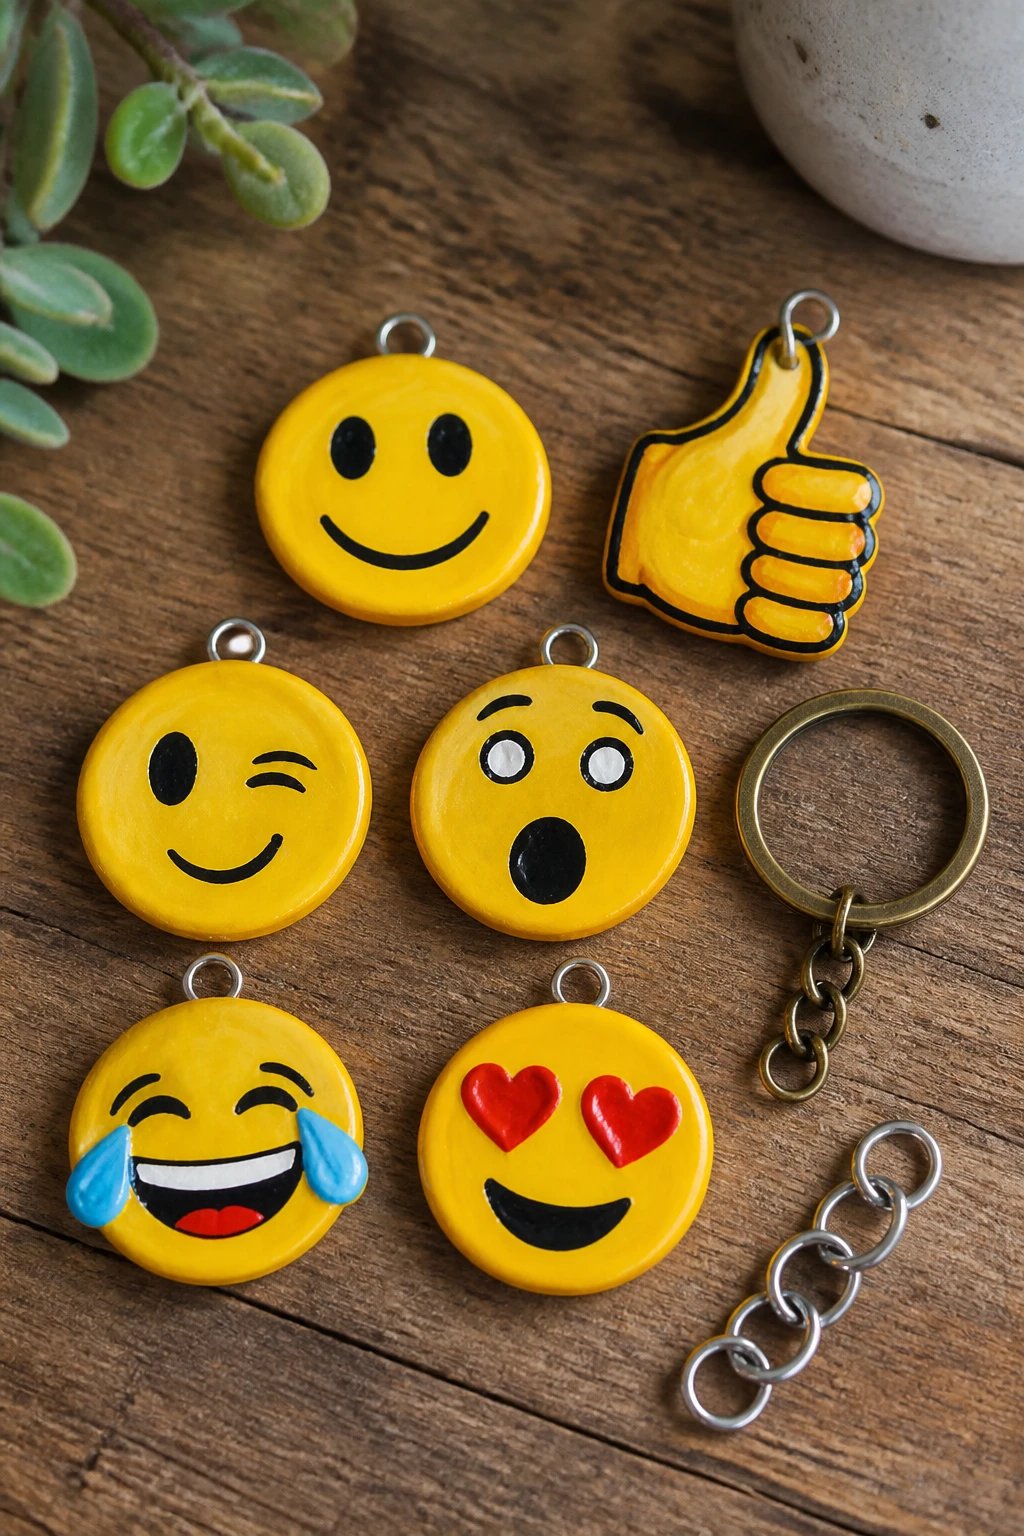
Who doesn’t love emojis? Create a set of clay charms in popular expressions to hang on backpacks or keys.
Materials
- Flat, smooth clay slabs
- Metal jump rings and key rings
- Acrylic paints for bold faces
Bright colors and silly faces instantly lift moods. FYI, finish with a clear sealant to prevent cracking in transit to school or the car.
4. Cute Bowls for Trinkets

A tiny dish not only looks adorable but also helps keep tiny treasures organized. Start with a shallow bowl and curve it upward.
How-To
- Roll out a ball, press into a small lid or bowl mold
- Shape the rim to a gentle curve
- Let dry fully, then gloss with a clear sealant
Useful and cute, these bowls make great desk organizers or jewelry catch-alls for nightstands.
5. Pops of Nature: Leaf Impressions
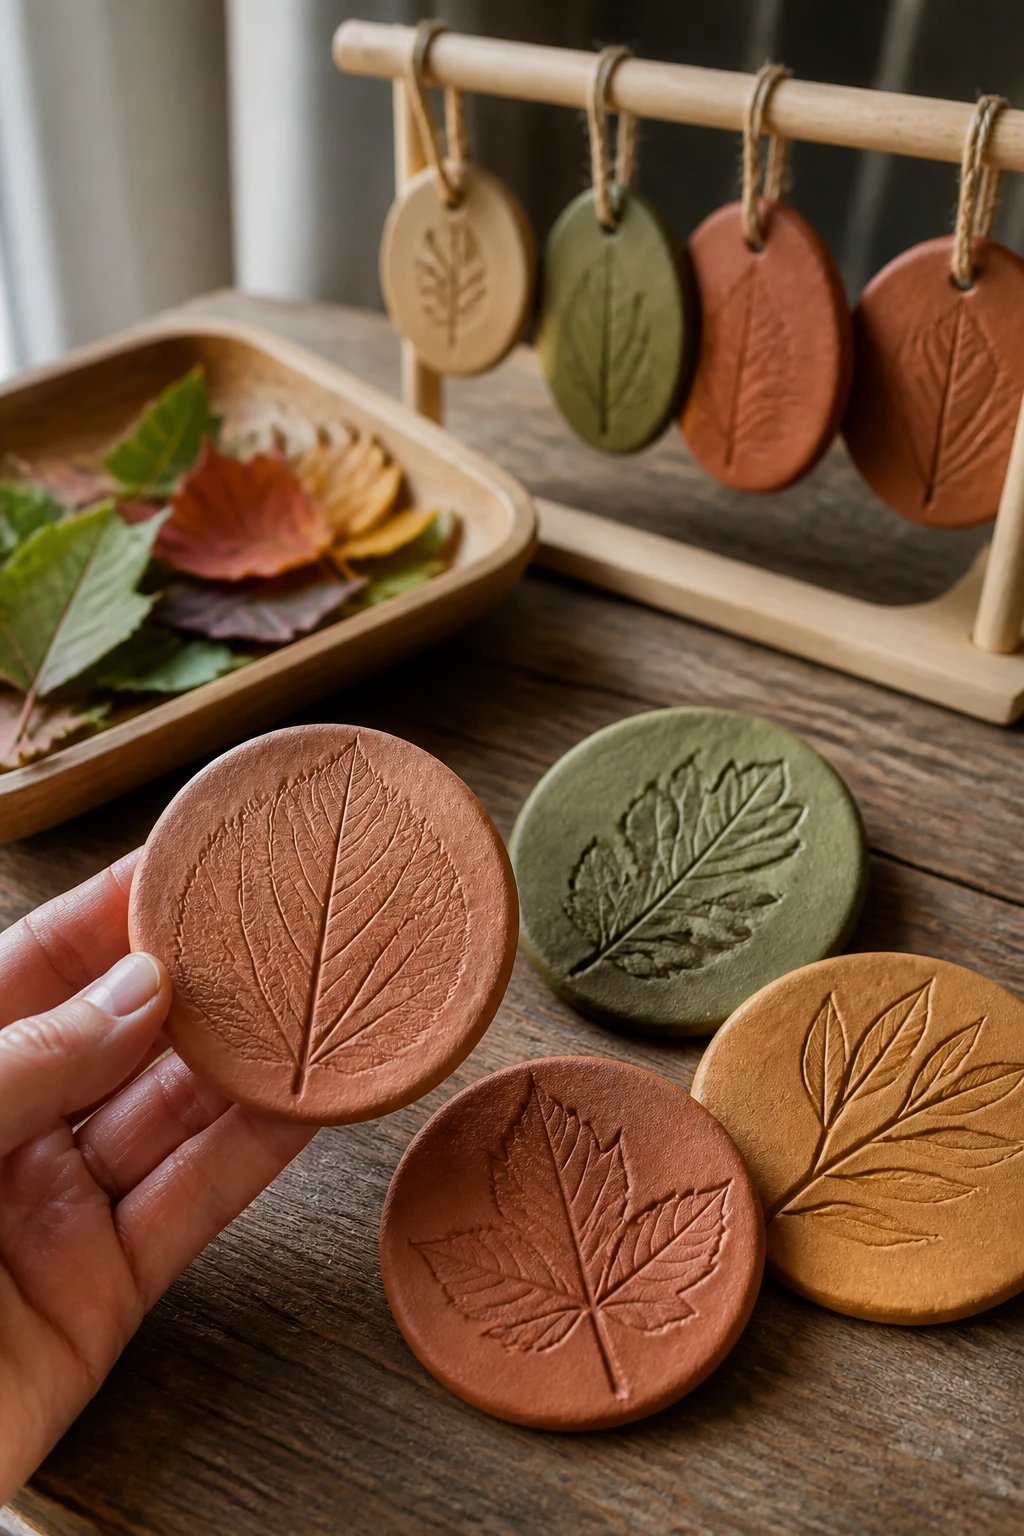
Take a little nature walk and bring back leaves to imprint on clay. Every leaf leaves a unique impression.
Process
- Roll out clay, place a leaf flat, press gently
- Carefully lift to reveal texture
- Turn into magnets or wall art after drying
Nature inspired art is inexpensive, and the patterns are always a hit with family and friends.
6. Rainbow Bead Keychains
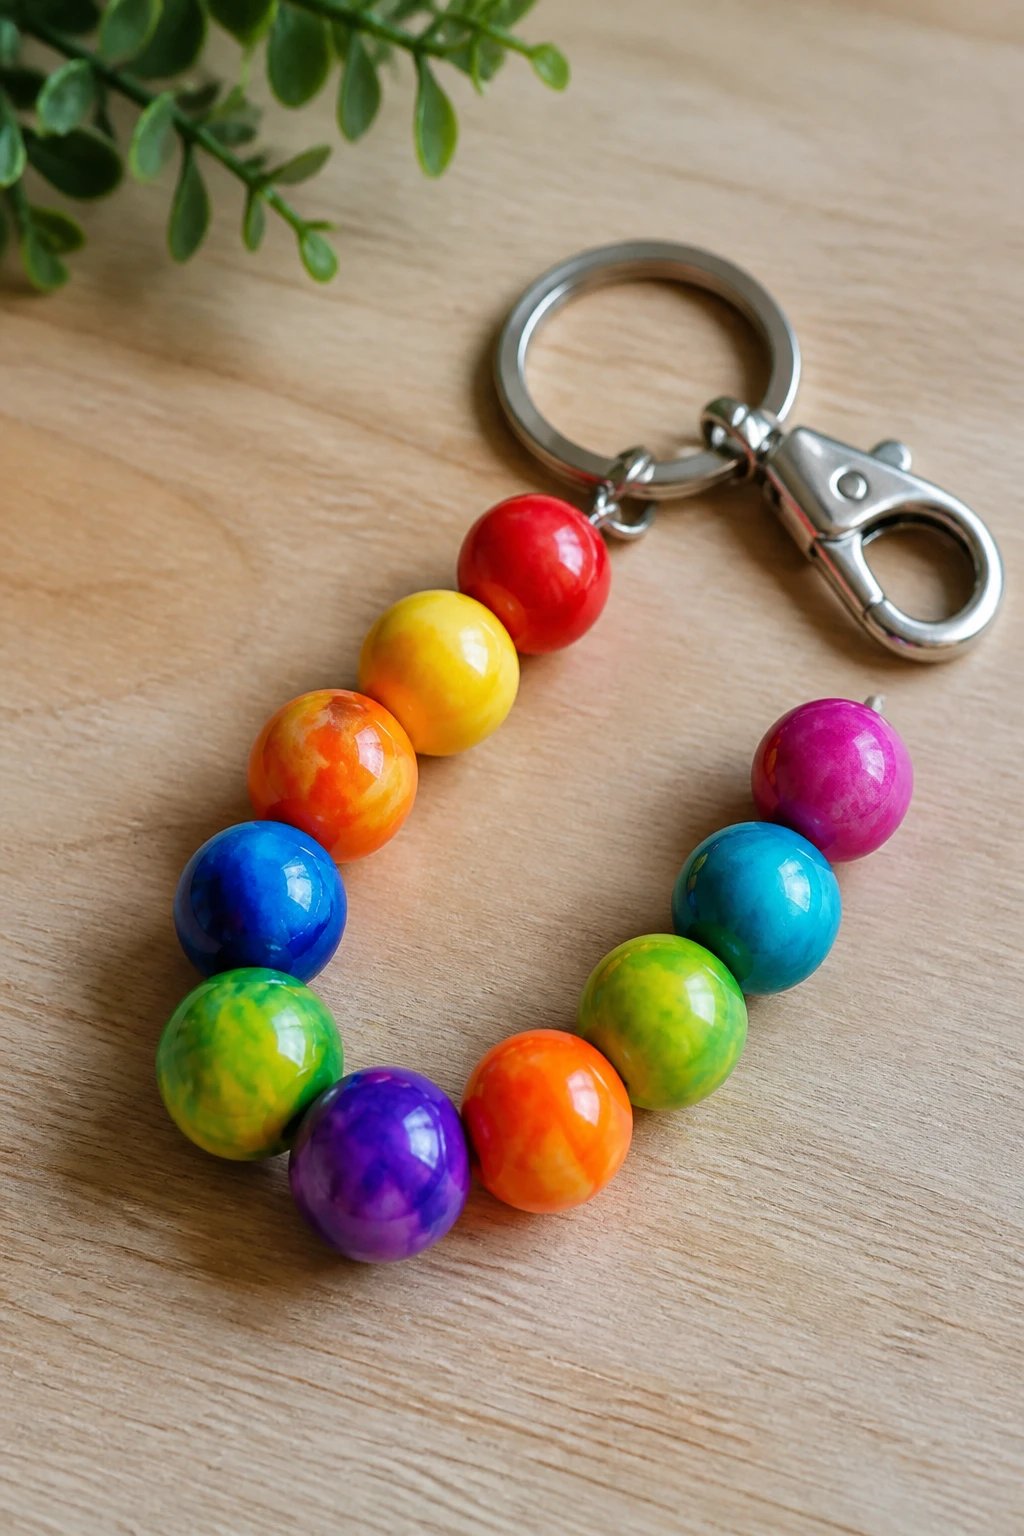
Beads spark joy. Create colorful round beads and string them into a bright keychain or zipper pull.
Notes
- Mix primary colors for vibrant mixes
- Make holes before drying for easy hanging
- Seal with a clear varnish after curing
Kids love the instant color payoff and you get a whirlwind of compliments on your new accessories.
7. Cookie-Cutter Creations

A cookie cutter is a crafty shortcut that yields uniform shapes fast. Use different cutters to build a tiny world.
What to Do
- Press cutters into soft clay and lift gently
- Add holes for hanging or stringing
- Paint details after drying to bring characters to life
Simple, quick and incredibly satisfying for beginners who want consistent shapes.
8. Geometric Planters for Tiny Greenery
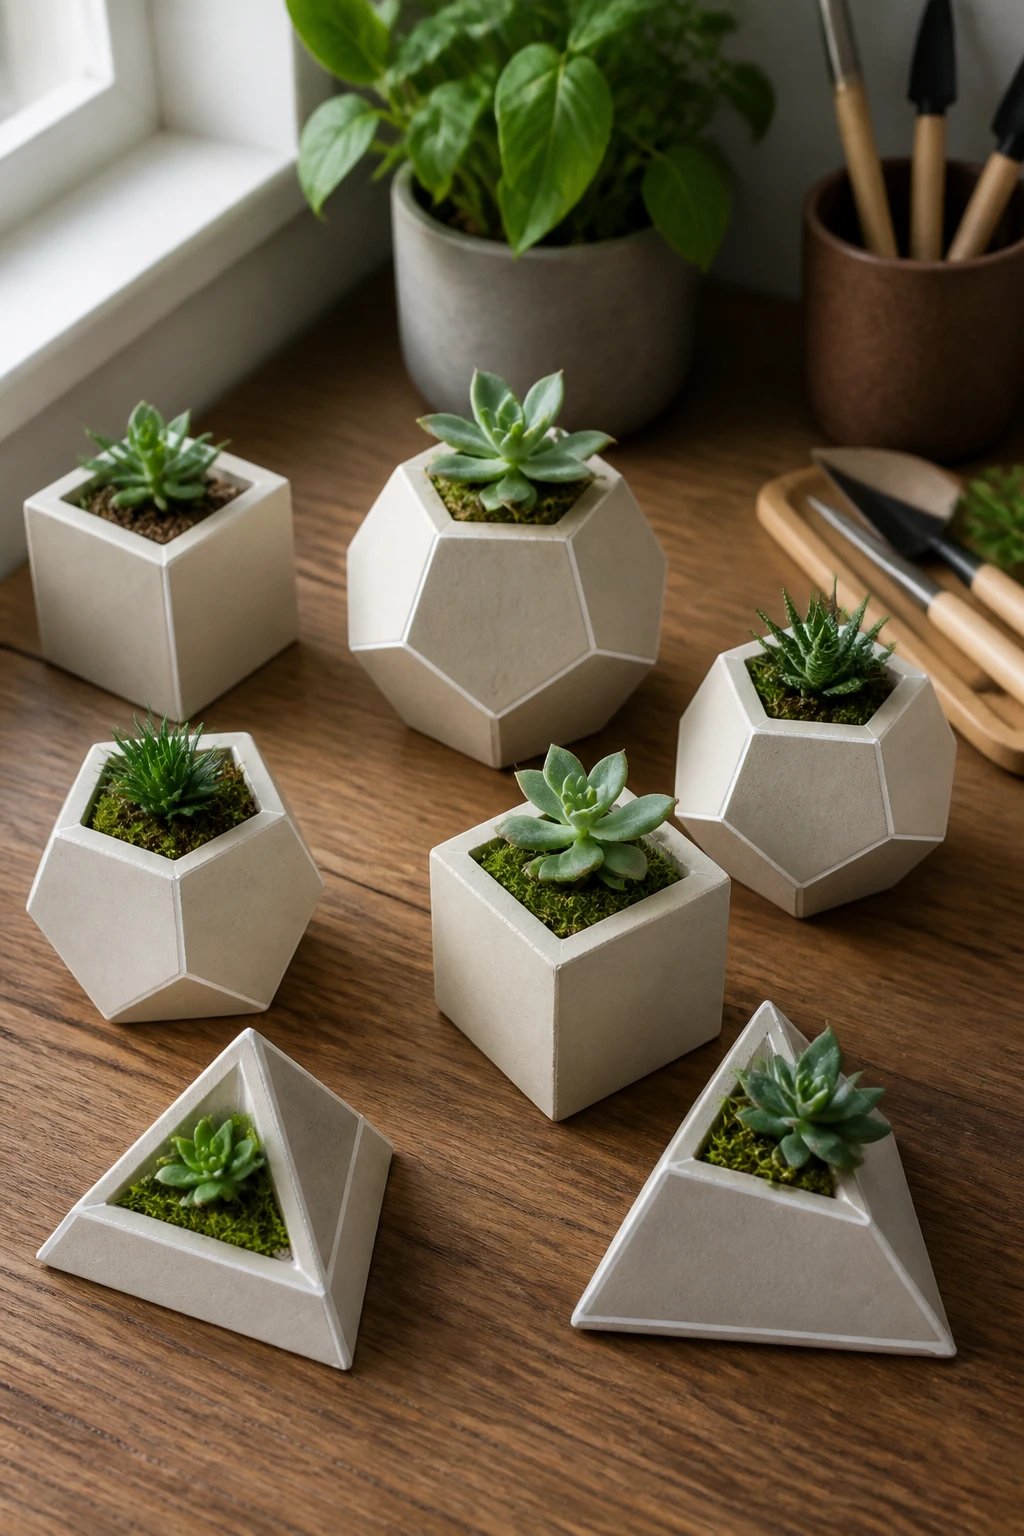
These little geometric shapes can hold small succulents or fake moss for a green thumb moment indoors.
Tips
- Shape with flat sides for stability
- Leave a small cavity for soil or moss
- Paint lines with a steady hand to emphasize geometry
Practical and decorative — your desk becomes a mini botanical haven.
9. Button-Style Pins for a Personal Touch

Turn flat clay shapes into adorable pins for bags, jackets or hats. It’s a quick confidence booster for beginner crafters.
How-To
- Attach a pin back with a dab of clay or glue
- Paint or glaze for a glossy finish
- Let dry completely before wear
Wear your art and show off your growing skills with pride.
10. Floating Sprites: Tiny Figurines
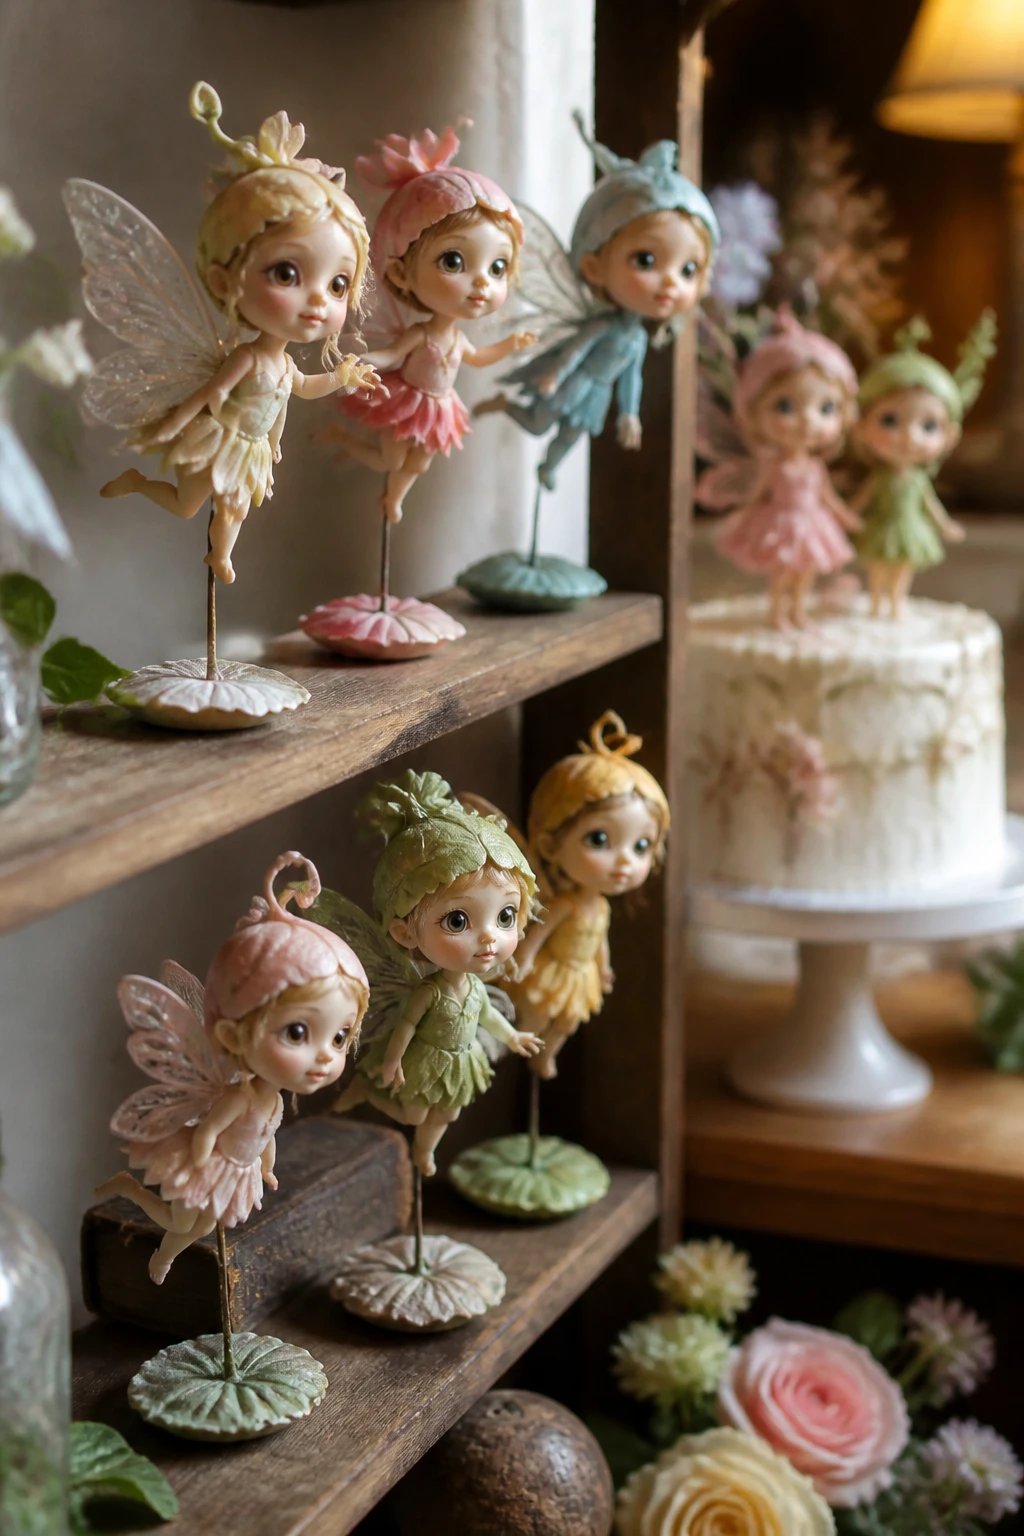
Create little stand-up figurines that can be placed on shelves or as cake toppers at parties.
Key Points
- Keep limbs proportionate to head for stability
- Use a wire armature or skewers for support if needed
These miniatures teach balance and proportion, and they look delightfully whimsical on display.
11. Sparkly Sun Catchers
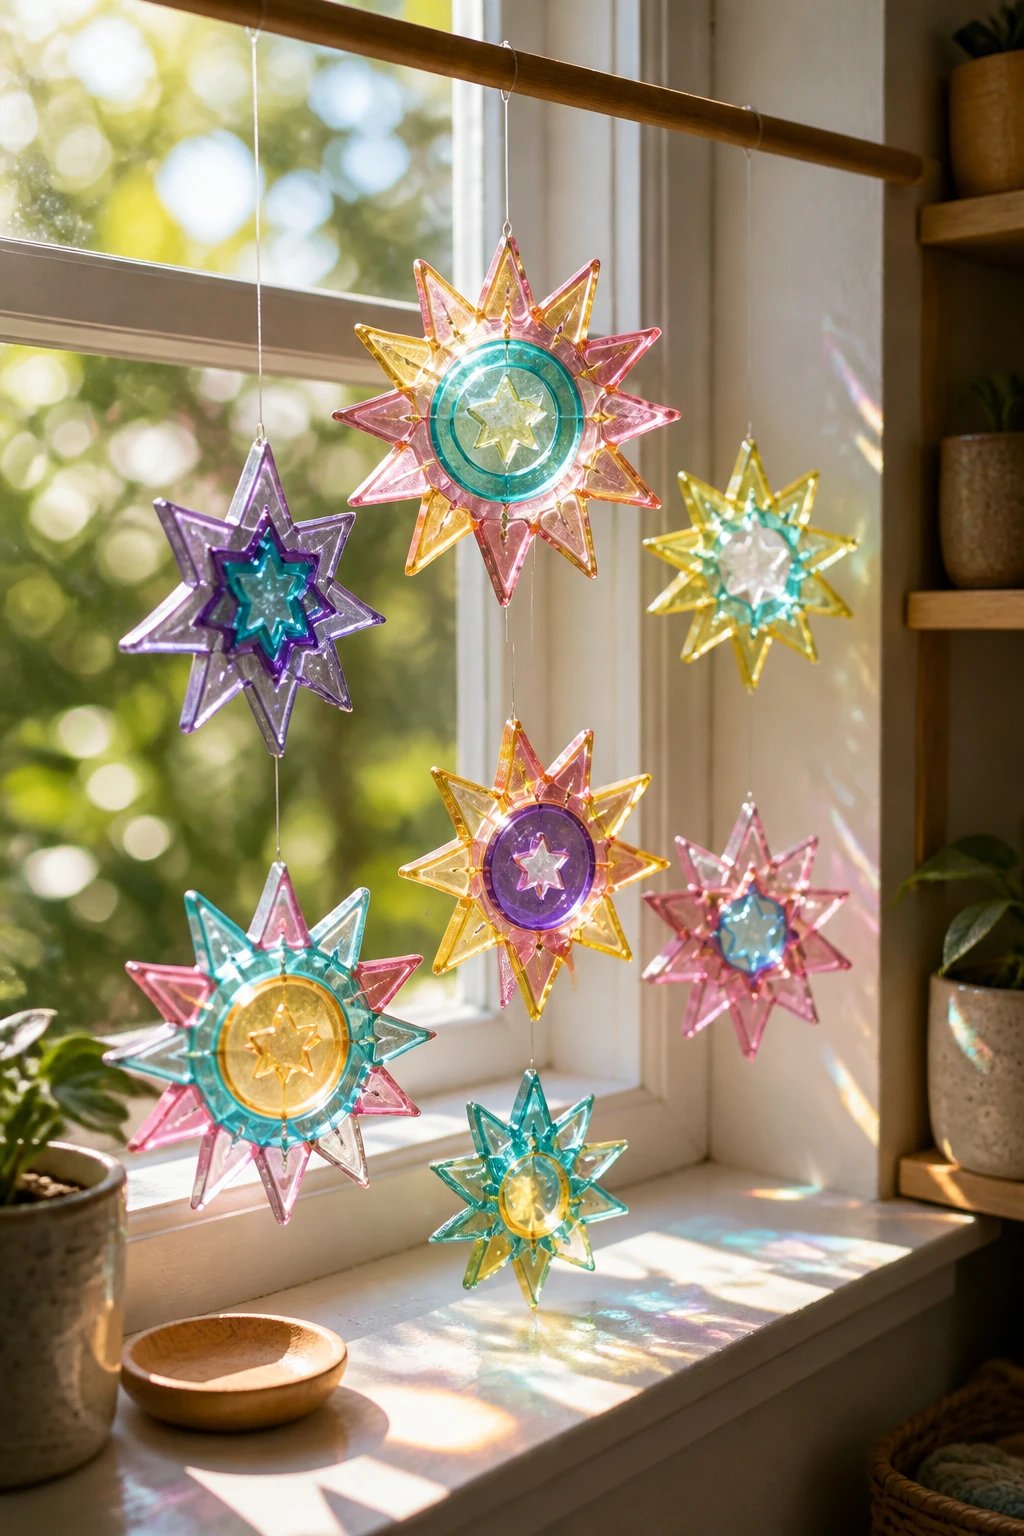
Who says kids crafts are boring when the sun hits them just right? Make tiny sun catchers that shimmer when light hits them.
Materials
- Translucent clay or white base with colored layers
- Clear drying glaze or varnish
- String or fishing line for hanging
Hang by a window for a splash of color that follows you around the room.
12. Miniature Food Frenzy

Food vibes are always a hit. Create tiny donuts, cupcakes or sushi that are purely adorable and perfectly safe to handle.
Tips
- Utilize bright paints for realistic looks
- Use edible-looking textures like sprinkles with tiny beads
- Seal well to prevent color transfer on clothes or surfaces
These are begging to be displayed on a pretend kitchen shelf or used in doll scenarios.
13. Animal Silhouette Gifts
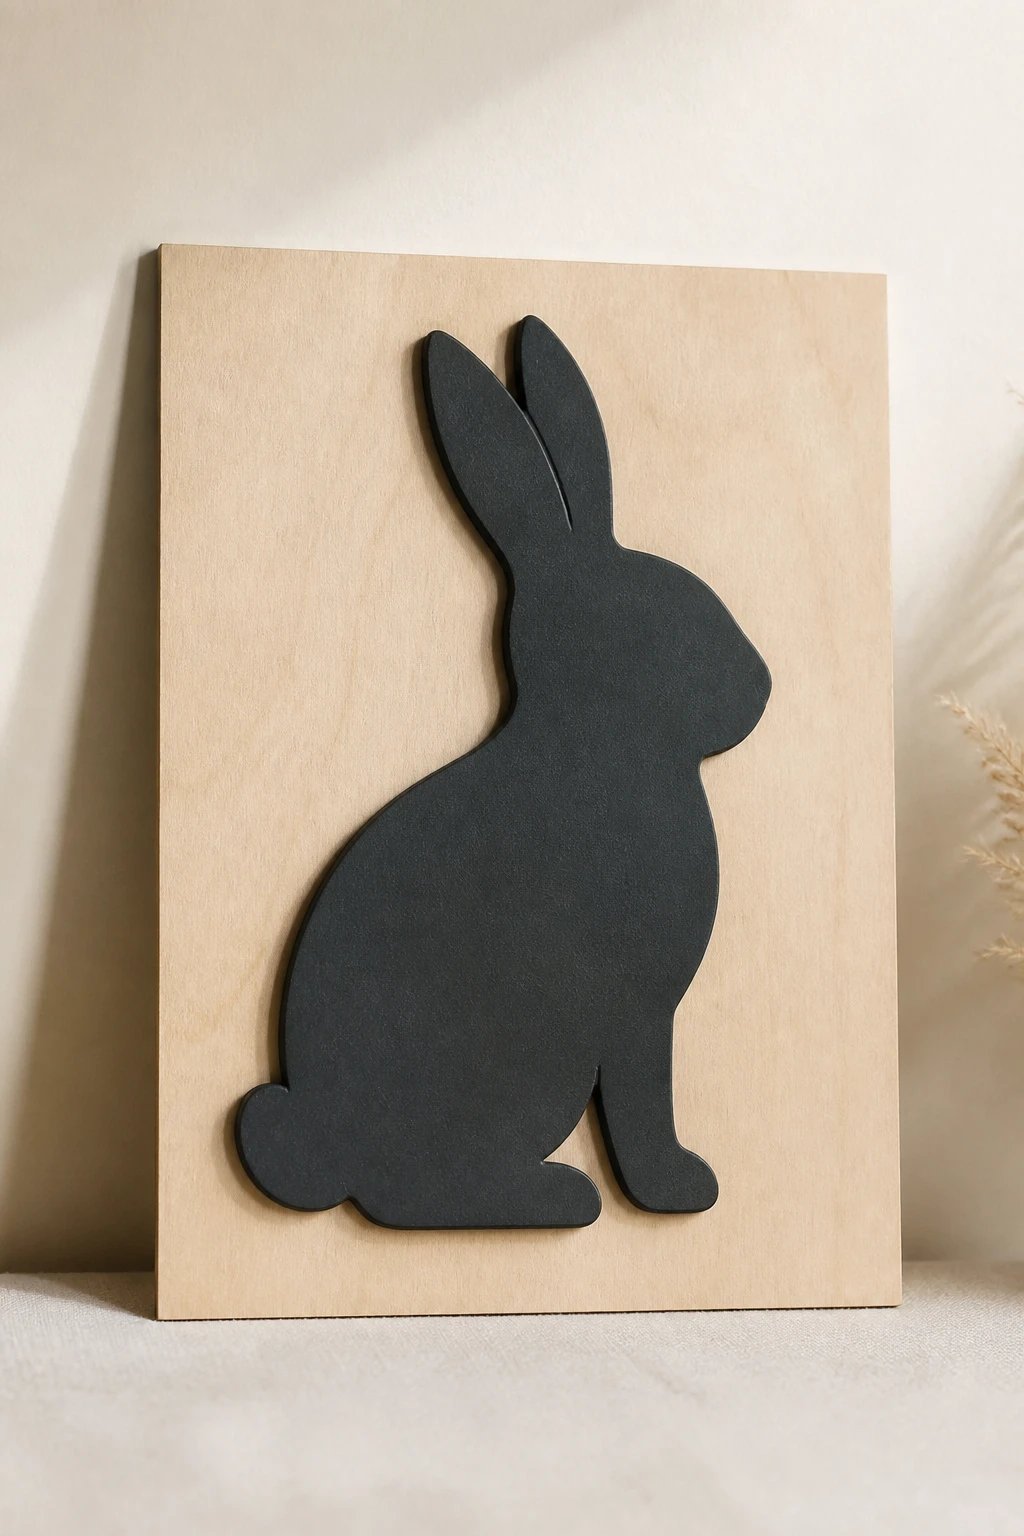
Silhouette shapes give a modern, minimalist feel. Create black or dark clay silhouettes that pop against a light background.
What to Do
- Cut shapes with a sharp tool or template
- Adhere to a flat backing cut from cardboard or wood
- Finish with a soft matte sealant
Great for classroom wall art or thoughtful gifts for family members.
14. Tiny Accessories for Dolls

Dress up doll accessories with tiny hats, scarves, and backpacks made from clay. It’s like a mini fashion show in your craft space.
Notes
- Keep details delicate to fit tiny sizes
- Add simple textures to simulate fabrics
- Attach wires or pins for movement and playability
Kids get to design their own world and share it with friends or favorite toys.
15. Puzzle Pieces for Fun Brain Teasers

Make your own mini puzzles with interlocking clay pieces. It’s a playful way to sneak in a little problem solving.
Tips
- Cut pieces with snug tolerances so they fit nicely
- Use different colors to differentiate shapes
- Seal after drying for durability
Challenge and charm in one tiny package that you can reuse or rearrange endlessly.
16. Garden Markers for Plants
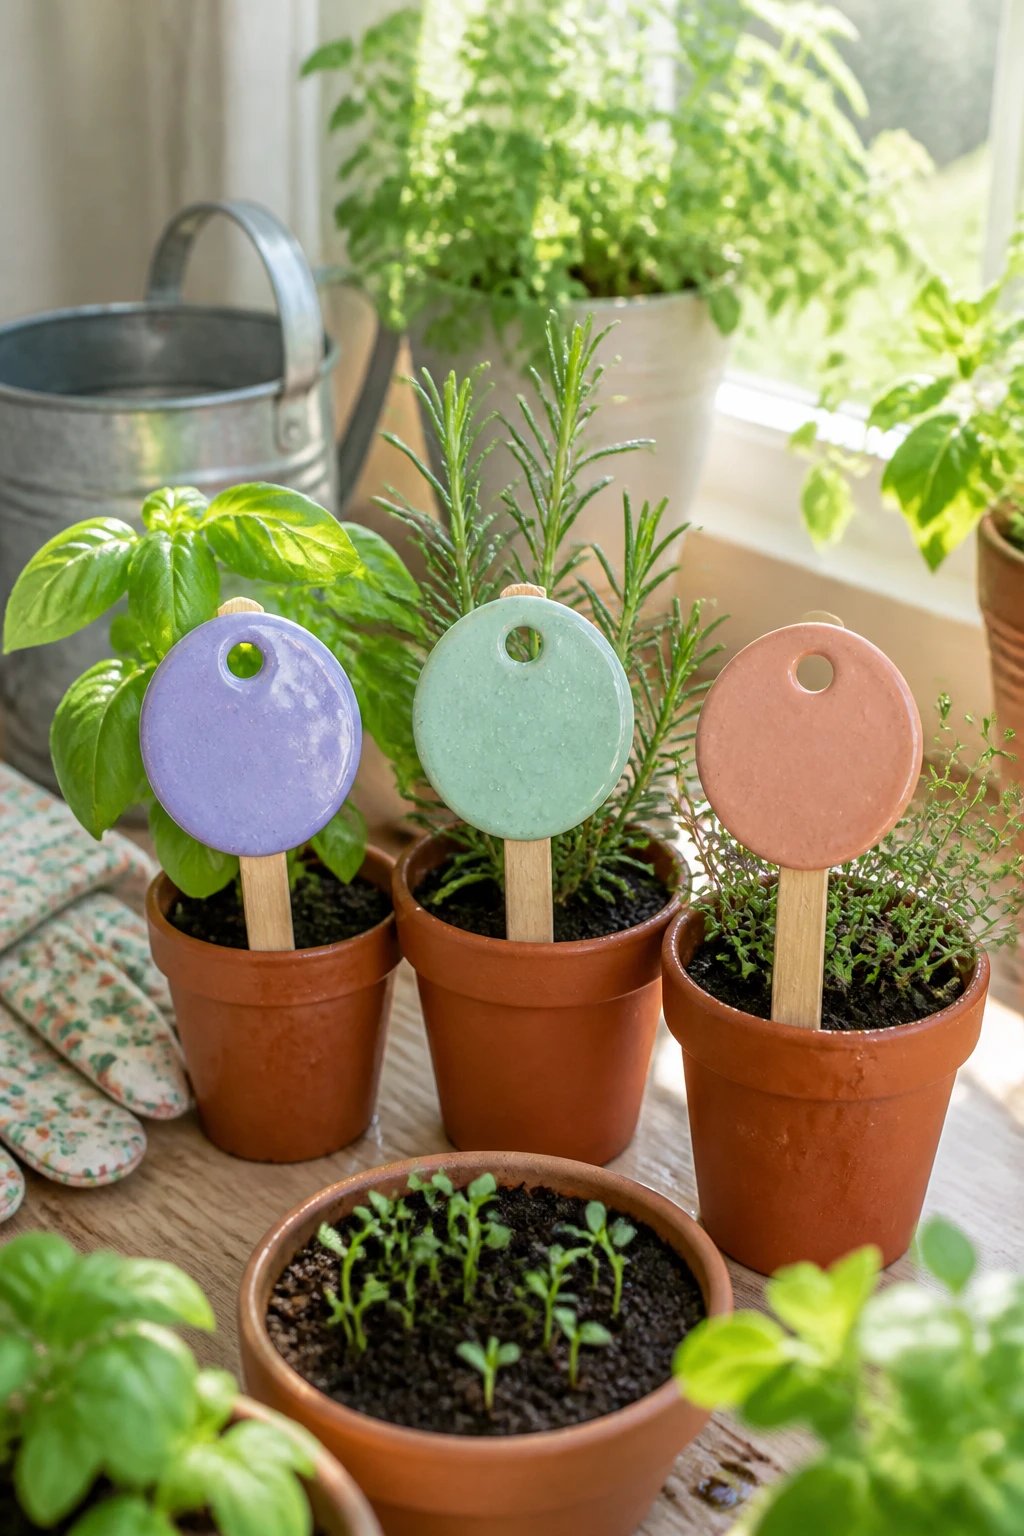
Label your pots with hand-written clay name tags. It’s functional art that keeps your home garden feeling fresh.
How-To
- Shape flat tabs with a hole for a stake
- Write plant names before the clay fully dries
- Spray with sealant to keep weather at bay
Cute, practical and perfect for encouraging kids to care for living things.
17. String-Weave Wall Hangings
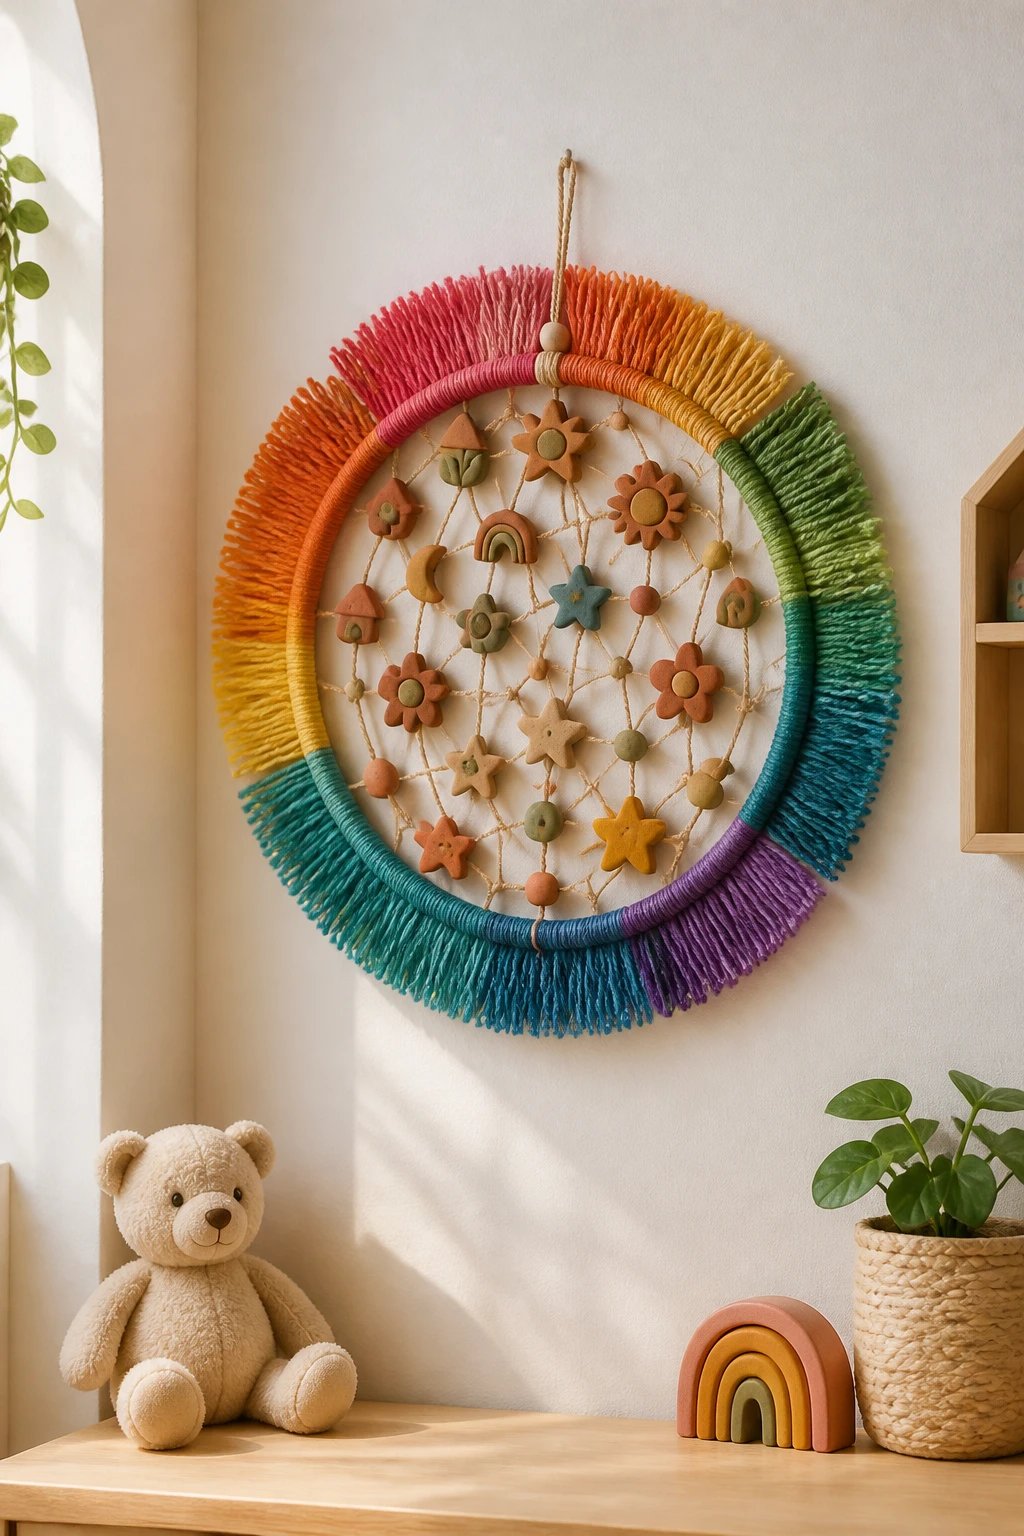
Turn small clay hoops into decorative wall hangings with tiny string fringes. A little texture goes a long way.
Key Elements
- Fill the hoop with clay shapes or beads
- Wrap with colorful thread to create a woven look
- Display as a bright statement piece in a kid’s room
Art you can hang and admire every day, no fancy frames required.
18. Story Starter Bookmarks
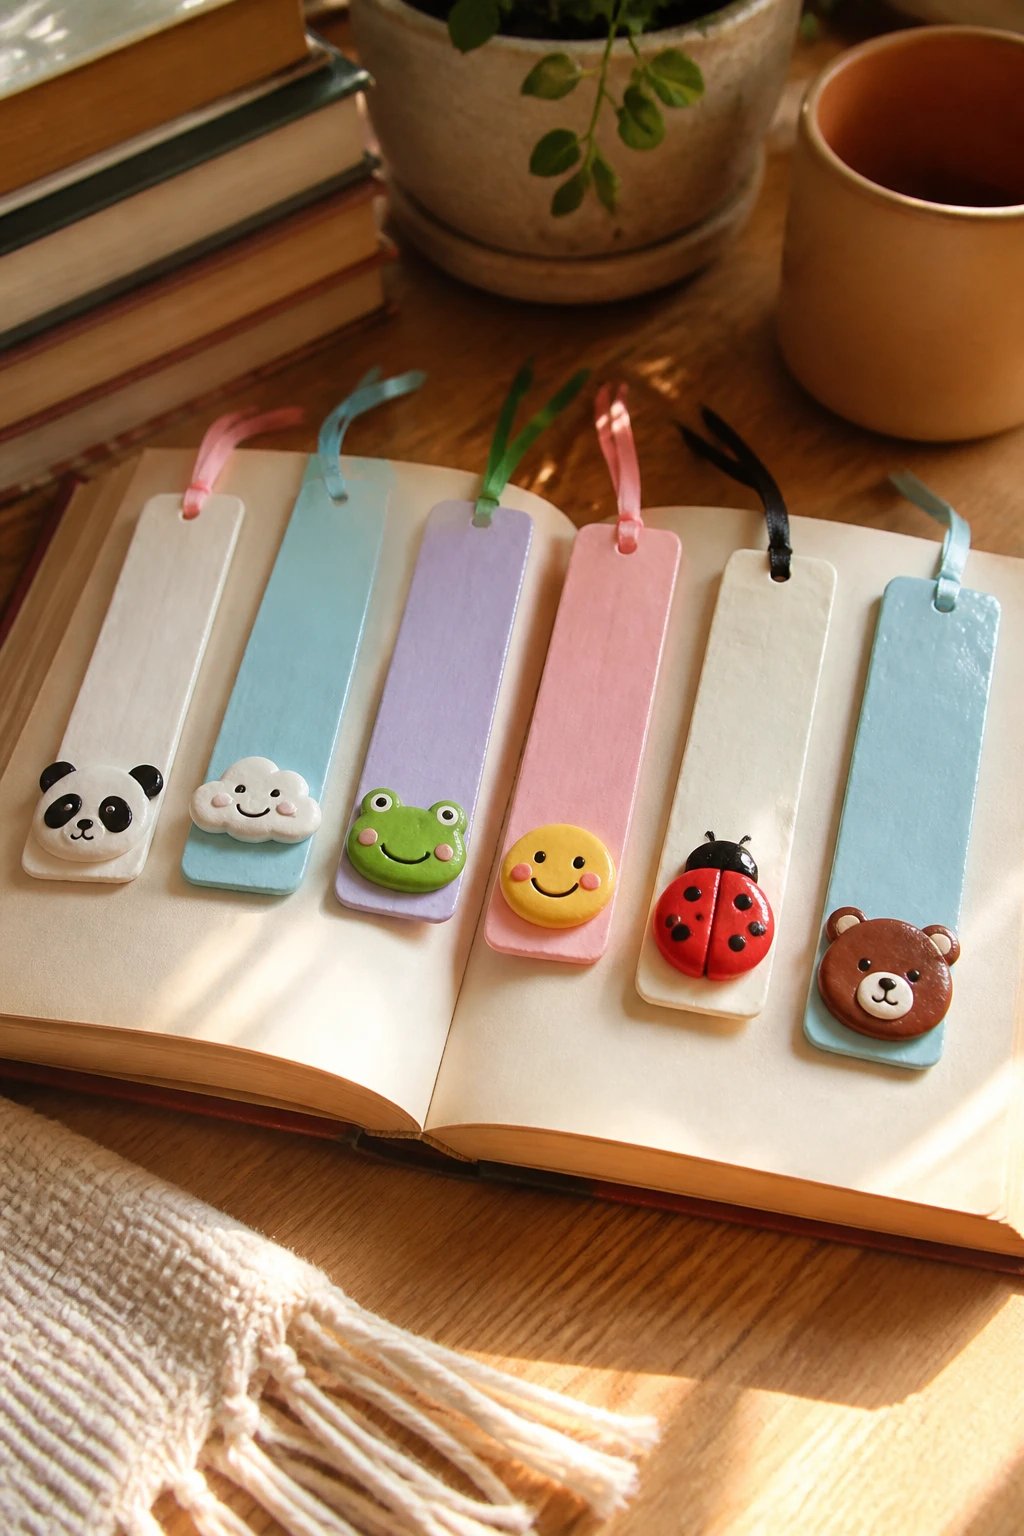
Slice thin, flat bookmarks from clay to mark pages in reading time. Add character with simple faces or icons.
What to Include
- Eye-catching designs on one end
- A small hole for a tassel or ribbon
Practical, imaginative, and they encourage daily reading rituals.
19. Moon and Star Night Lights
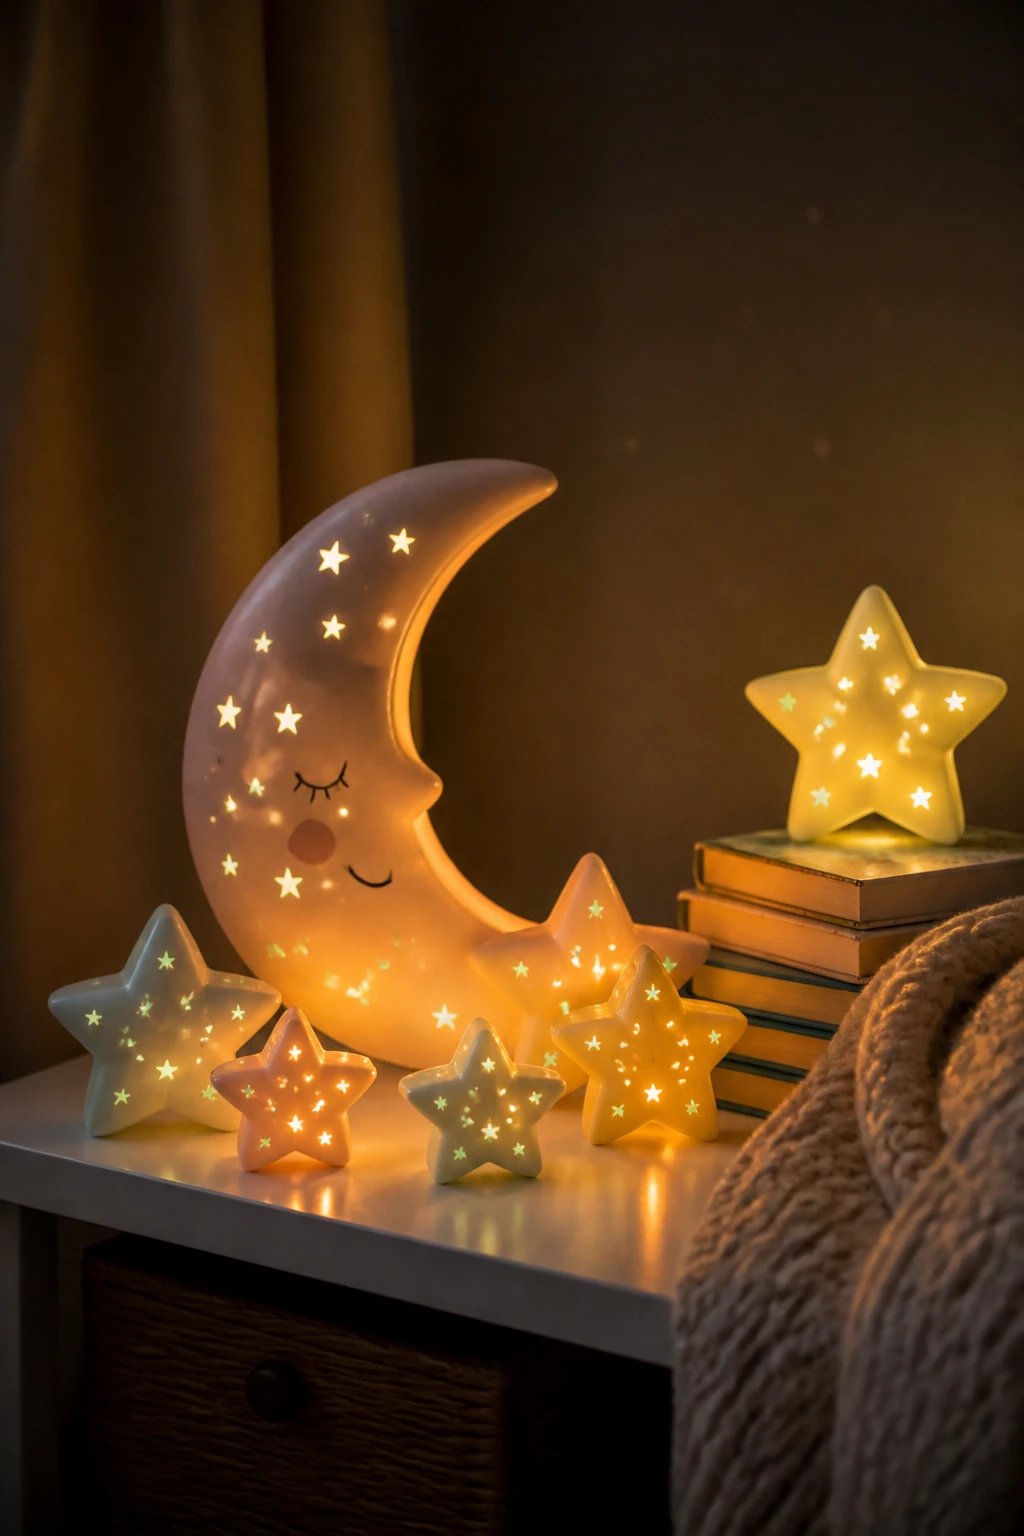
A soft glow can turn any room into a cozy nook. Craft crescent moons and stars that can sit on shelves or glow under a light.
Materials
- Flat clay shapes with a small cavity for LED lights or a glow paint
- Battery-operated lights or glow-in-the-dark paint
Calming and magical, these make bedtime a tad more exciting and a lot less stressful.
20. Simple Clip-On Jewelry Pieces
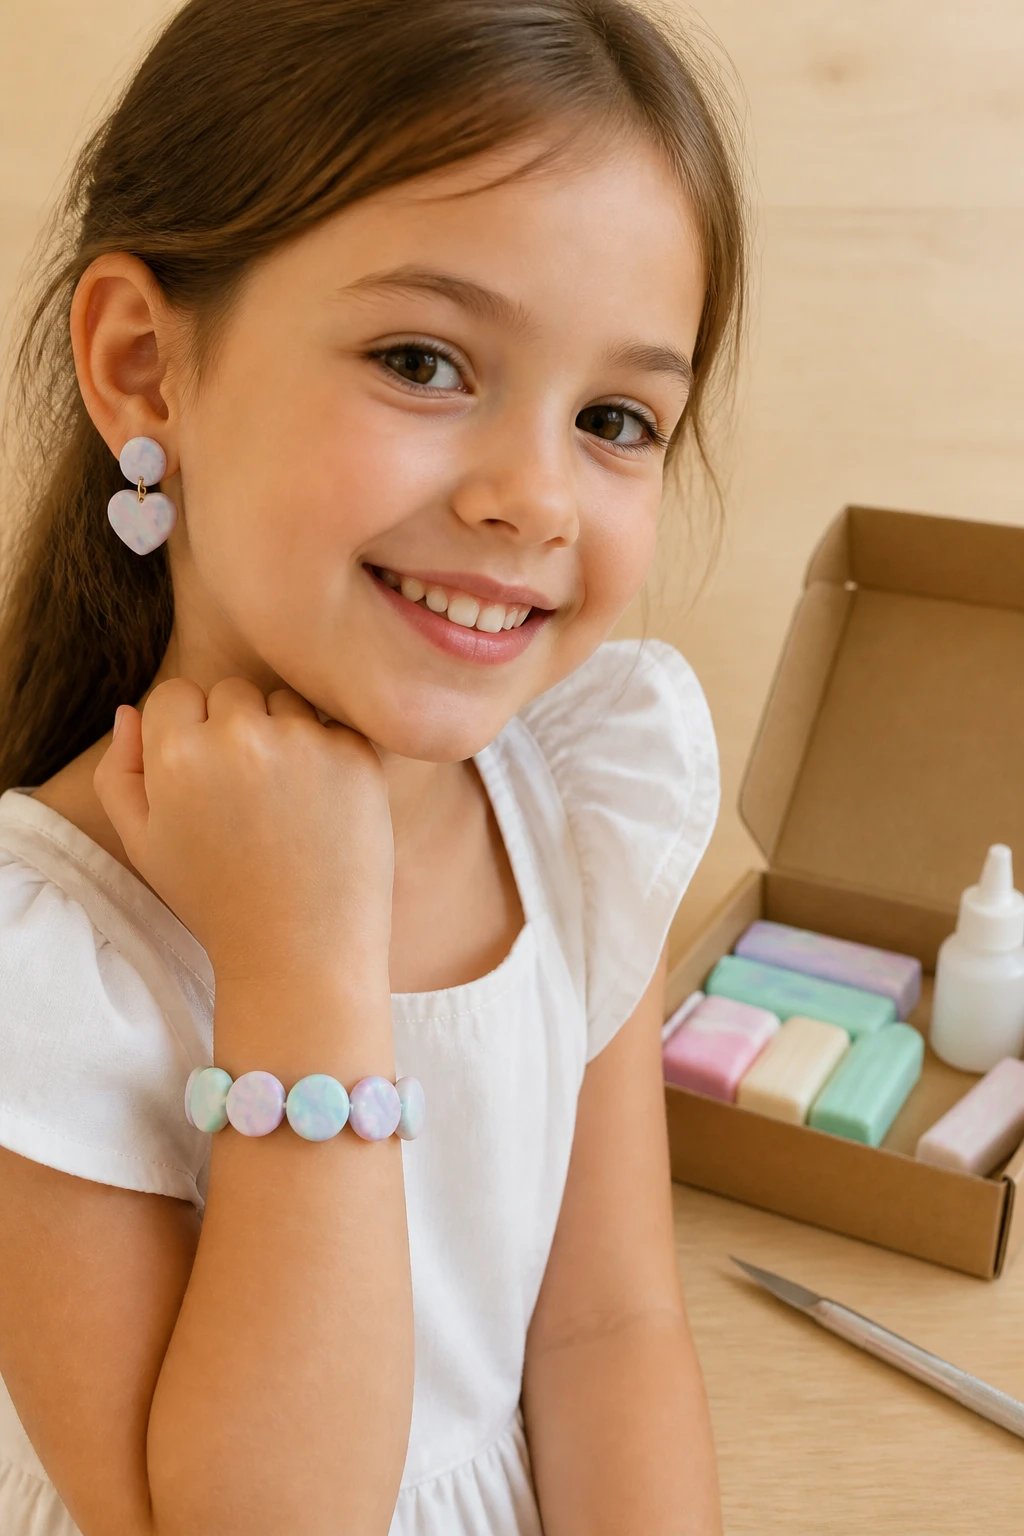
Finish your clay journey with easy clip-on earrings or bracelets that kids can proudly wear or gift to friends.
Process
- Keep pieces light and smooth for comfortable wear
- Use non-toxic paints and sealants for safety
- Test gently on skin to ensure no irritation
Creativity you can wear and share, which is basically craft gold.
Crafting with air-dry clay is a nonchalant way to spend an afternoon turning imagination into small, tangible treasures. FYI, you don’t need perfect results to have perfect memories — the messier, the better for the story later.
Ready to start? Gather your clay, a few tools, and a big cup of patience. Trust me, your future self will thank you for the heaps of joy and the wall of proud photos your kitchen table will produce.
