
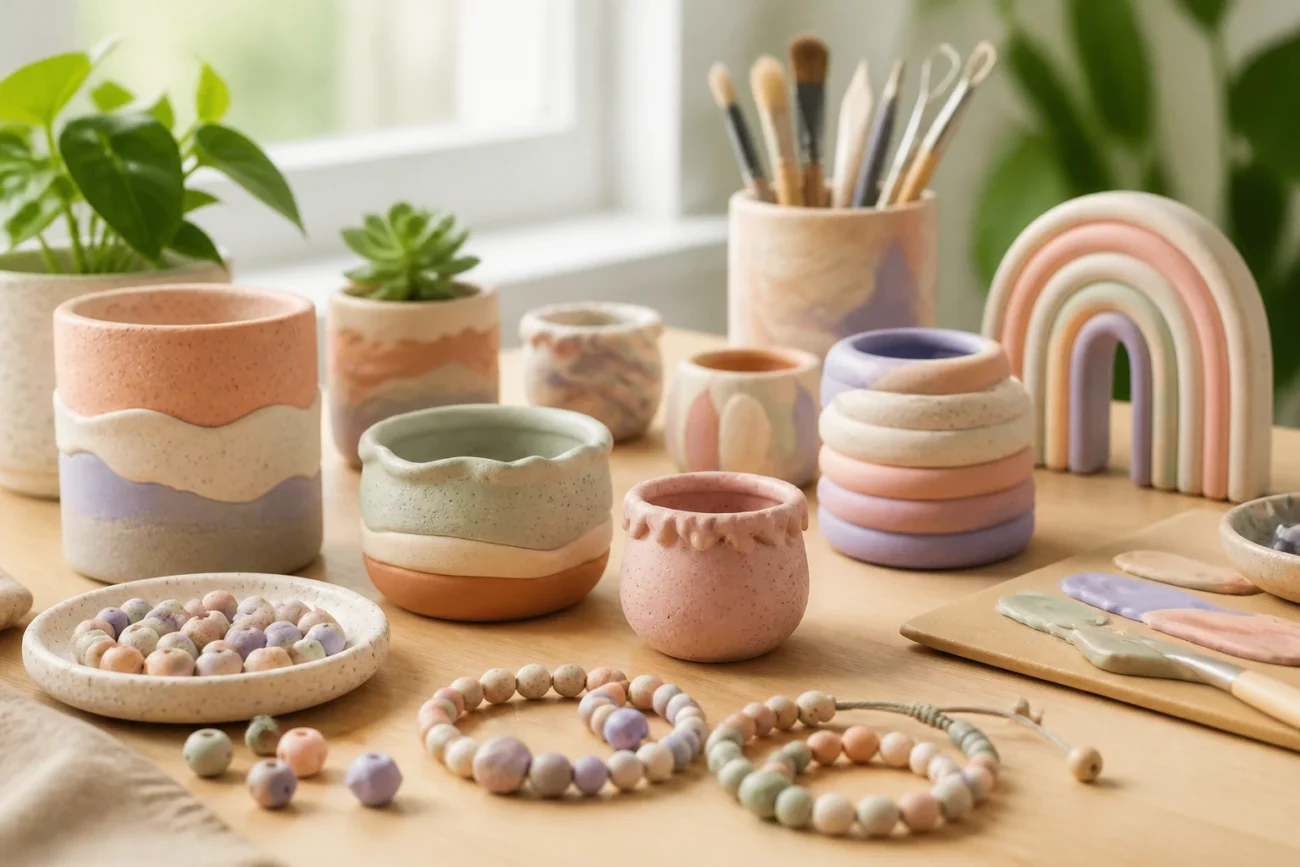
Ready to uncover clayy magic without ovens or kilns? Let’s dive into simple, satisfying projects that actually look cute on a shelf or desk.
These ideas are all about quick wins, playful textures, and that satisfying squish you crave. You’ll finish with a smile and a new bag of confidence – promise.
Grab your supplies and let’s roll through 20 ideas that will turn chaos into cute in no time?
1. Layer Textures Like a Pro
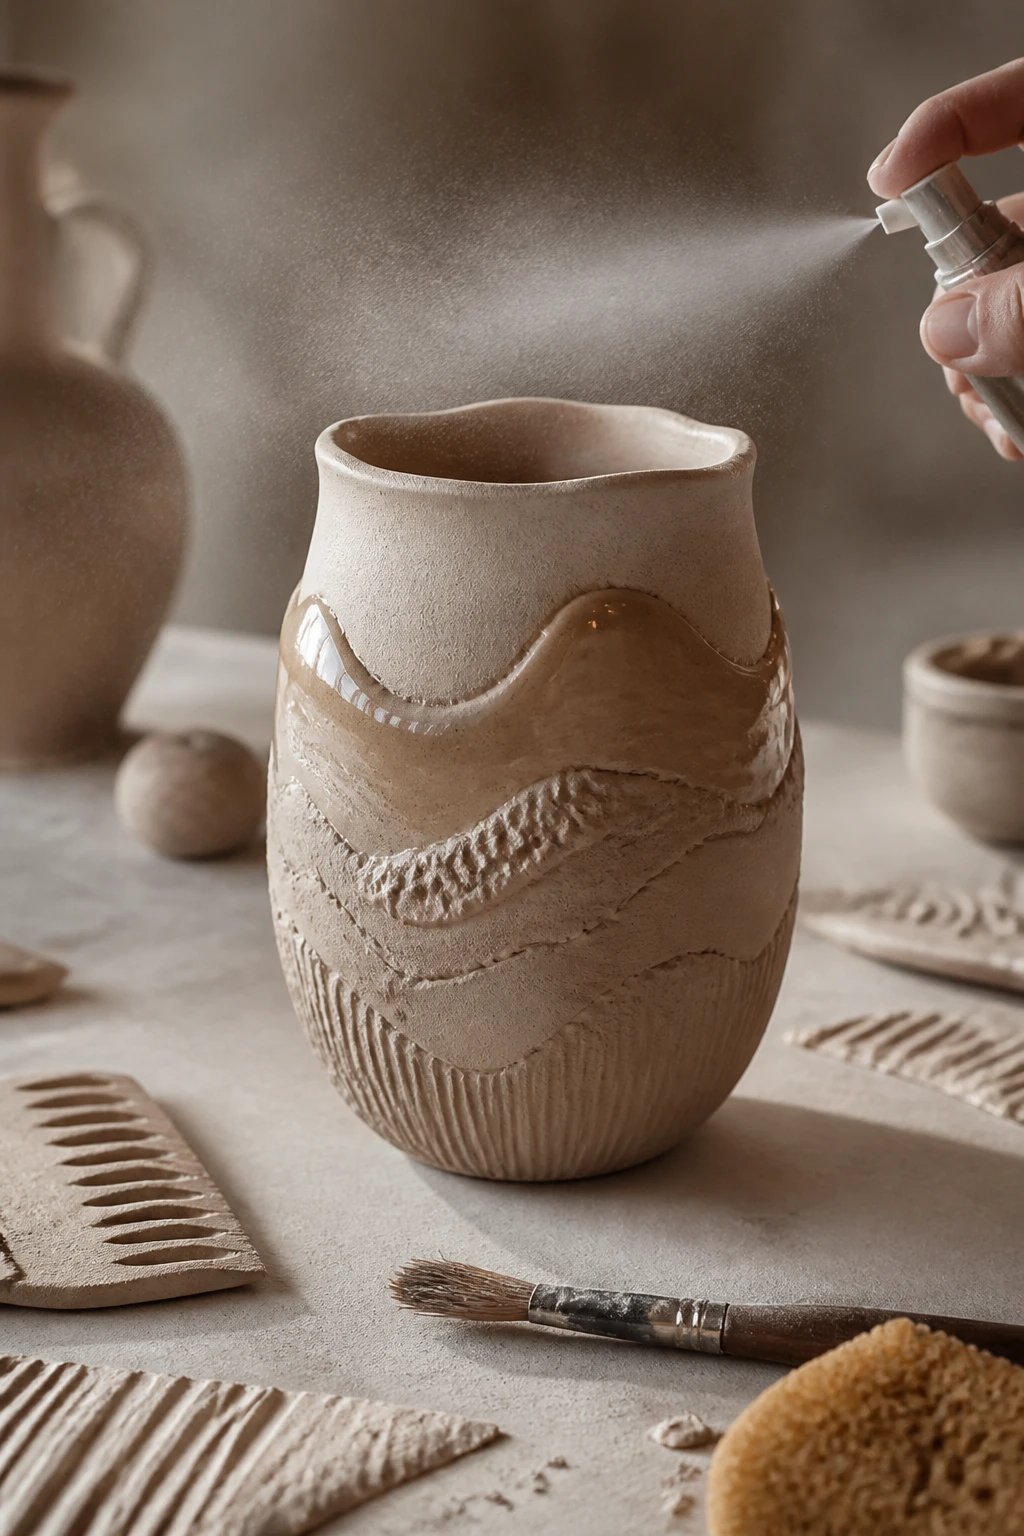
Texture is your best friend when you start with air-dry clay. Combine smooth surfaces with rough edges for a handmade vibe that looks intentional.
Key Points
- Blend matte and glossy finishes by sanding rough areas and sealing glossy sections with a sealer
- Use texture tools like combs, brushes, or a sponge to create patterns
- Experiment with different clays for varying hardness
Finish with a soft matte spray and you’ve got a sophisticated surface that still radiates handmade charm.
2. Mini Plant Pots With Whimsy
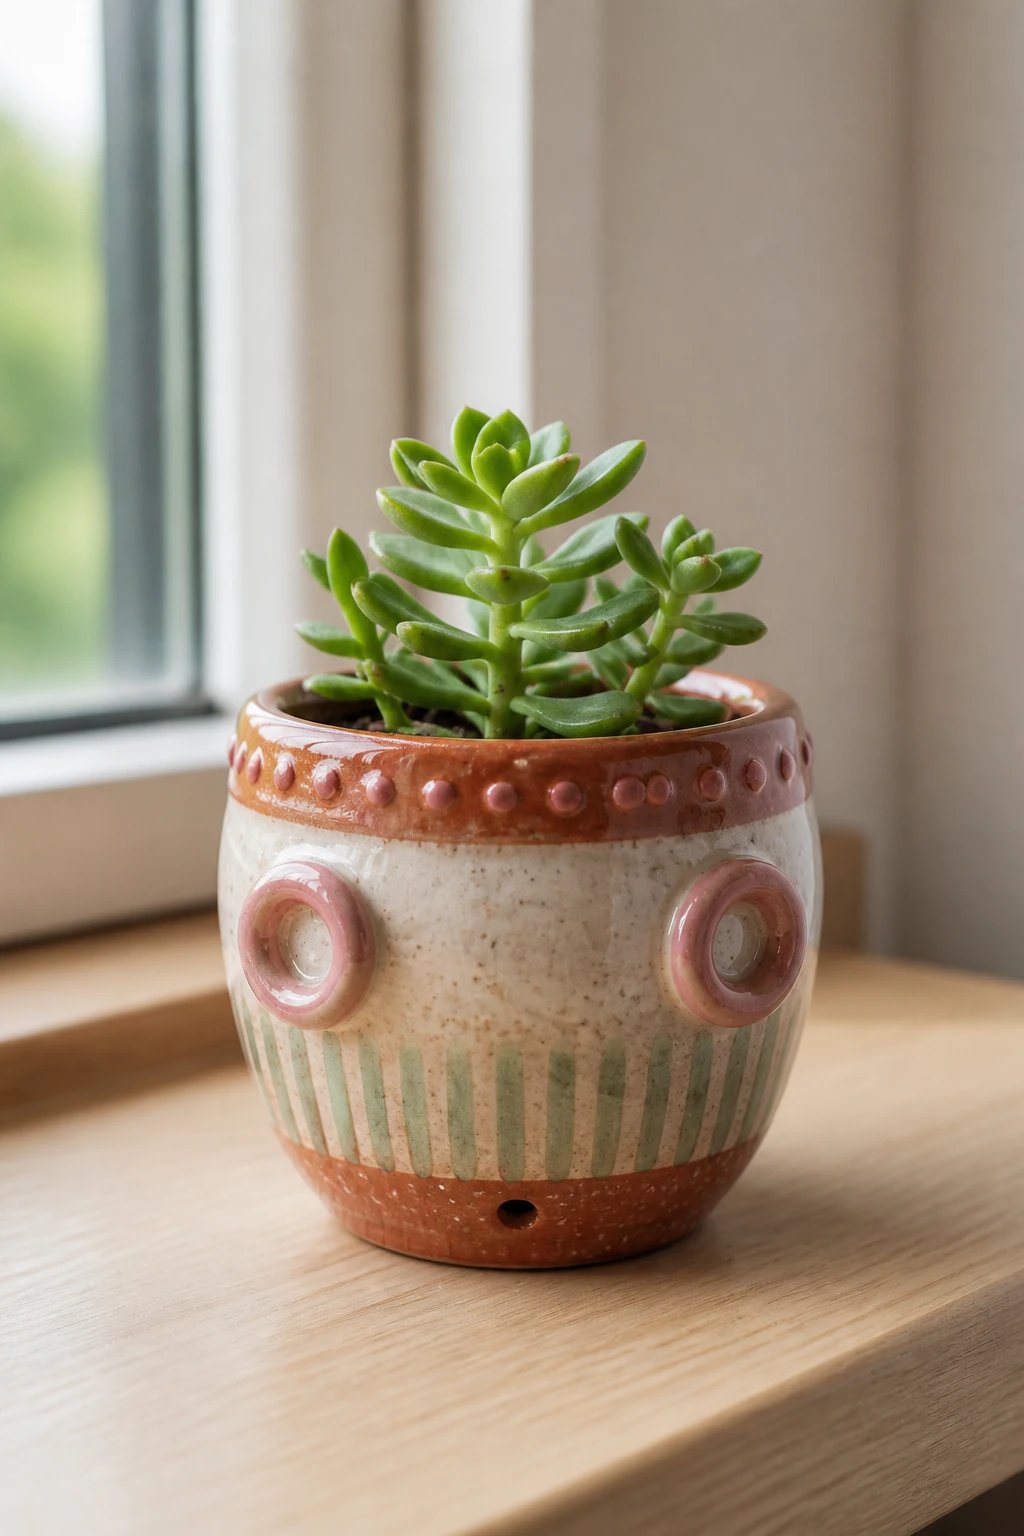
Who says plant pots need to be boring? Tiny rings, dotted rims, or subtle stripes add personality without overwhelming your plant babies.
Tips
- Roll out a thin sheet, wrap around a small cup or mold
- Seal with a clear varnish to protect from moisture
- Add a tiny drainage hole using a skewer
These little pots look adorable on windowsills and desks alike.
3. Cozy Bead Bracelets That Spark Joy
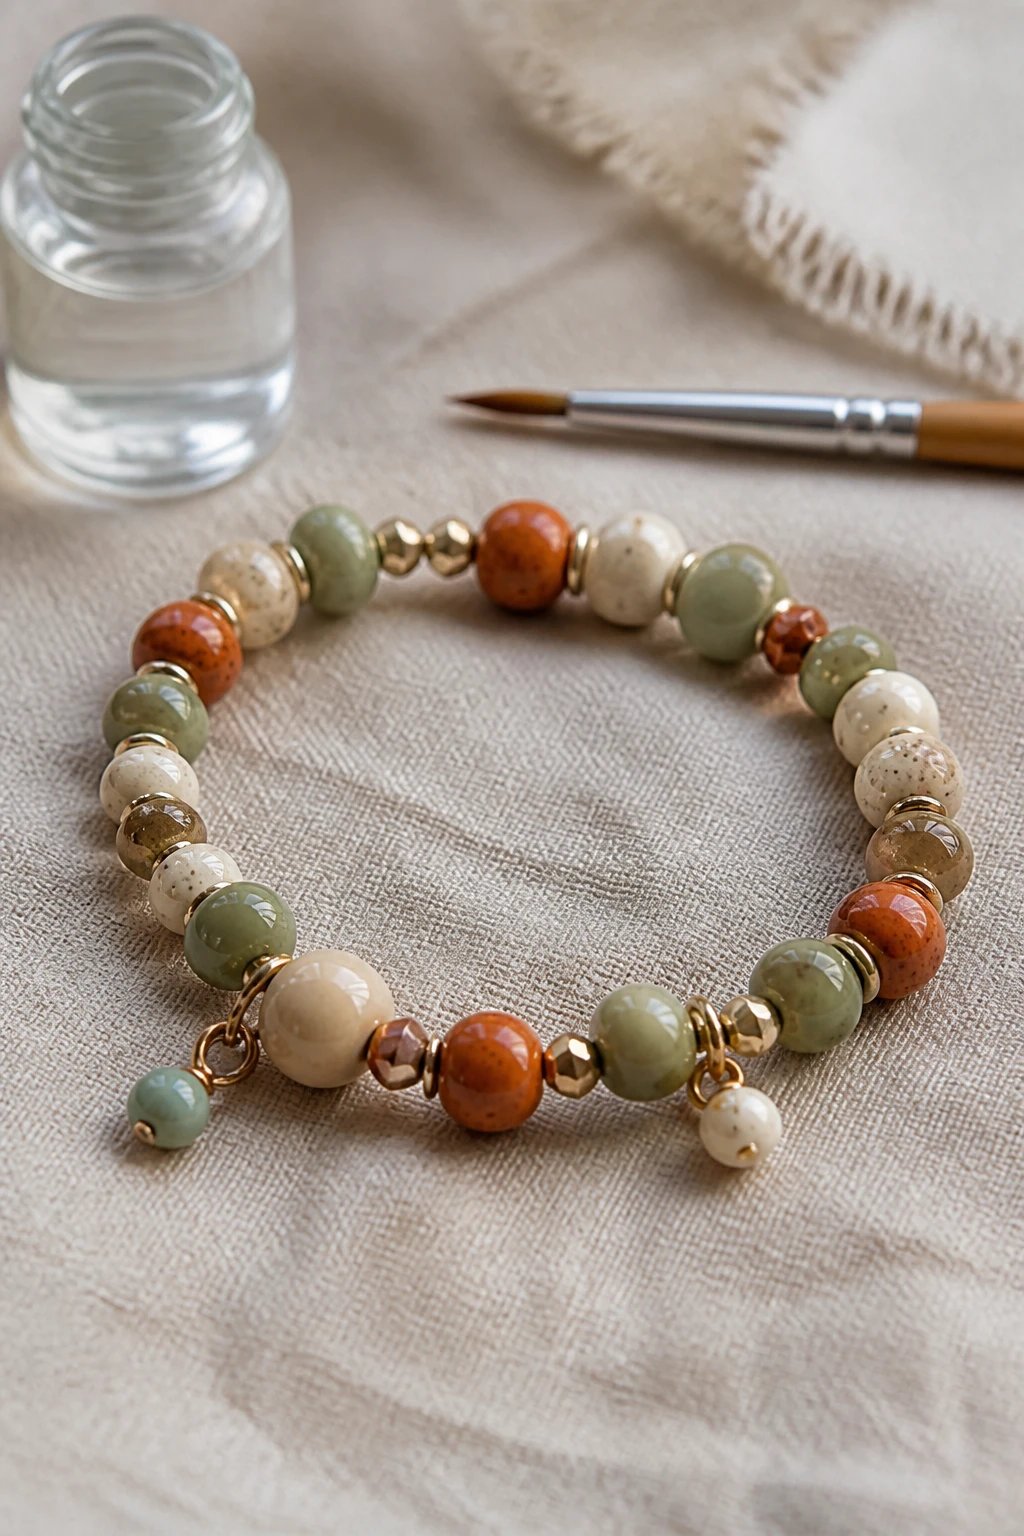
Turn clay beads into a wearable mini masterpiece. It’s a fast project that yields something you can actually use every day.
Material Snippet
- Air-dry clay beads, jump rings, elastic cord
- A dab of glaze or sealant for shine
Layer colors and finish with a happy sealant for durability – you’ll be wearing your art in no time.
4. Cute Coasters With Charms
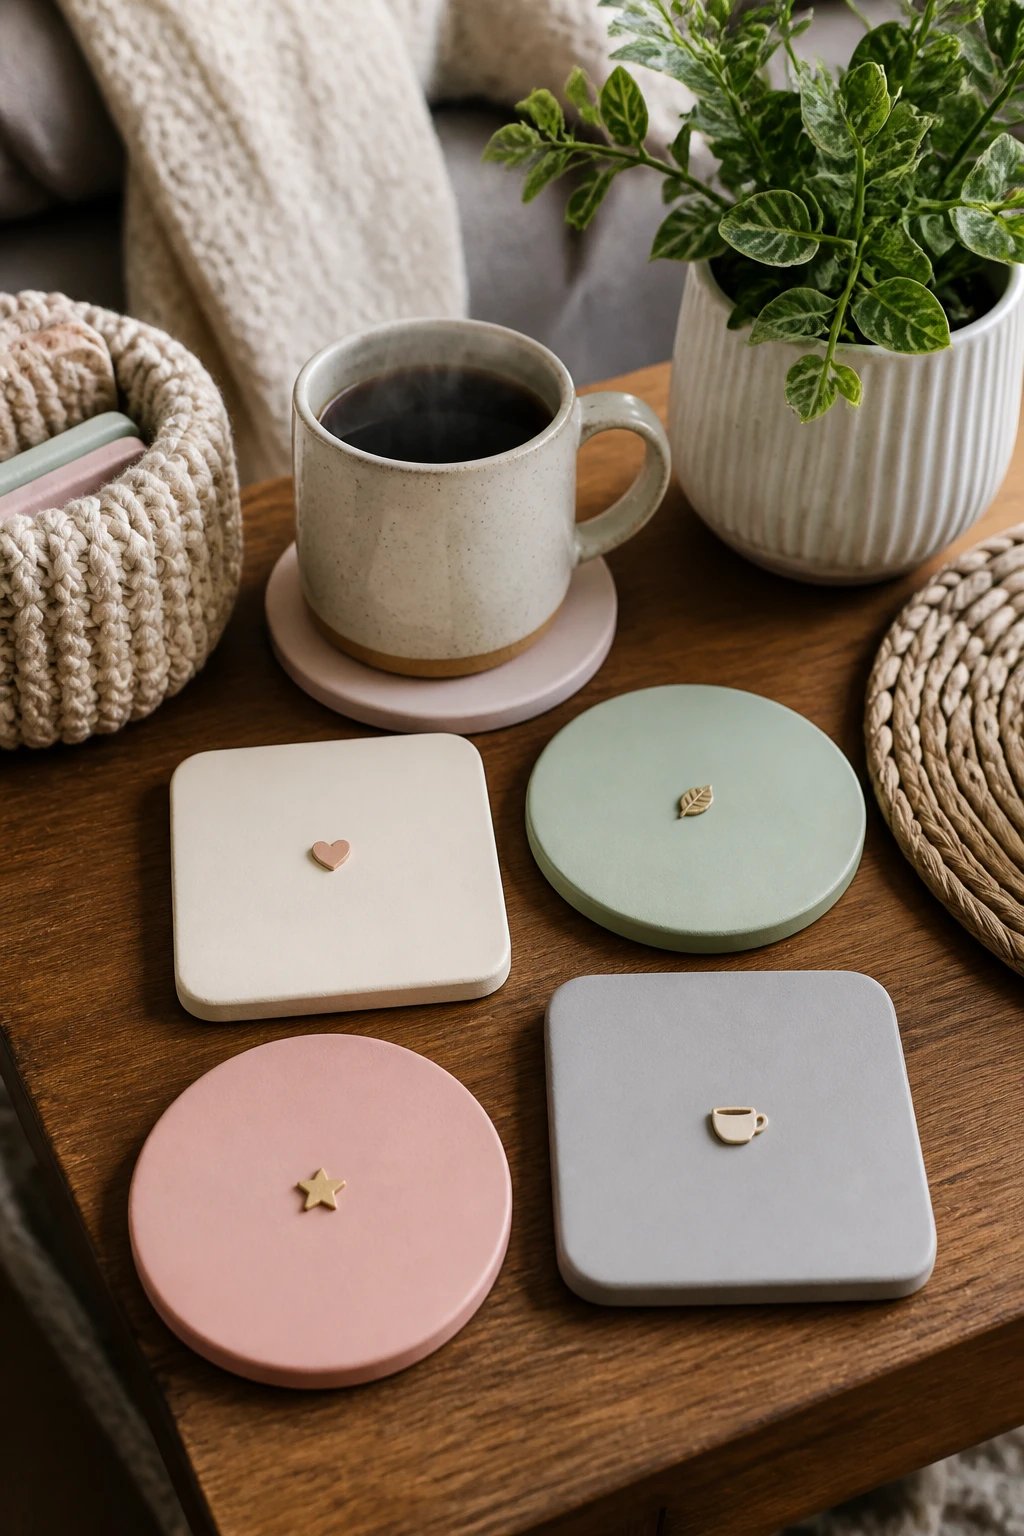
Coasters that double as conversation starters? Yes please. Create simple shapes and tiny accents to dress up your coffee table.
Process Quick Guide
- Cut square or circle shapes; bevel the edges for a soft look
- Add a small stamped or raised charm in the center
- Let dry completely, then seal with a water-resistant coating
Enjoy spill-free style that actually feels special.
5. Statement Magnets That Spark Joy
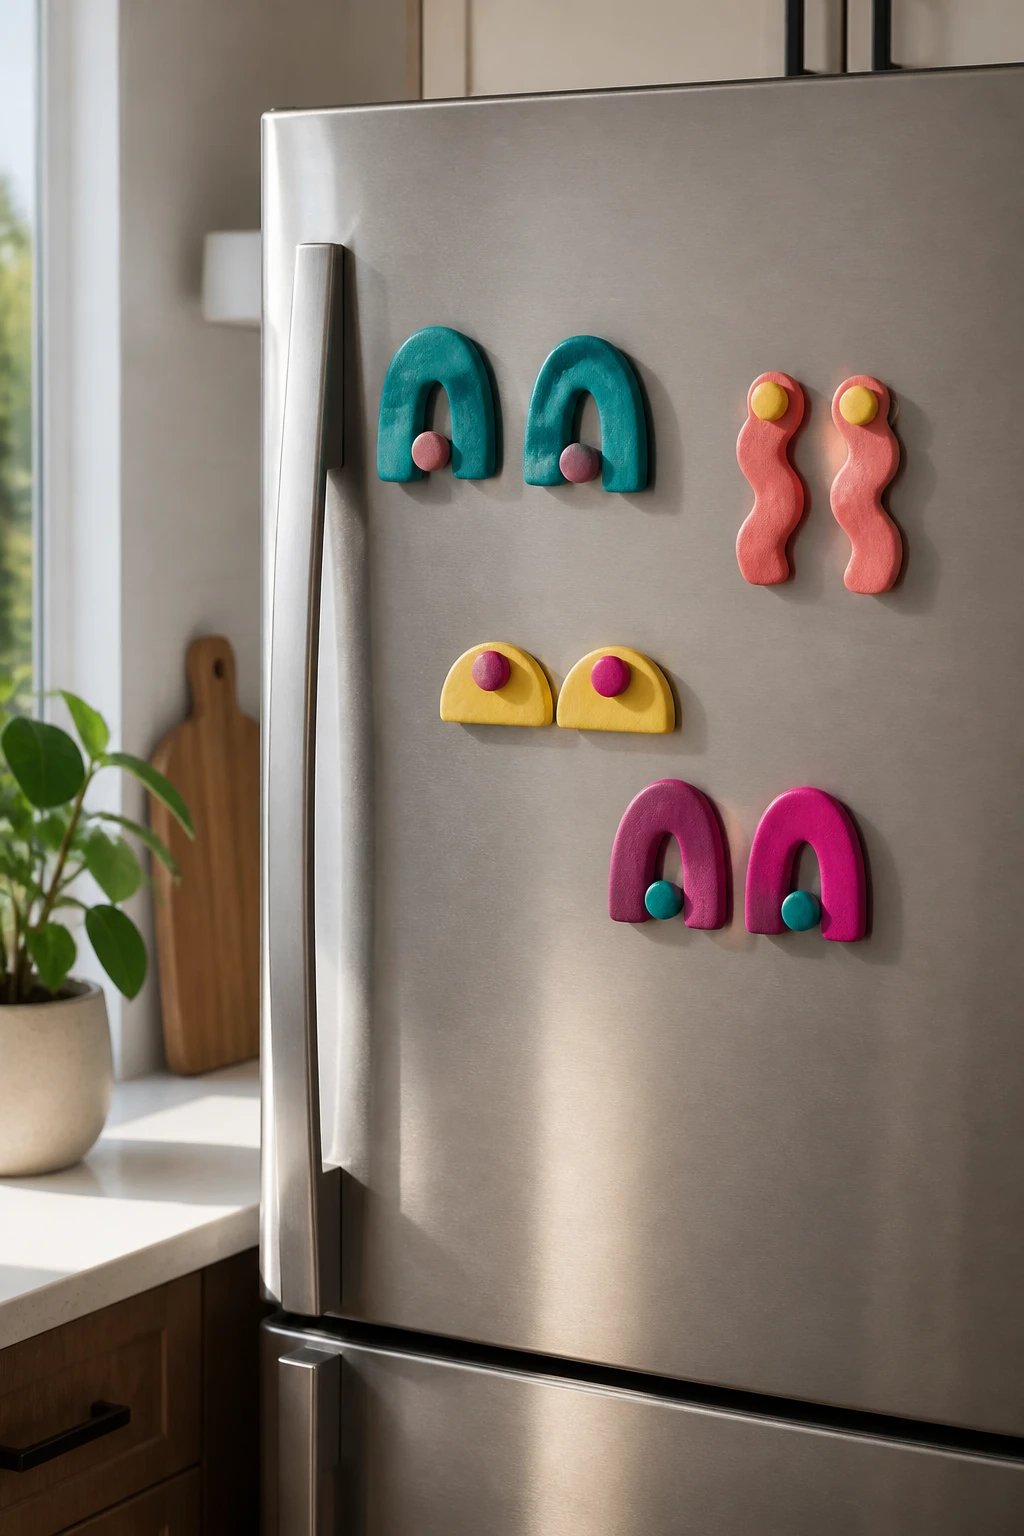
Bright, bold magnets stuck to your fridge feel like a mini gallery. Make a set of four to five pieces in a cohesive color story.
Quick Build
- Attach tiny magnets to the back before the clay dries
- Create shapes that mirror each other for a playful collection
Fridge art that earns smiles every day.
6. Faceted Gem Ornaments for Walls
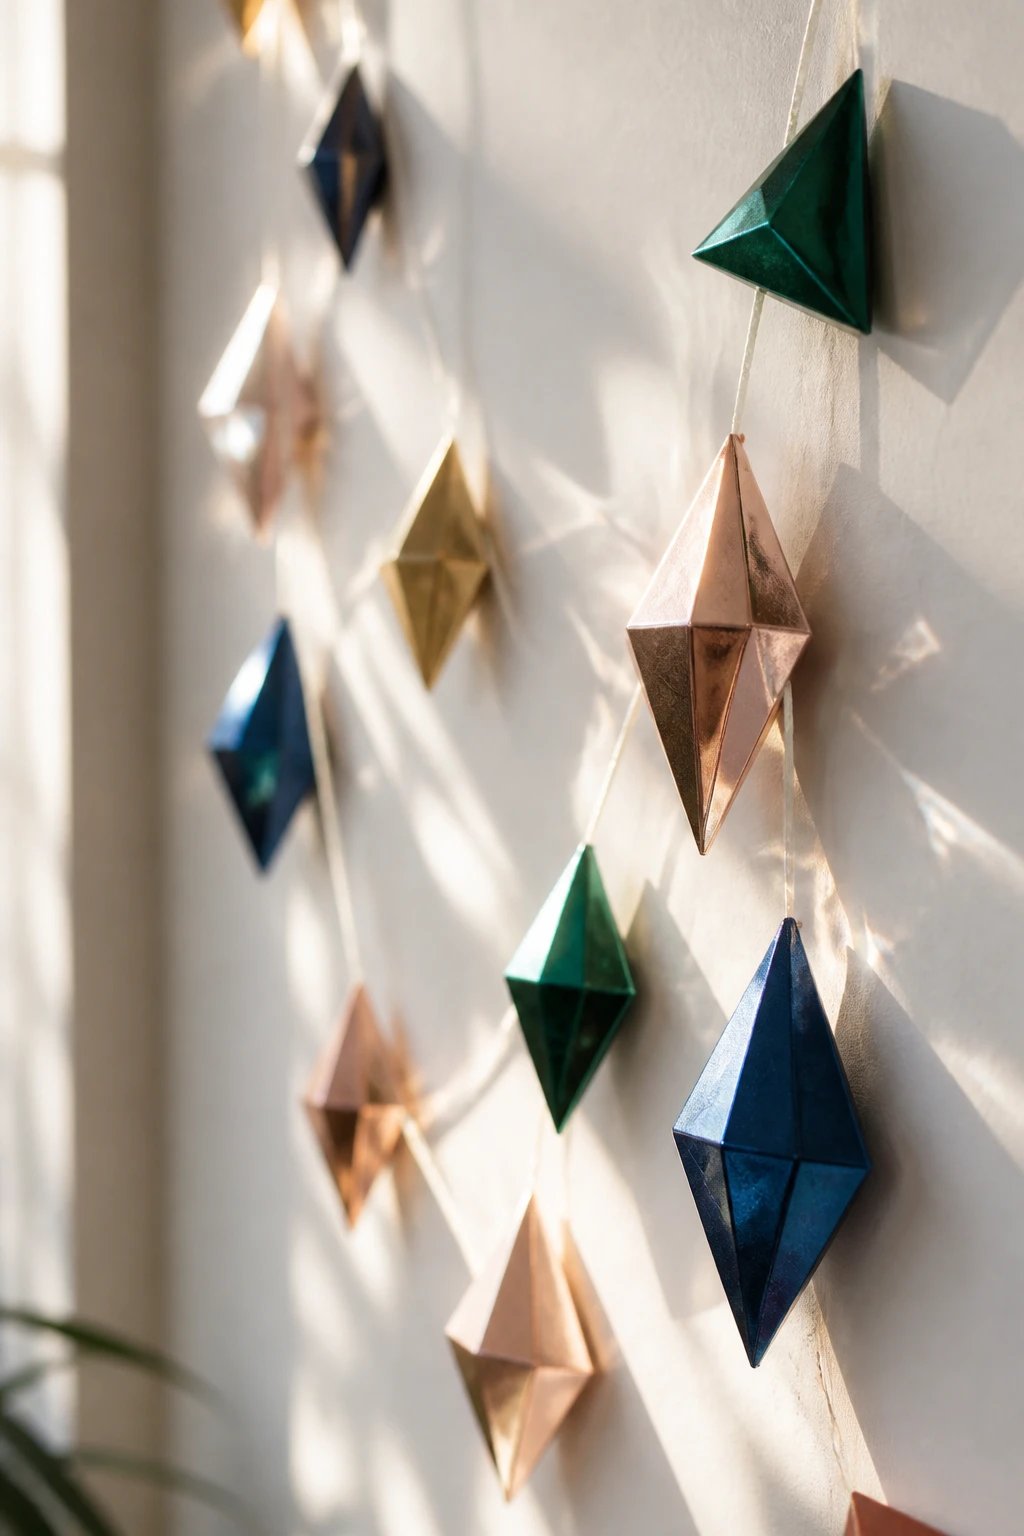
Faceted gems catch light and bring a touch of glam to any wall. They’re surprisingly simple to craft and paint.
How-To
- Shape triangles or diamond facets and score lines to add depth
- Paint with metallics or jewel tones
- Hang with a thin string or hook for a mobile effect
Seasonal or year-round, these gems feel luxe without the fuss.
7. Miniature Jewelry Dishes
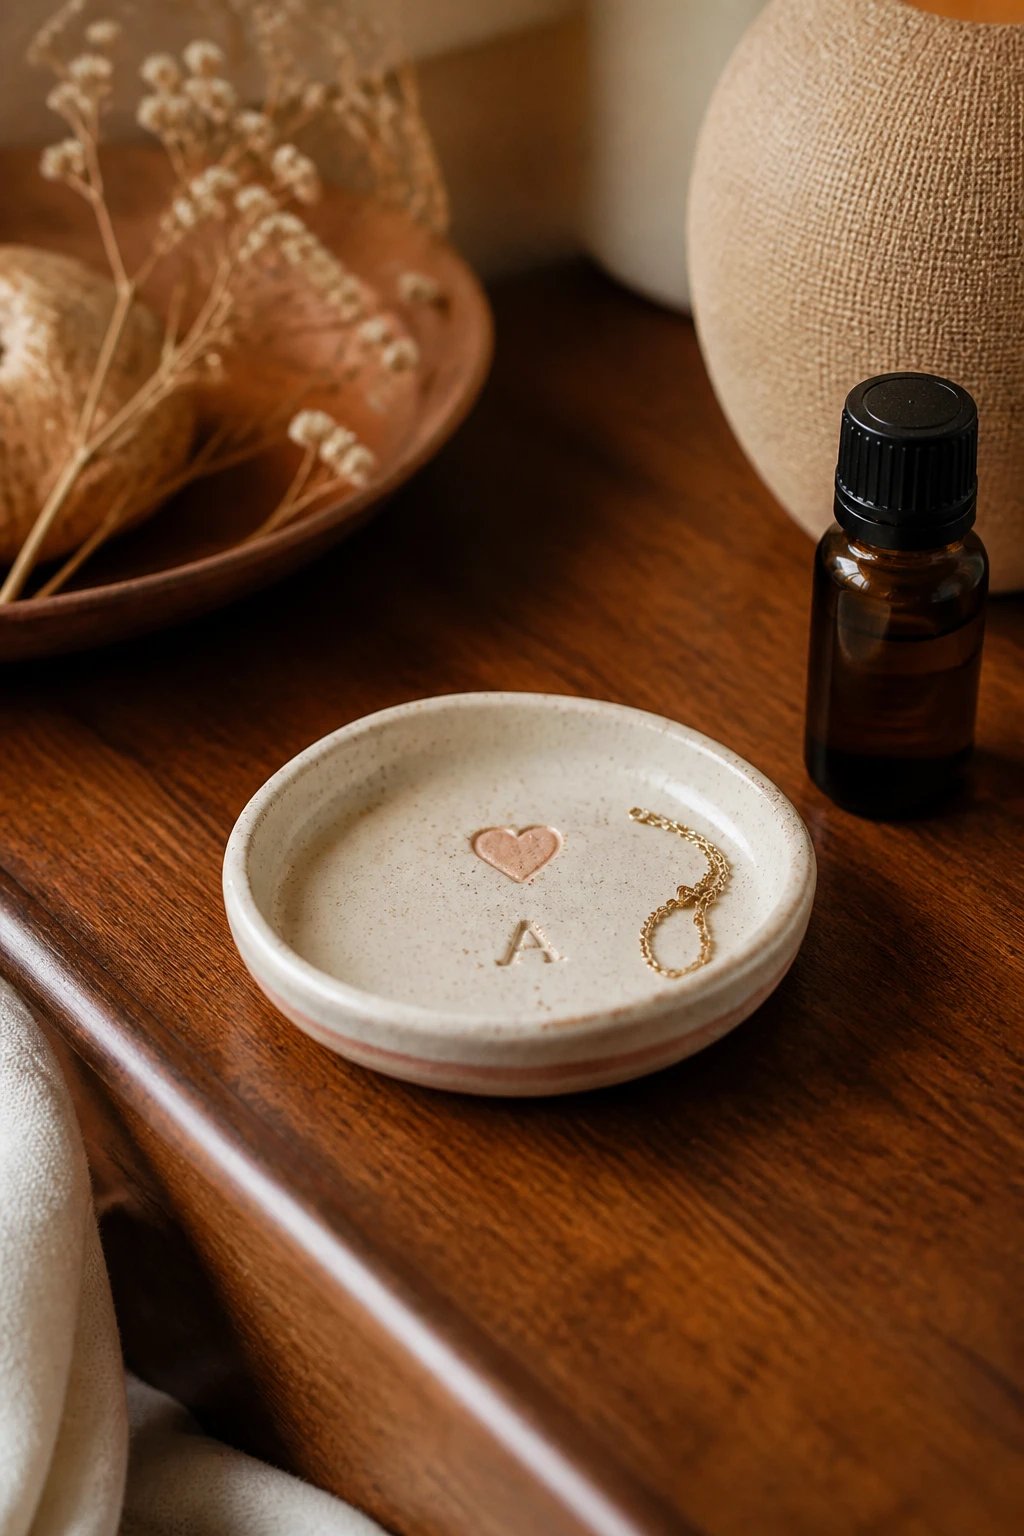
Keep your rings safe in a tiny dish that looks like a pottery trove find. Perfect for bedside tables or entryways.
What to Include
- A shallow dish with slight lip
- Inlaid details like a small heart or initial
Seal well so fragrance and oils won’t degrade the clay.
8. Abstract Wall Hooks
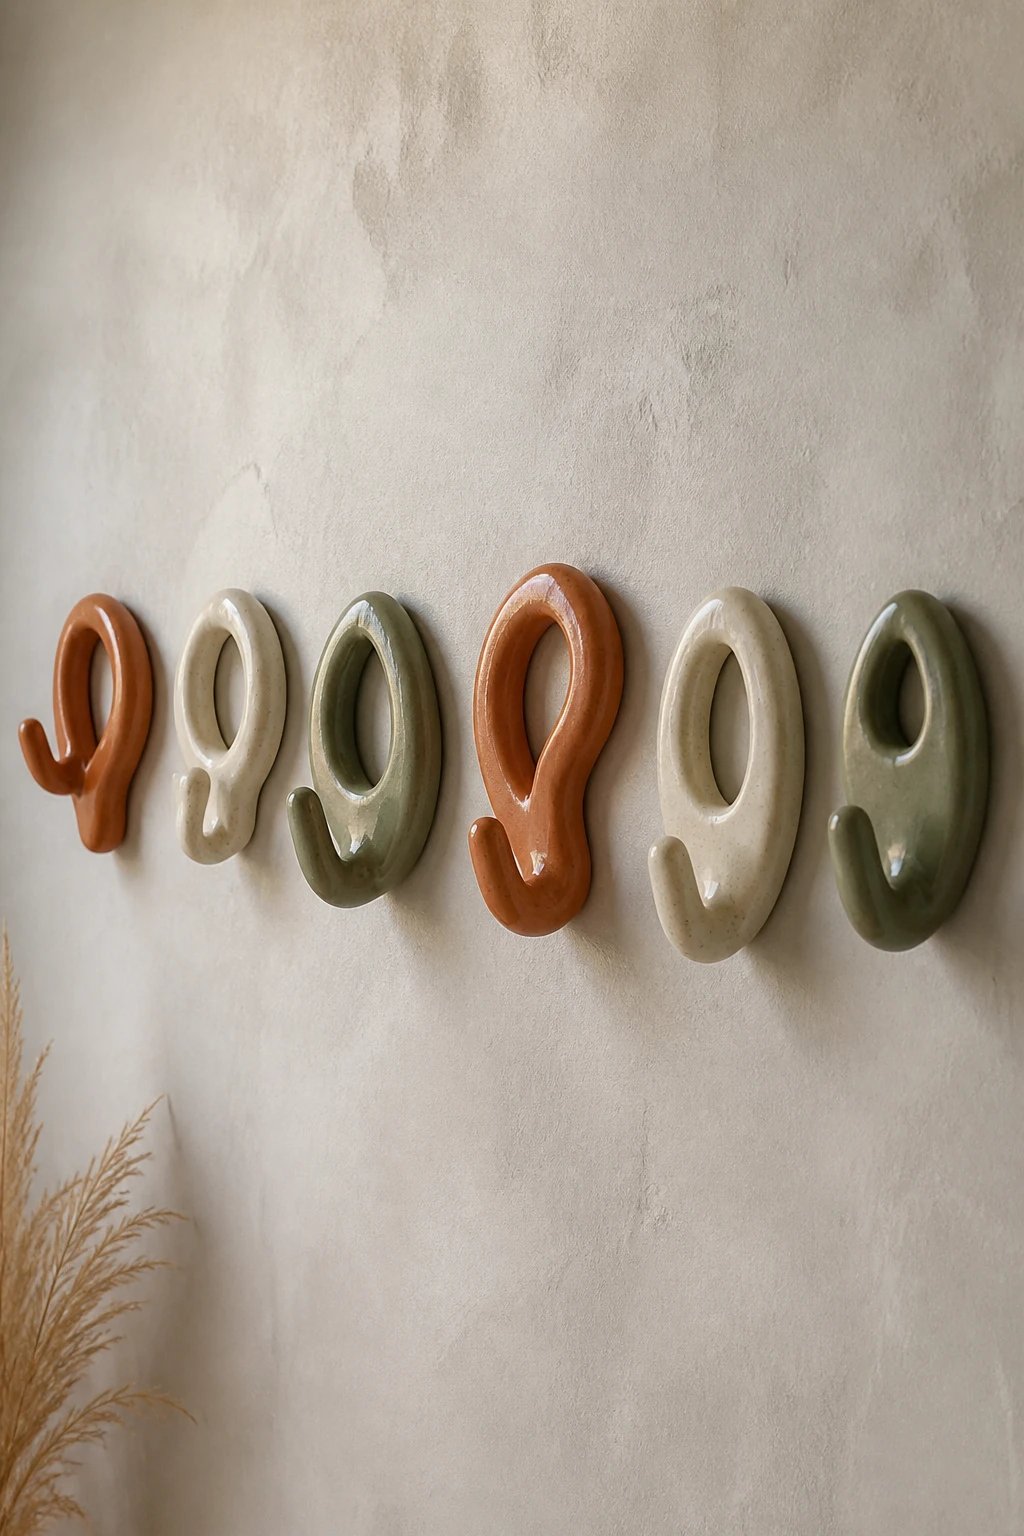
Functional art that doubles as decoration. Bake or air dry and mount in a row for a bold statement.
Craft Notes
- Make hook-like protrusions or looped shapes
- Use a stronger finish on the top to avoid chips
Practical and pretty, wall hooks that actually spark joy.
9. Tiny Animals With Big Personalities
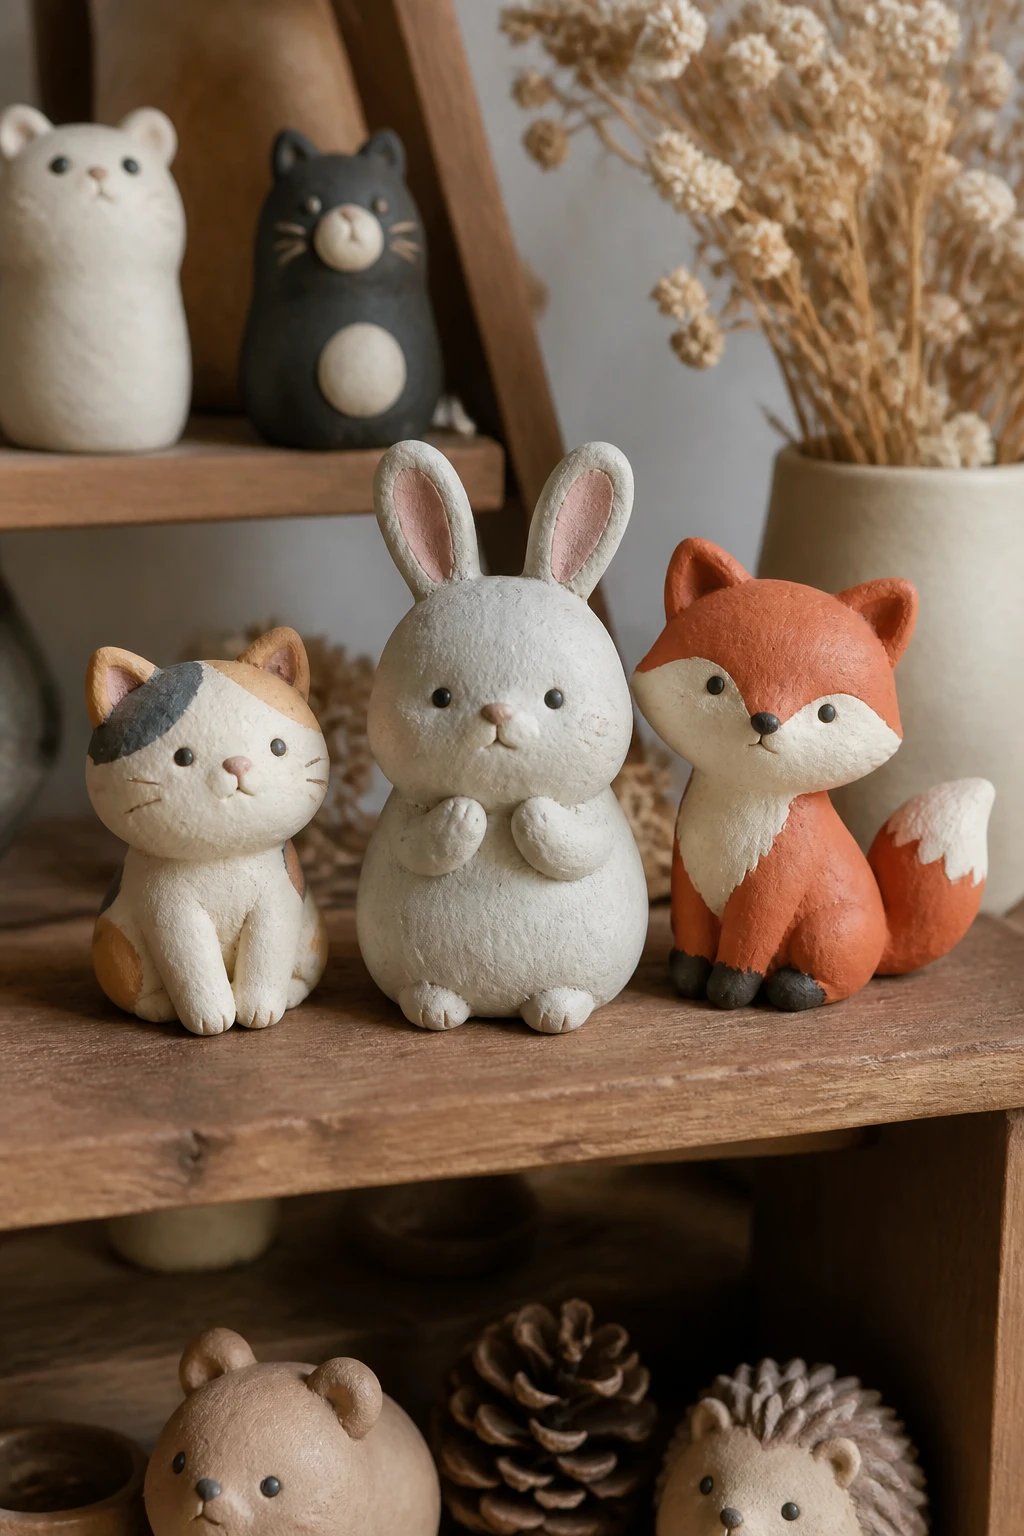
Let your inner sculptor loose with playful animal shapes. Start with simple silhouettes and add personality with tiny details.
Tiny Tips
- Focus on bold silhouettes first, then add eyes and noses
- Use pinching for limbs to keep proportions playful
People will coo when they see your critters perched on shelves.
10. Spellbound Letter Ornaments
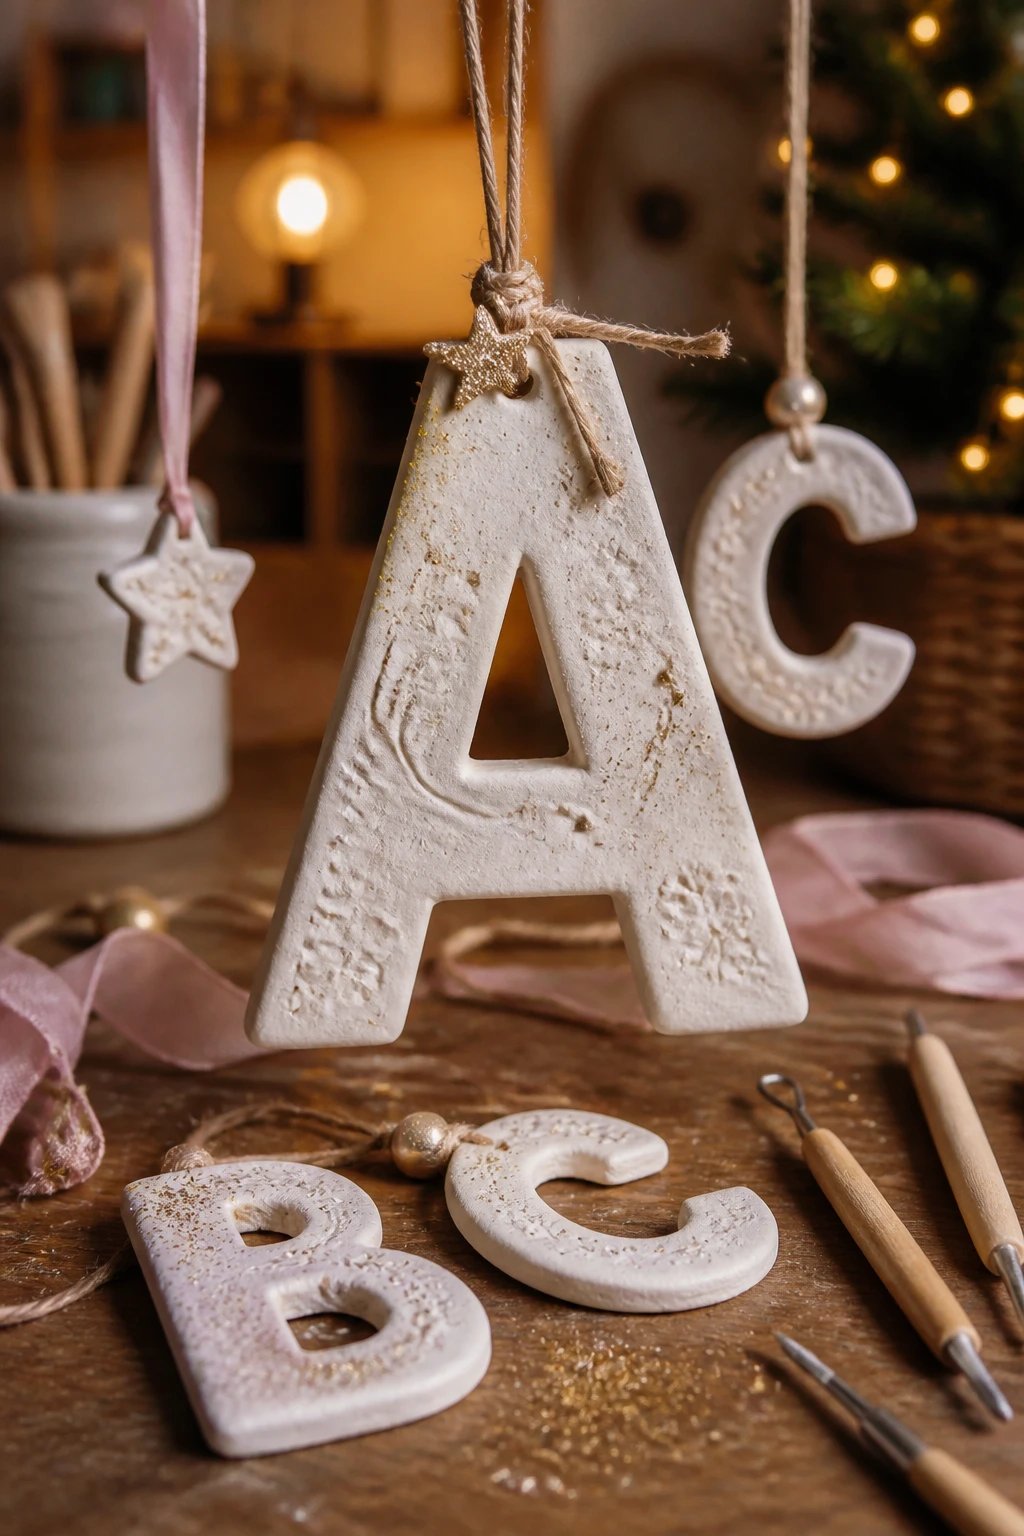
Monogram or word charms are excellent gifts or desk décor. Bold letters keep things readable and chic.
How To
- Sculpt large letters and string with twine or ribbon
- Dust with fine glitter for a party-ready finish
Great as gift tags or tiny wall hangings.
11. Dreamy Earrings For Quick Confidence Boost
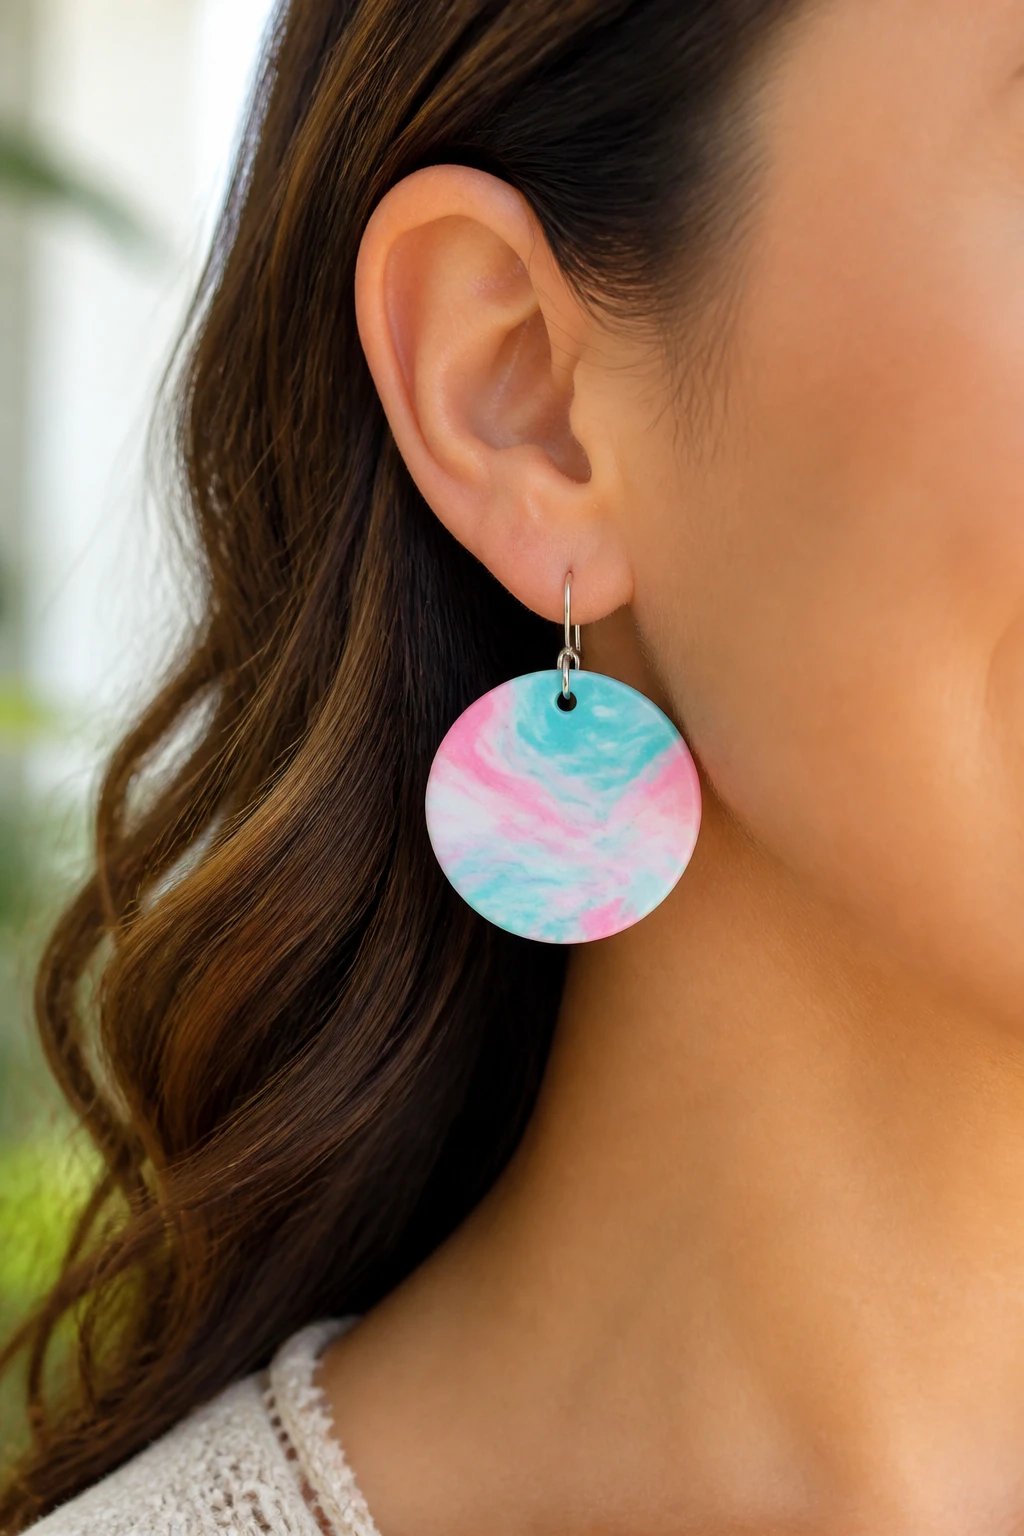
Air-dry clay earrings are lighter than they look and surprisingly durable when sealed well.
What to Make
- Flat shapes with a small hole at the top for ear hooks
- Combine two colors for a marbled effect
Wear them for a pop of color that’s totally you.
12. Cupcake Toppers That Spark Joy
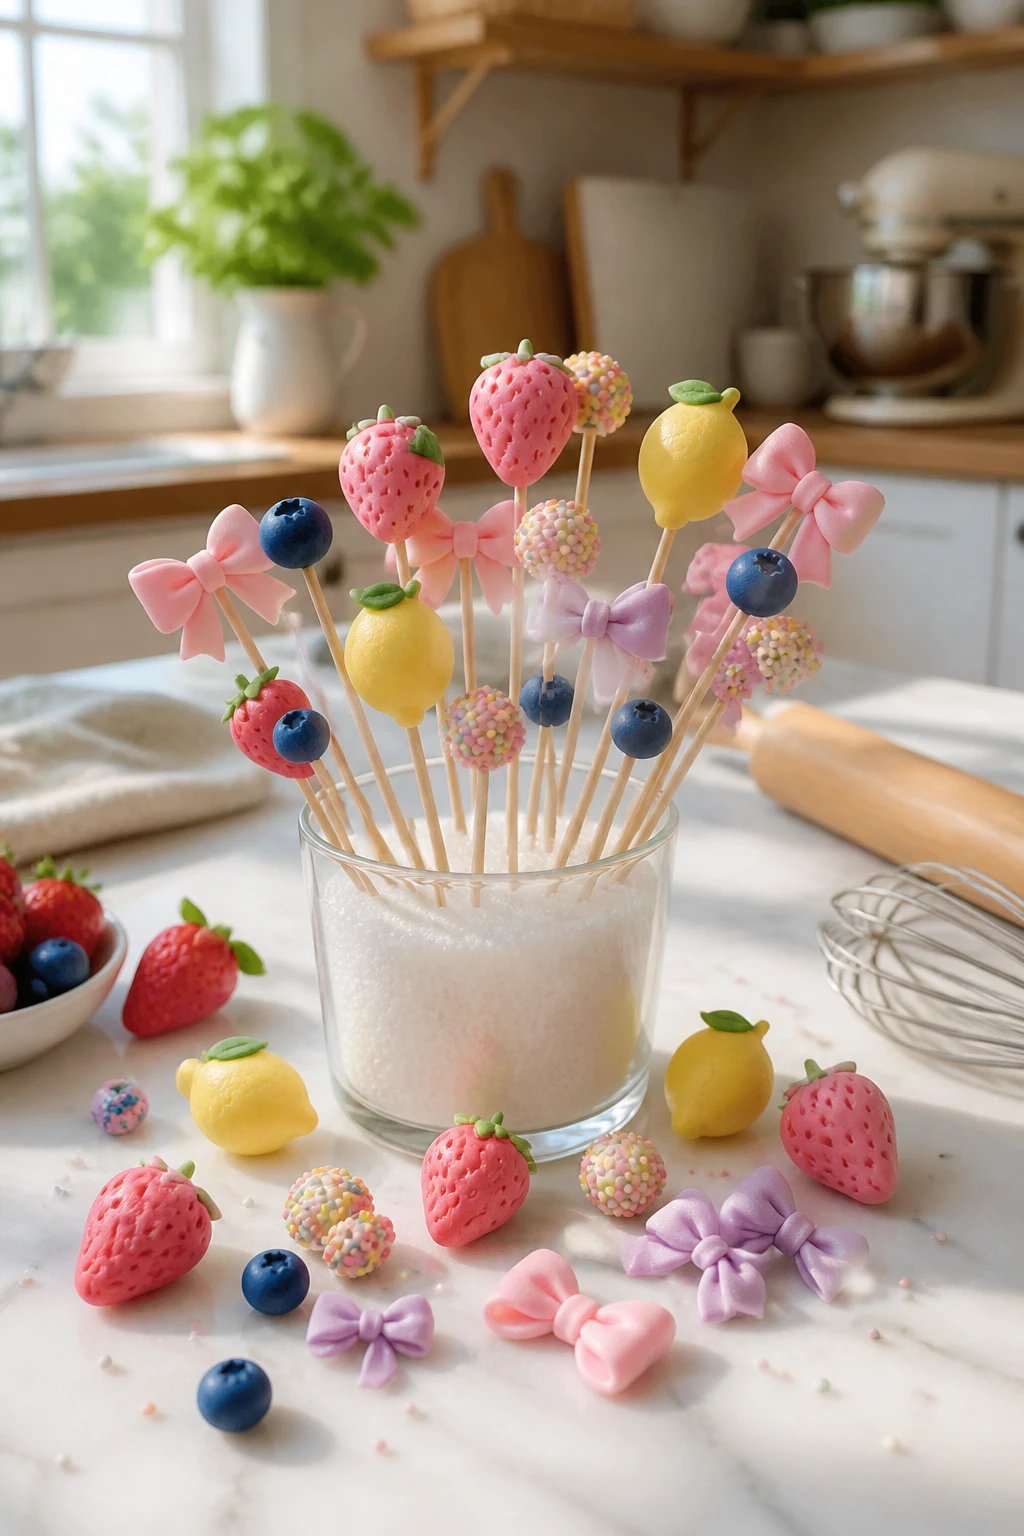
Delightful little toppers for photos or play kitchens. They’re fast and satisfying to sculpt.
In The Kitchen
- Create tiny fruit, sprinkles, or pastel bows
- Attach to skewers for easy display or photos
FYI these make adorable cake decorations too but keep in mind they’re for display, not eating.
13. Geometric Candle Holders
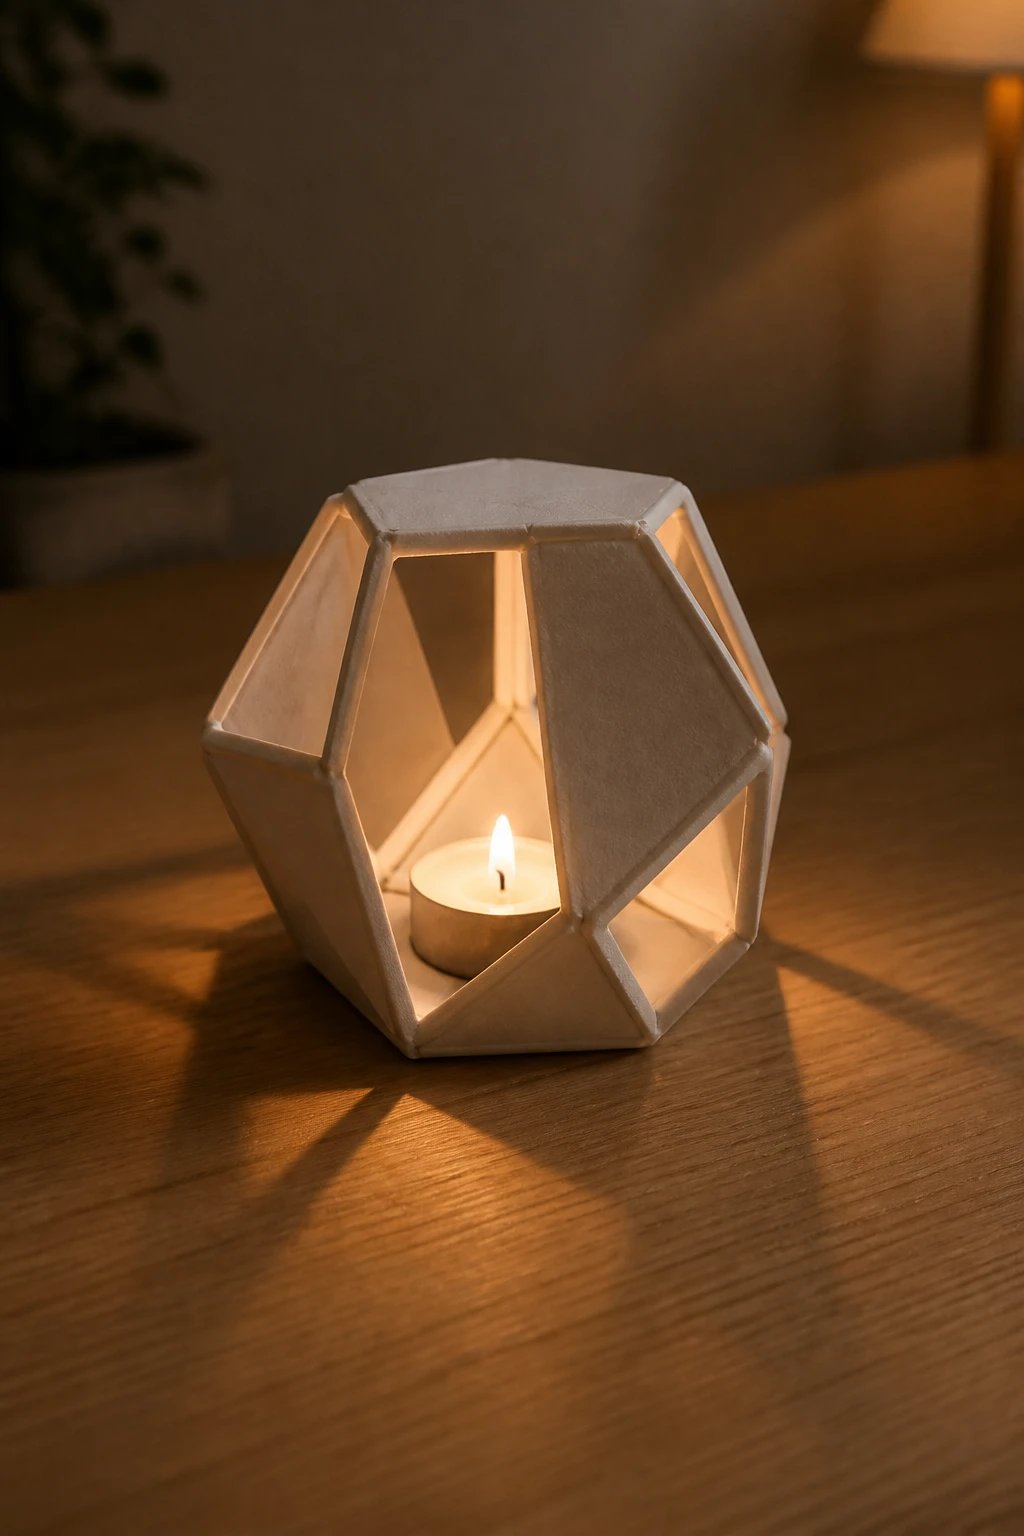
Who says you need a professional studio to get a chic look? Build geometric frames that hold tea lights for a warm glow.
Tips
- Make polyhedron shapes by joining flat panels with small joints
- Seal interiors to resist heat from candles
Ambient lighting meets handmade charm in one easy project.
14. Dreamy Plant Markers
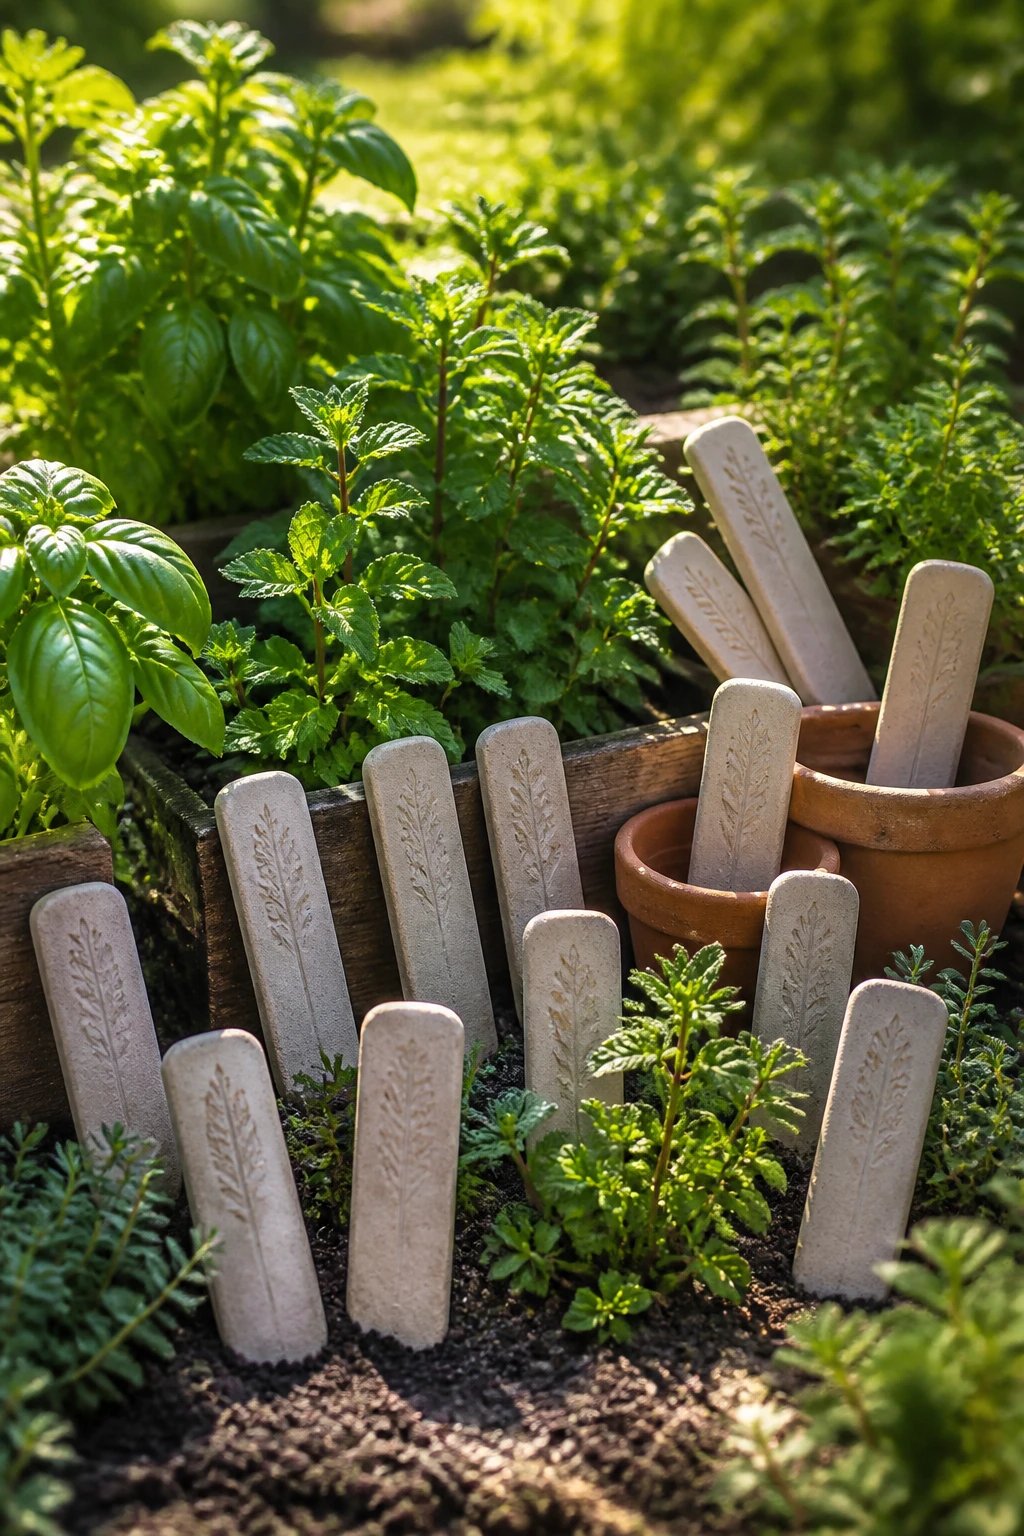
Label your herb garden or potted greens with stylish tags that won’t fade away in sun or rain.
Build Steps
- Shape tiny rectangular tags with rounded edges
- Scrawl plant names with a fine-tine marker or paint pen
Functional art that helps you keep track of your greens in style.
15. Tiny Picture Frames
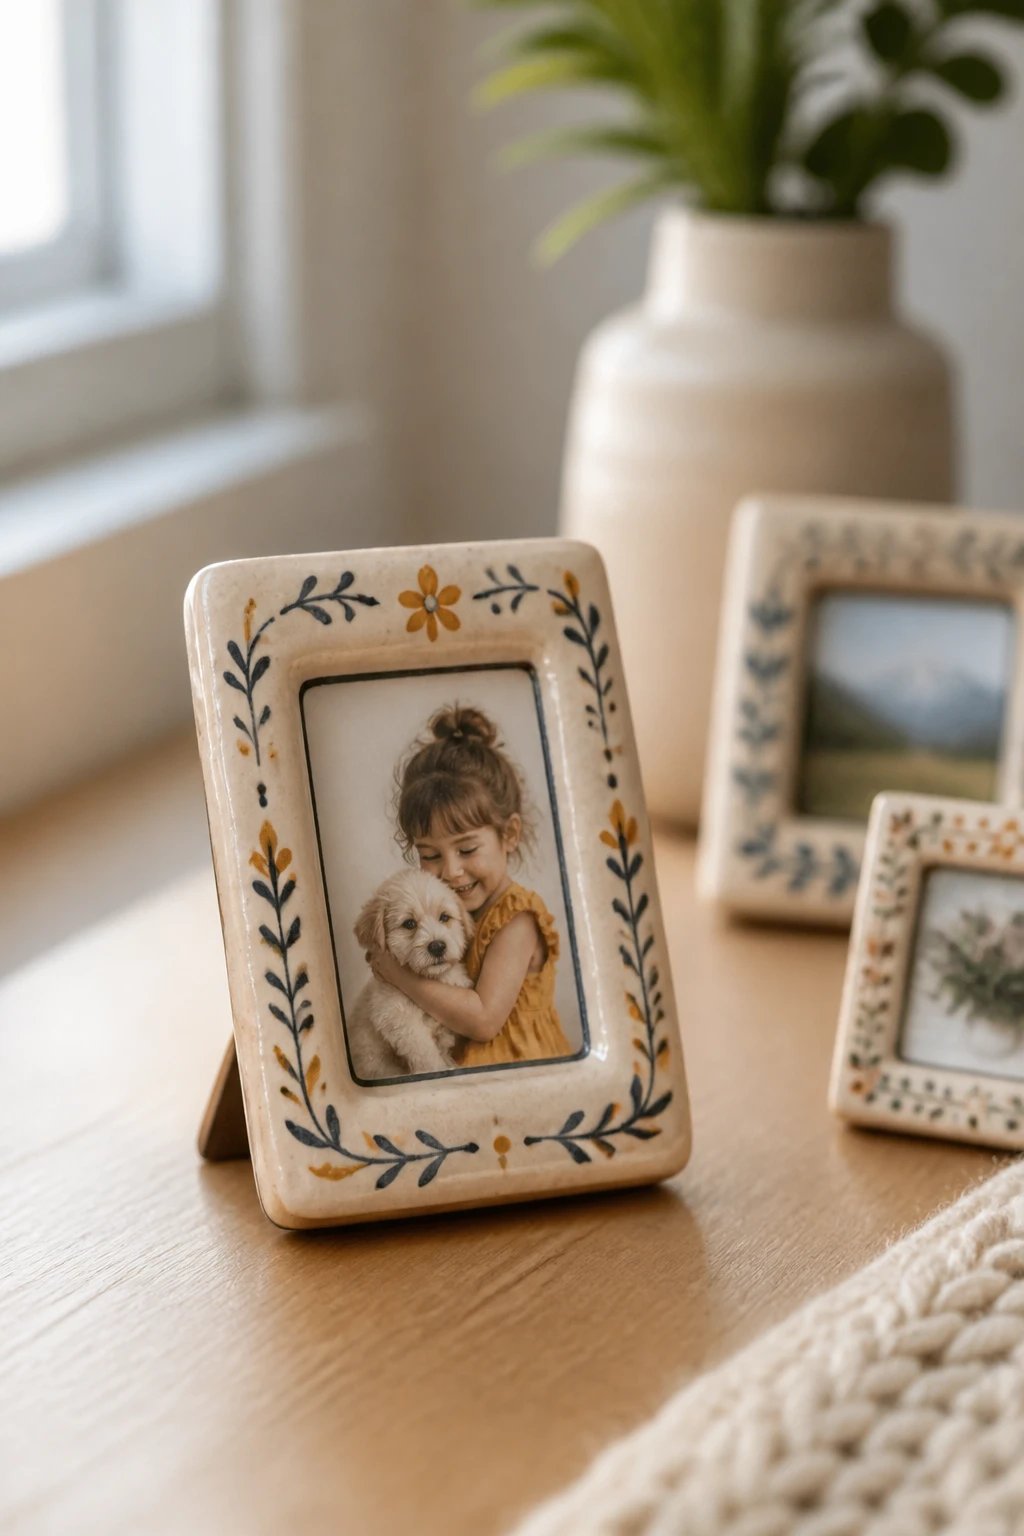
Snapshots deserve a frame that reflects your vibe. Create mini frames with a polished finish.
How To
- Cut a window to hold a tiny photo; back with a flat plate
- Paint borders or add a delicate border under glaze
Place on desks, shelves, or a gallery wall for a personal touch.
16. Stackable Stackables For Shelves
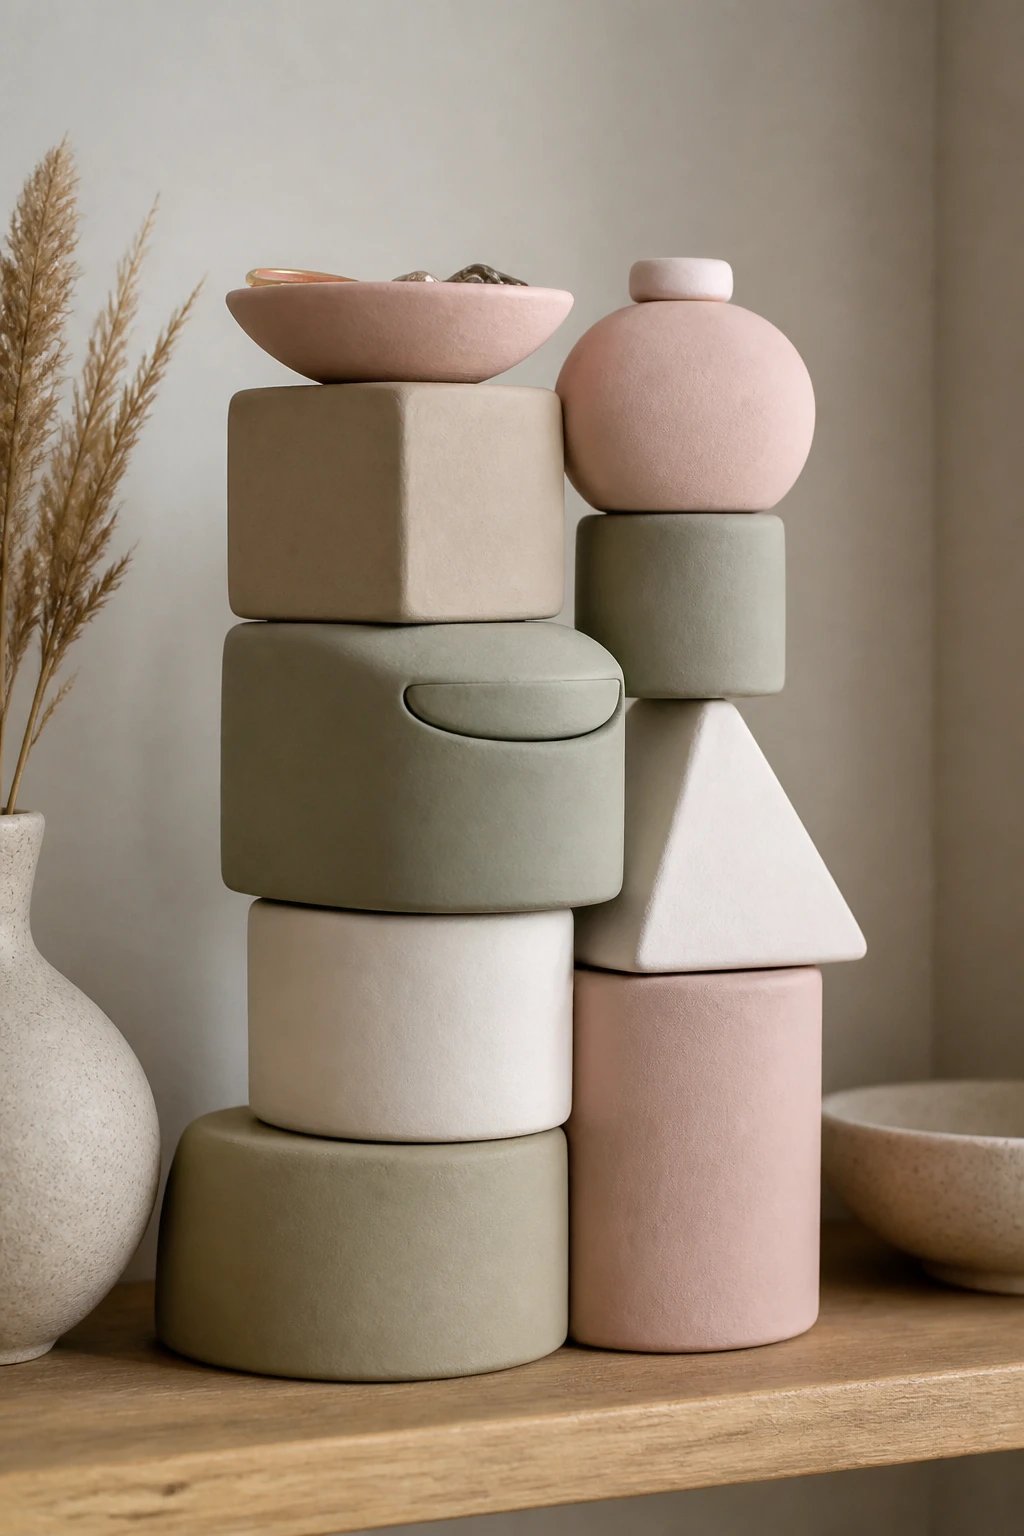
Use different shapes to build a little stackable sculpture. It doubles as a modern sculpture and a storage solution.
Stacking Strategy
- Alternate sizes and shapes for visual interest
- Ensure flat bottoms so each piece sits well
Display proudly and rearrange whenever you feel bored.
17. Whimsical Soap Carvings
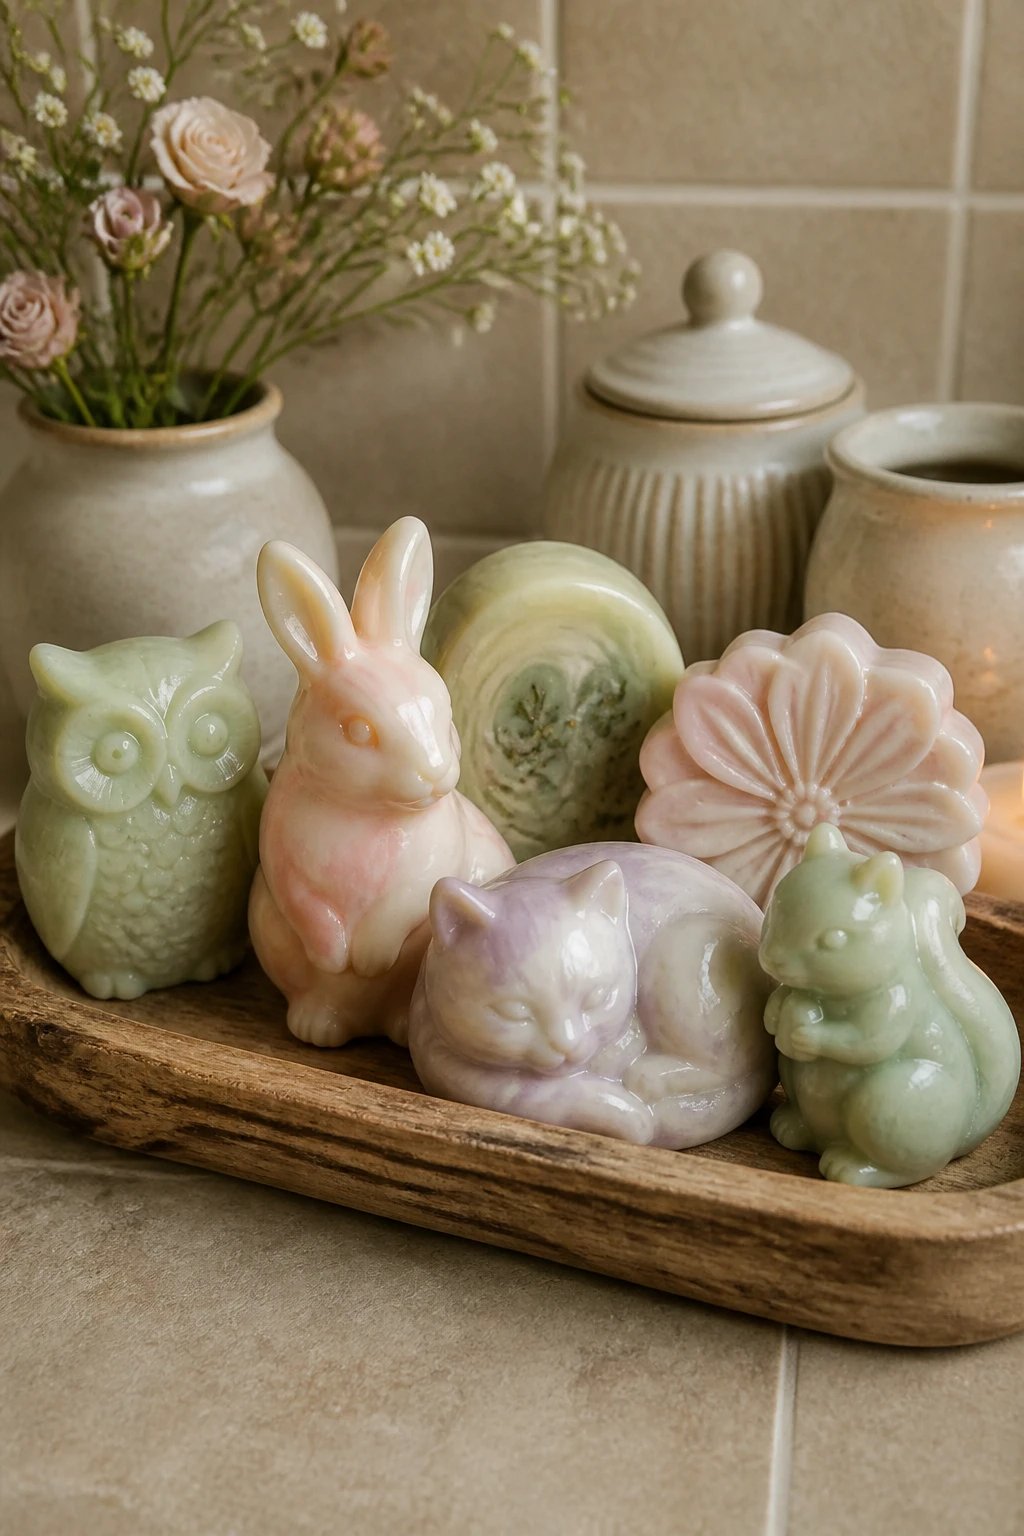
Yes, you can carve mini soaps with your air-dry clay to create decorative shapes for bathrooms or gifts.
Notes
- Use a block mold for a clean silhouette
- Seal with a clear glaze to secure color
A practical decoration that smells nice too, seriously.
18. Oceanic Shells On A String
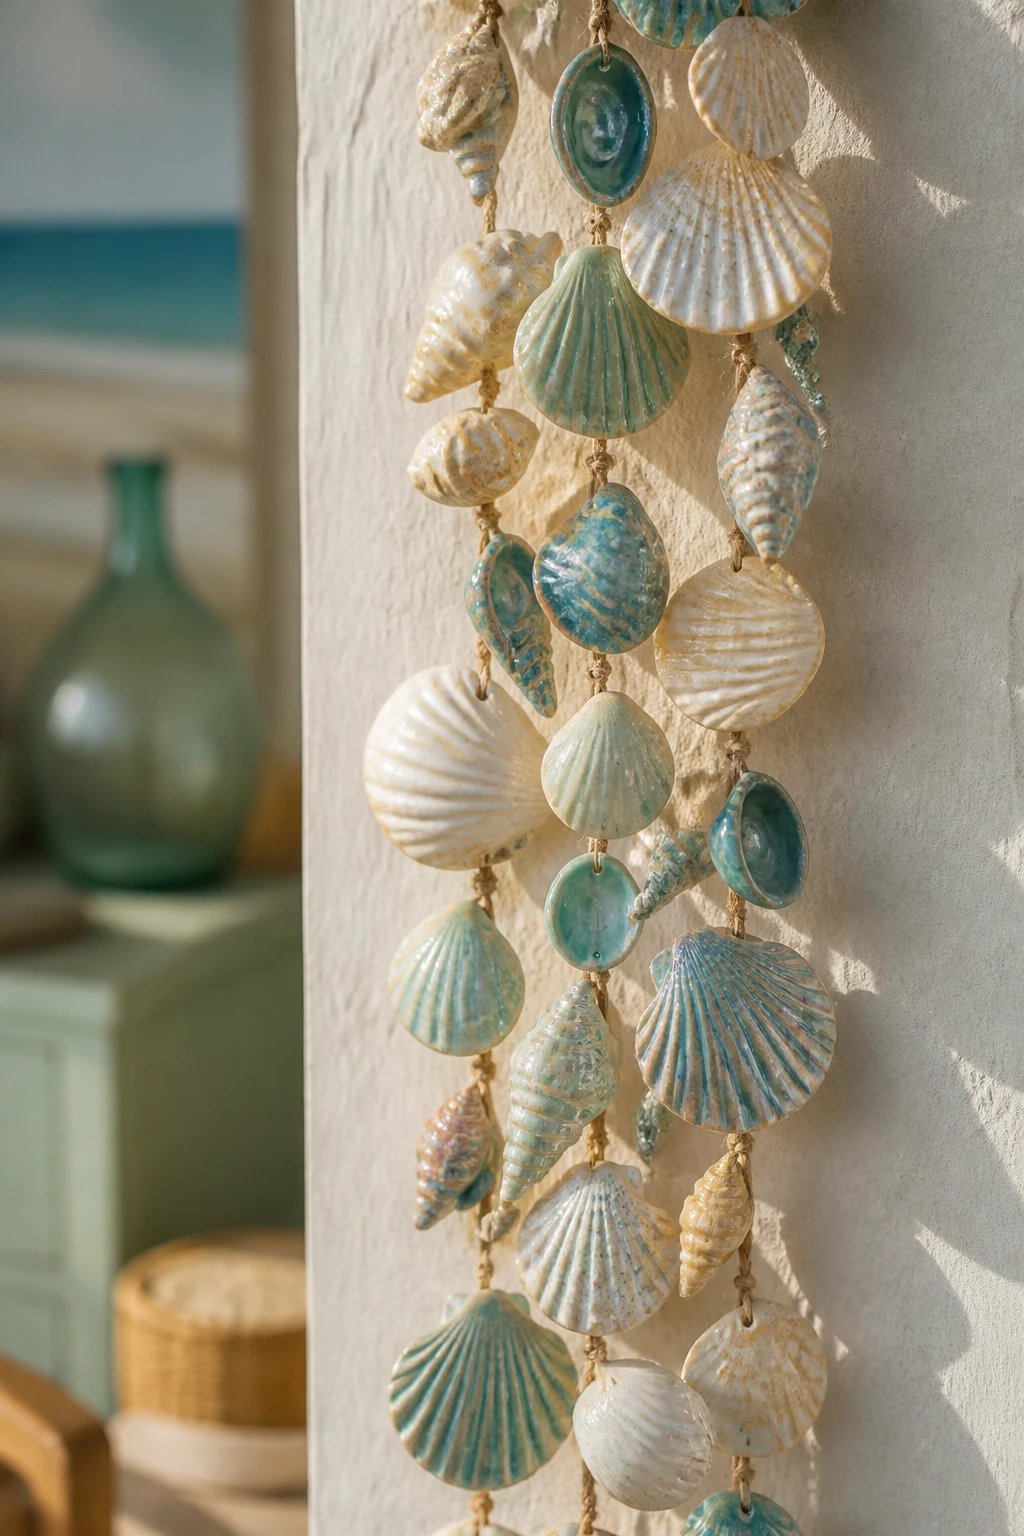
Little shells sculpted in clay can mimic the real thing when you use color and texture to give them depth.
Technique
- Make tiny shell shapes and paint with pearlescent colors
- String on a twine for a seaside wall piece
Reminds you of beach days without leaving your house.
19. Reading Nook Ornaments
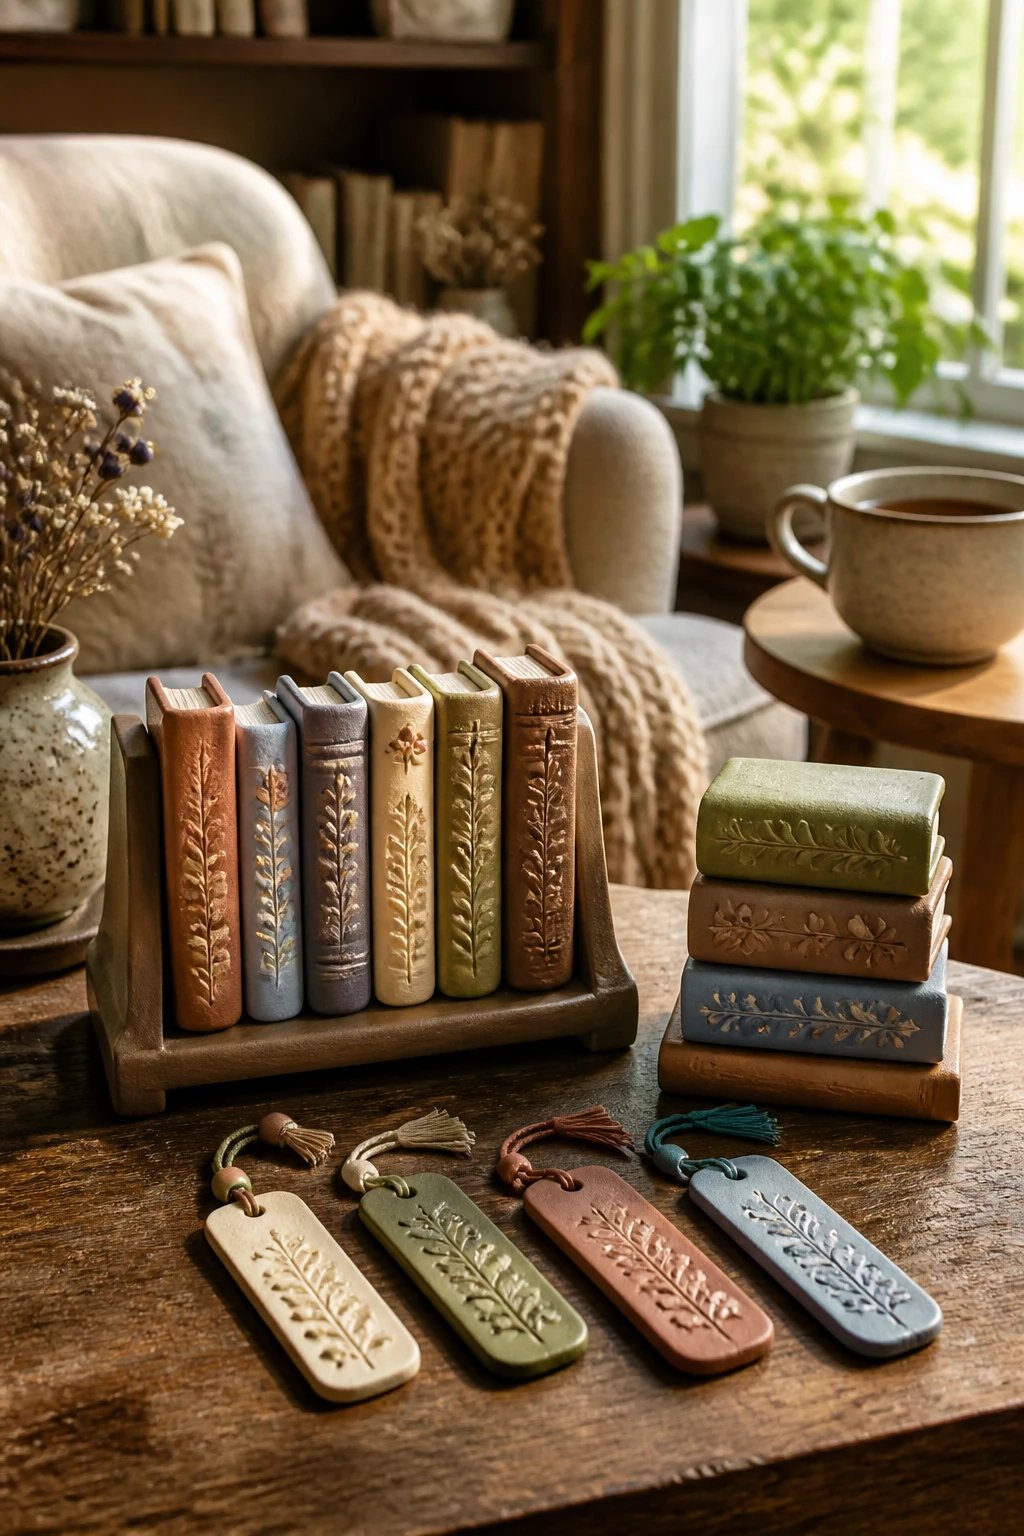
Turn air-dry clay into tiny bookish trinkets that celebrate your love for reading.
What To Create
- Mini book spines with embossed titles
- Book stacks as little bookends
Stack them on a shelf as a playful nod to your literary side.
20. Customizable Name Tags For Everything
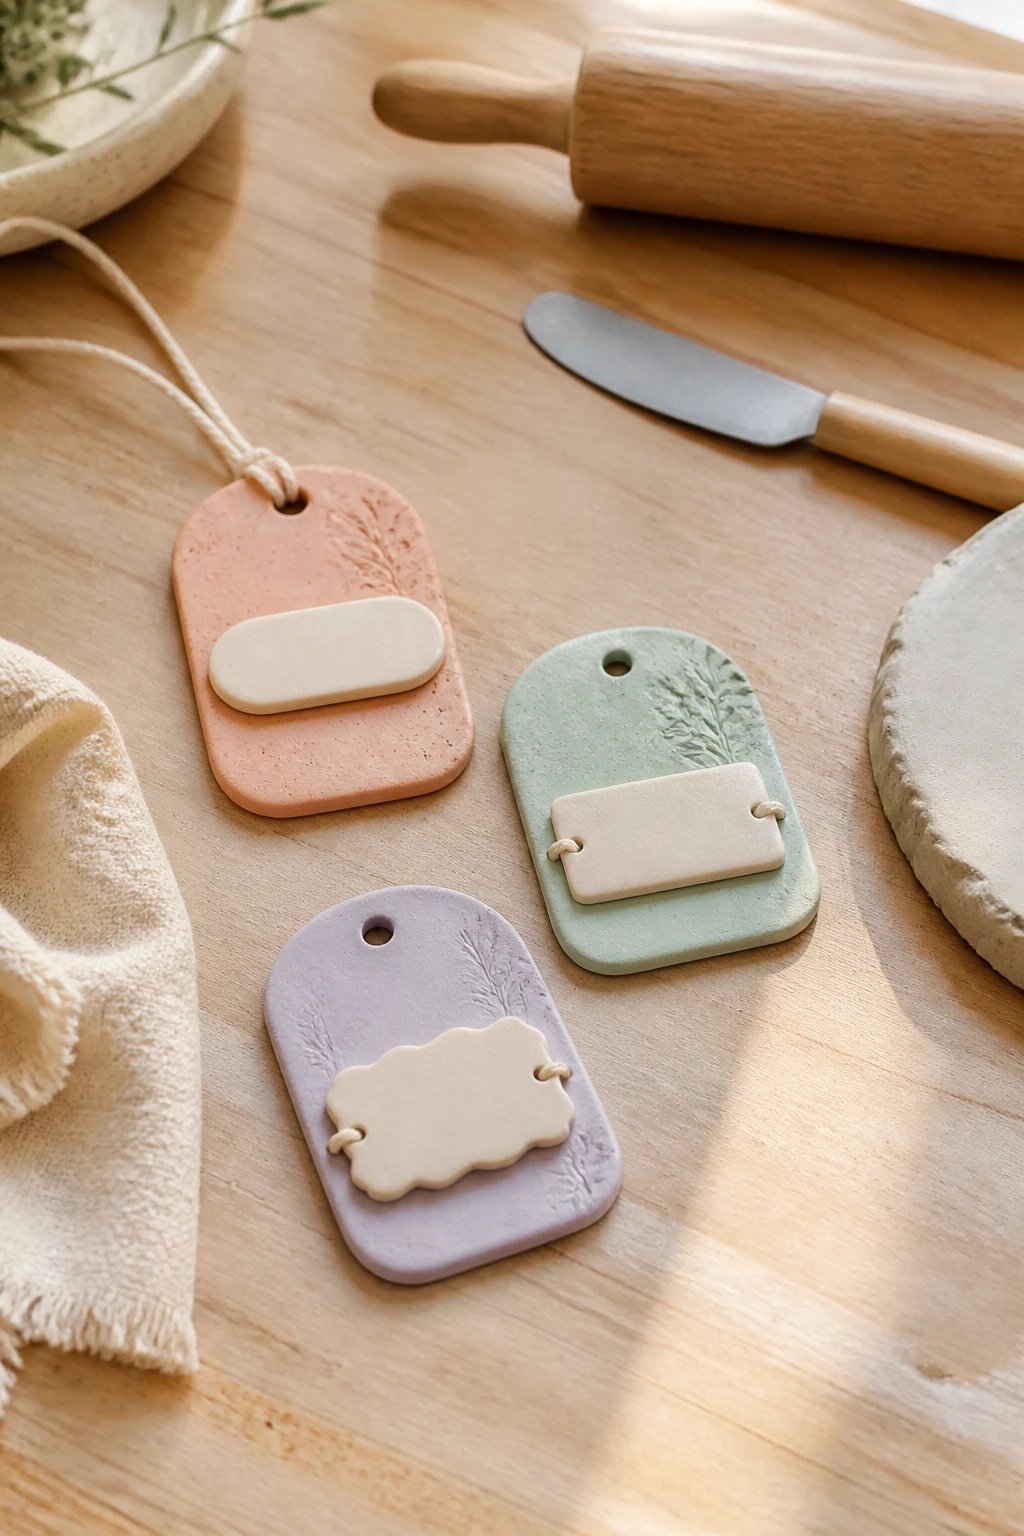
End your clay journey by making reusable name tags for classrooms, desks, or party favors.
How To
- Shape rectangles with rounded corners
- Add a hole for a string so you can swap names easily
Encourage sharing and easy personalization wherever you go.
Ready to start? These 20 ideas prove that you don’t need fancy gear to make something that feels special. Grab your clay, pick a project, and roll with it – seriously, you’ll be hooked in no time.
